Introduction
If a key on your laptop is broken or faulty, follow this replacement guide carefully to remove and replace your key. This guide may also be used if there is a spill on your laptop, and you must clean underneath the keys. The tools that are needed for this task are a spudger and tweezers. This task should not take long, but should be followed with caution in order to avoid breaking the small components.
-
-
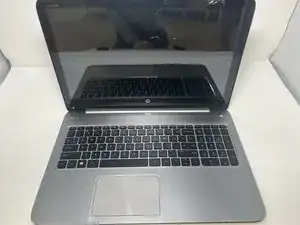
Open your laptop screen and orient the laptop so that the screen is facing you.
-
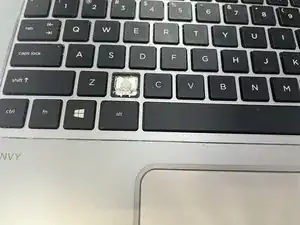
Identify which key on the keyboard needs replacement.
-
-
-
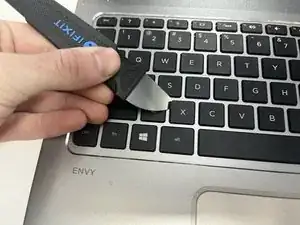
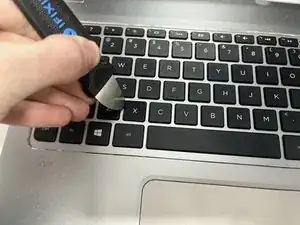
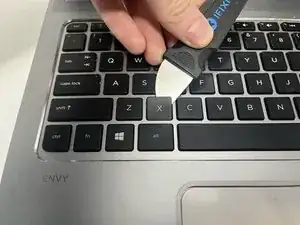
Insert the flat end of the Jimmy tool underneath one side of the key. You may also use any other tool that can fit underneath the key cover.
-
Begin to carefully push at an upward angle in order to remove the black key cover.
-
-
-
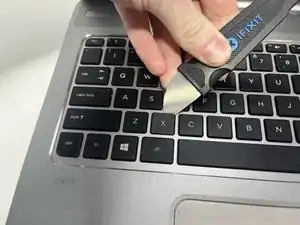
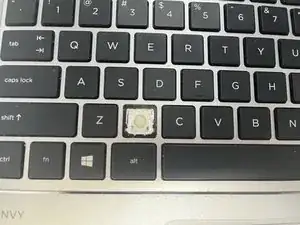
Once the black key cover is removed, you will notice that there is a plastic white piece composed of two parts.
-
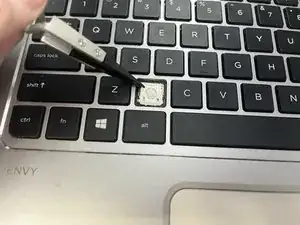
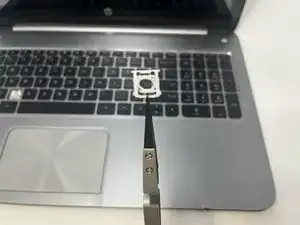
Using the tweezers, begin to pull the white plastic piece away from the keyboard.
-
To reassemble your device, follow these instructions in reverse order.