Introduction
Use this guide to remove and install a new hard drive.
Tools
-
-
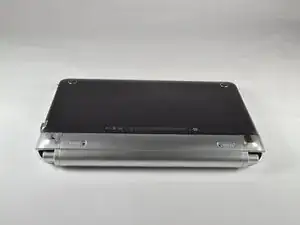
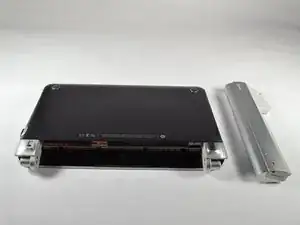
Close the laptop and turn it over so that the underside is up and the silver battery bay is facing towards you.
-
-
-
The battery locking latch is on the bottom right corner; slide it inward to unlock the battery.
-
Slide the battery release latch inwards.
-
Pull the battery towards you to remove it.
-
-
-
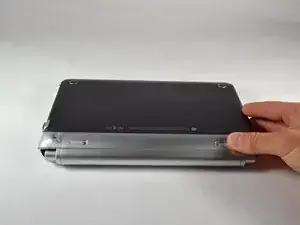
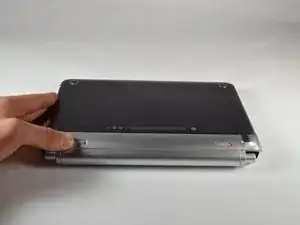
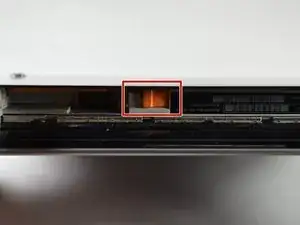
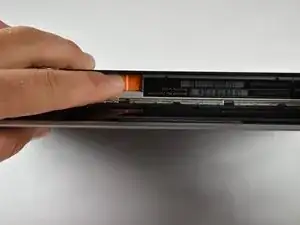
Slide the service access cover release lever to the right.
-
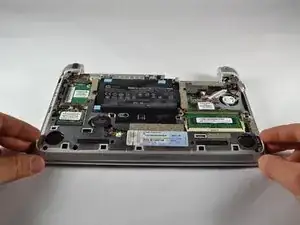
While holding the lever to the right, lift up the laptop's bottom cover gently and remove the cover.
-
-
-
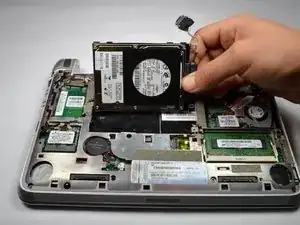
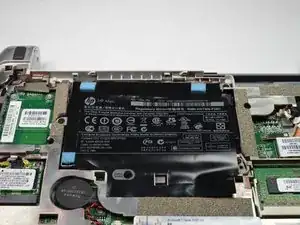
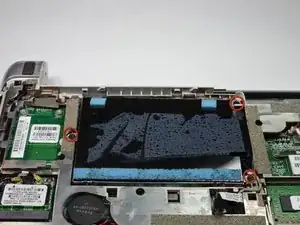
Locate the hard drive, where the HP Product sticker used to be.
-
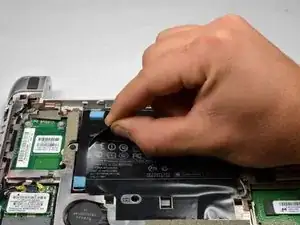
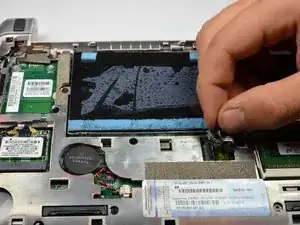
Locate the hard drive cable, connected to the hard drive.
-
Disconnect the hard drive cable by gently pulling upward.
-
-
-
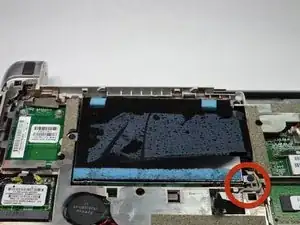
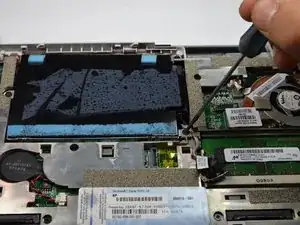
Using a #00 Phillips screwdriver, unscrew and remove the three 2.0 x 4.0 Philips screws holding the hard drive in place.
-
-
-
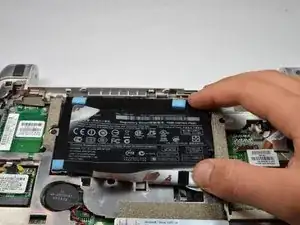
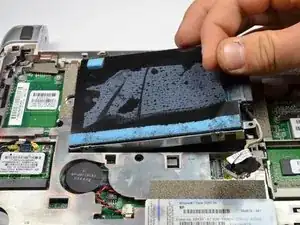
Use the Mylar Tab located on the right side of the hard drive to pry up the hard drive.
-
Remove the hard drive.
-
-
-
Lay the hard drive down with the underside facing up.
-
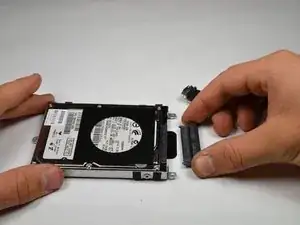
Pull and remove the hard drive pin connector from the hard drive.
-


To reassemble your device, follow these instructions in reverse order.