
Introduction
This guide will outline the process to replace the hard drive for the HP Omen 15, more specifically in the model ax200ne. A user may require a hard drive replacement after years of wear and tear, or even for an upgrade to their storage. Whatever the reason, this guide will show you exactly how to do so. This is a moderate level repair to do if you are new to home-servicing your devices, and very easy if you are familiar with home repairs.
-
-
Fully power off the laptop.
-
If you are unsure that your laptop is in hibernation mode, turn the computer off from the start menu.
-
Unplug charging cable and any external devices.
-
-
-
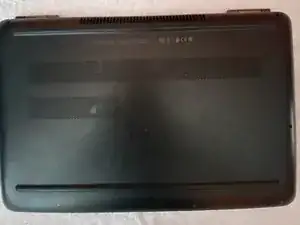
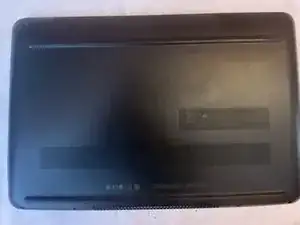
Position the laptop upside down on a flat and clean surface.
-
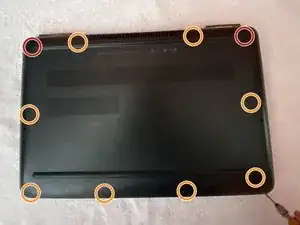
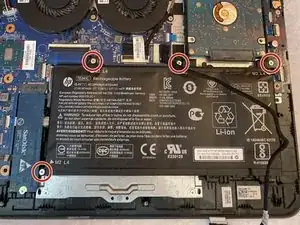
Remove the two Phillips M2x5.0 screws located at the top left and top right of the laptop (circled in red).
-
Remove the eight M2.5x6.0 (circled in orange).
-
-
-
Slide the nylon opening tool around the edge of the base enclosure, releasing the three clips by the battery area.
-
Continue to slide the nylon opening tool around the edges of the base enclosure, doing so while loosen the cover.
-
-
-
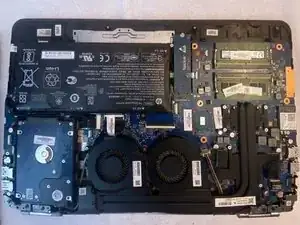
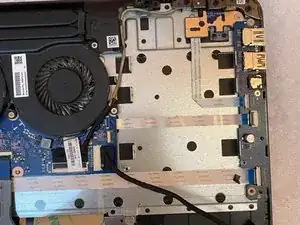
After successfully loosening the base enclosure, and removing it. You will be left with an exposed motherboard.
-
-
-
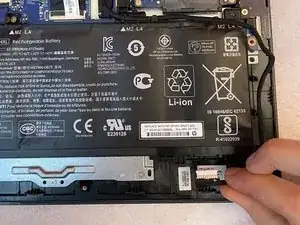
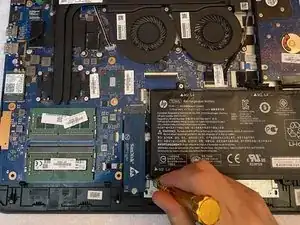
Unplug the battery from the motherboard.
-
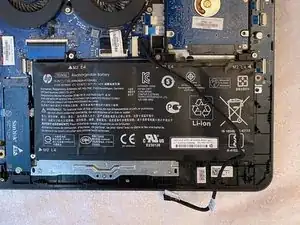
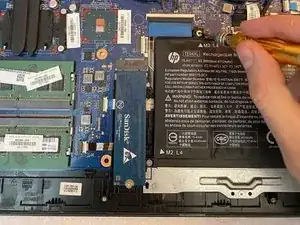
Release the battery cable from the routing channel to reveal the screws beneath.
-
-
-
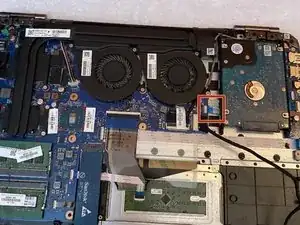
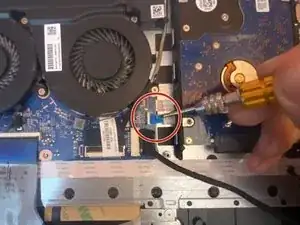
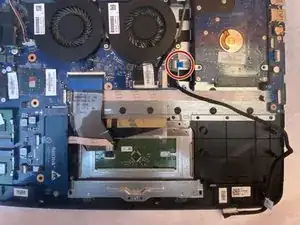
Disconnect the clip attaching the hard drive cable to the motherboard.
-
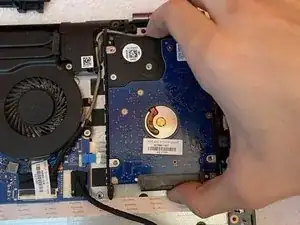
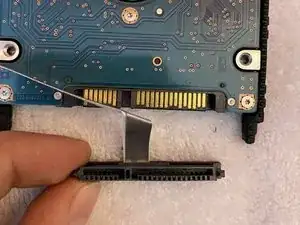
Slide the hard drive out horizontally.
-

To reassemble your device, follow these instructions in reverse order.