Introduction

This guide demonstrates how to replace the touchpad on a HP Pavilion x360 11-p110nr. The entire process is fairly quick and easy, and with a bit of care, it can be completed safely at home.


Caution: Anytime you are working with batteries or power, be sure to take care around electricity and always unplug the battery before you attempt to replace any part of the laptop.

  1. gHYYOPYEsNnaHOQj
    gHYYOPYEsNnaHOQj
    Ua6UNJTBnqDblssQ
    PlJDIefwRcqBVTNk
    • Eleven case screws are located on the bottom of the laptop. Two will be underneath the rubber feet.

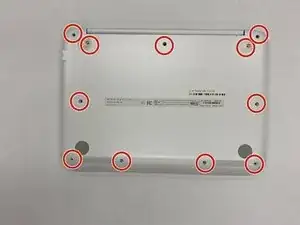
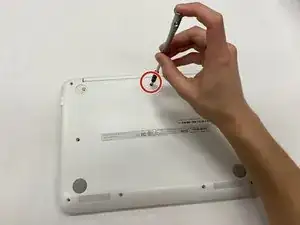
    • Use a Phillips #0 screwdriver to remove all 6.7 mm screws from the bottom cover.

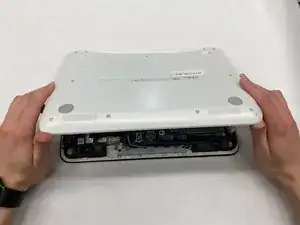
    • Once the screws are removed, carefully take the bottom plate off.

    • Don't force the bottom plate off. There will be a cable connecting the bottom plate to the rest of the laptop. If you pull too hard you risk damaging this cable.

  2. etiqdOjxcKZMSRxt
    etiqdOjxcKZMSRxt
    pMQ54JwGZ6Adl3oc
    M3pvSItJbSTi1YGJ
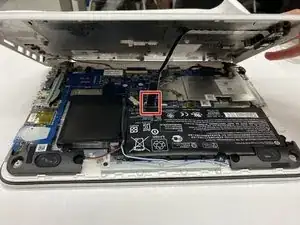
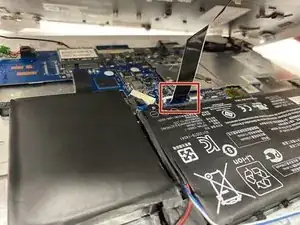
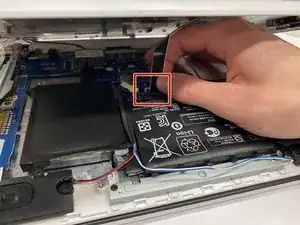
    • Before fully removing the top cover, locate the cable that connects the audio controls.

    • Once located, lift the small black flap and carefully pull the cable out.

  3. LtlpMbYaGqXqeGCU
    LtlpMbYaGqXqeGCU
    rB3TEeNrMdJq6vws
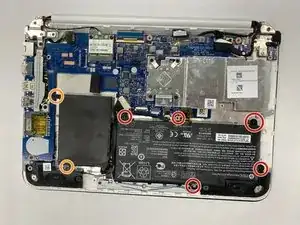
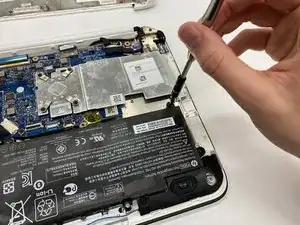
    • Use a Phillips #0 screwdriver to remove the five 6.7 mm screws that secure the battery.

    • Use a Phillips #0 screwdriver to remove the two 3.2 mm screws that secure the hard drive.

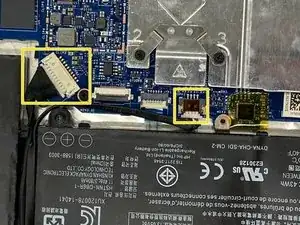
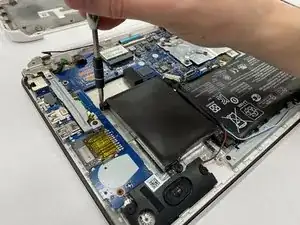
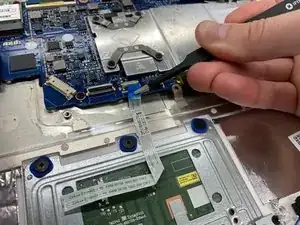
    • Locate the cable for the battery and the cable for the speakers and unplug those as well.

  4. G5UPxgBVFYgcVxRY
    G5UPxgBVFYgcVxRY
    6kAGn1WREaCuigaY
    2By4FDmP5AIO4ZYx
    • Once all screws are removed, carefully remove the battery and hard drive as one unit.

    • Caution: Lithium Ion batteries provide a risk of electrocution or fire if mishandled. Failure to disconnect the battery before removing the speakers could also lead to risk of electrocution.

  5. DdIvdZ4OOF4SbGUE
    • Once the battery and hard drive are removed, you should be able to see the touchpad.

  6. tYabMIkTtLHbxdGC
    tYabMIkTtLHbxdGC
    YCrpfgaFxiILrUHn
    wMb2kUgUUiaZV3YV
    • Find the cable for the touchpad and unplug it.

    • Remove and install carefully as to not damage the cable.

  7. YdcggpFJtFftADio
    YdcggpFJtFftADio
    WdfleoBDnnAHMI2P
    3VP2MCrIadToGfbU
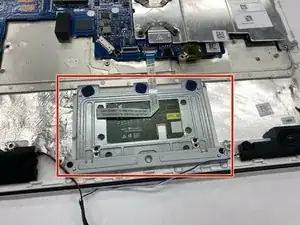
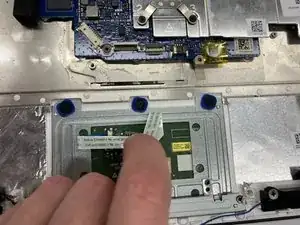
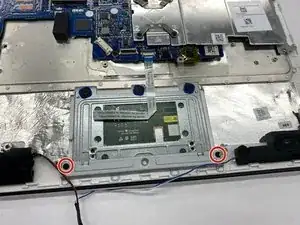
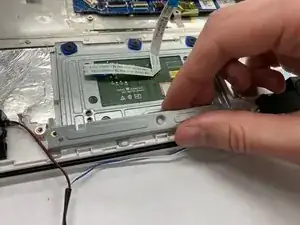
    • Use a Phillips #0 screwdriver to remove the two 3.2 mm screws that secure the touchpad bracket.

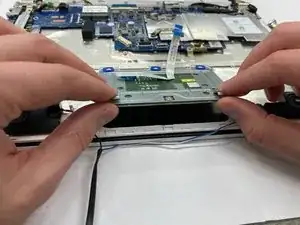
    • Slowly lift up the bracket and remove it.

  8. GgTGwNC3byb3EINI
    GgTGwNC3byb3EINI
    R1vnXQwIRJ3JWu3b
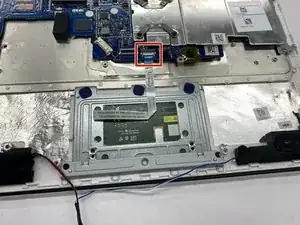
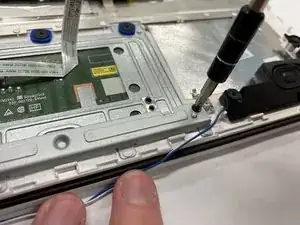
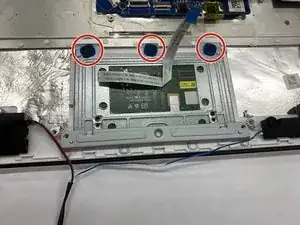
    • Use a Phillips #0 screwdriver to remove the three 2.35 mm screws that secure the touchpad.

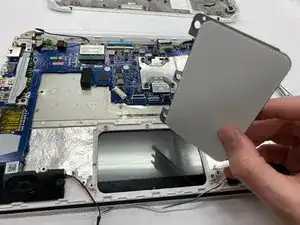
    • Remove the cover holding the touchpad in place.

  9. GNPaGZngXCHRvKaT
    • You can now remove and replace the trackpad.

    • Be careful not to scratch the screen during the replacement of the trackpad as the screen will be located directly underneath the trackpad.

Conclusion

To reassemble your device, follow these instructions in reverse order.

Aeorrell

Member since: 27/03/23

433 Reputation

0 comments