Introduction
Many of these steps are the same for screen replacement.
-
-
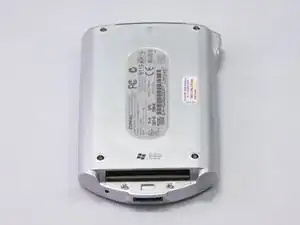
To begin the disassembly of the device, place it on a flat surface with the screen facing down.
-
-
-
Carefully remove the back cover using the plastic opening tool against the grooves along the sides of the iPAQ.
-
At this point, a yellow ribbon will be connecting both the front and back panels of the device. Carefully use the plastic opening tool to detach the ribbon from the connector pins.
-
-
-
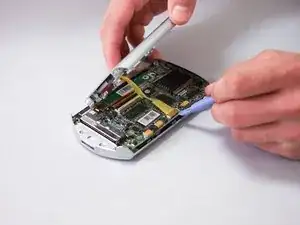
Remove ribbon cable connected to display logic board by pulling plastic clips on both sides towards top of device.
-
Use plastic opening tool to carefully pull brown ribbon cable from connector.
-
-
-
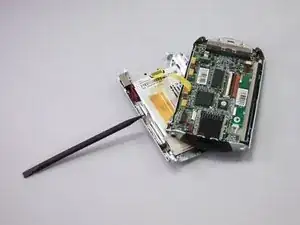
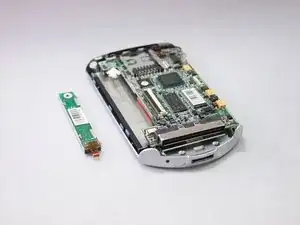
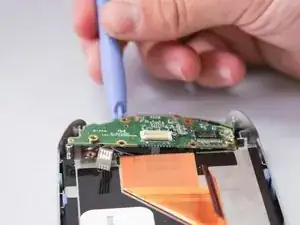
Use the plastic opening tool to carefully remove the display logic board from its housing.
-
Unplug connector from the opposite end of the display logic board.
-
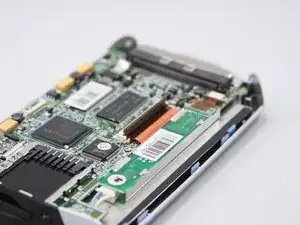
Completely remove component.
-
-
-
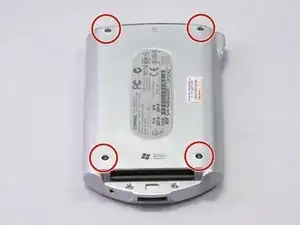
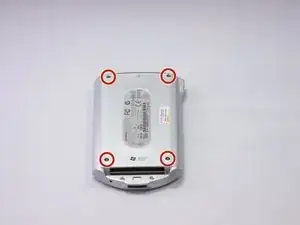
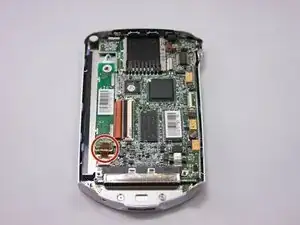
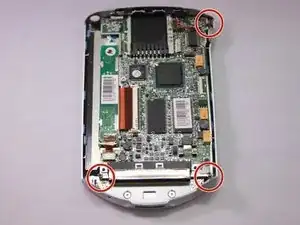
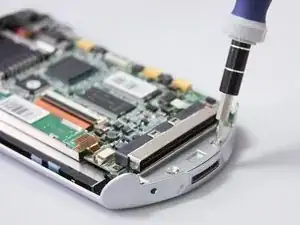
Remove three small screws from corners as shown, from the motherboard using phillips head screwdriver.
-
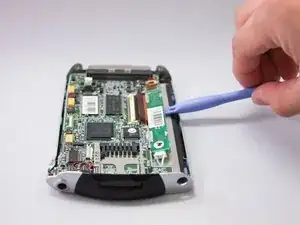
Use your hands/plastic opening tool to carefully lift the mother board out of housing.
-
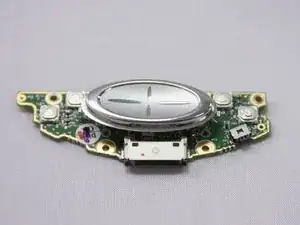
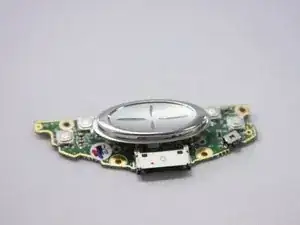
Locate two screw holding silver button logic cover, use 00 screw driver to remove cover.
-
-
-
Use 00 Philips screwdriver to remove two screws at bottom of device.
-
Use plastic opening tool to remove button logic board.
-
Replace the old button logic with new replacement parts.
-

To reassemble your device, follow these instructions in reverse order.