Introduction
-
-
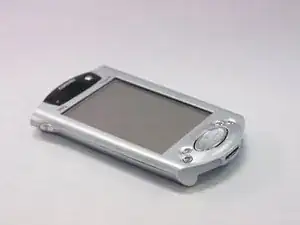
To begin the disassembly of the device, place it on a flat surface with the screen facing down.
-
-
-
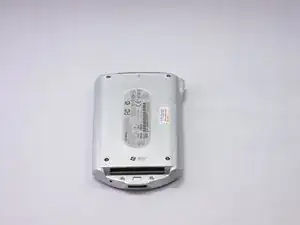
Carefully remove the back cover using the spudger against the grooves along the sides of the iPAQ.
-
-
-
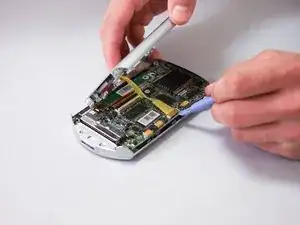
At this point, a yellow ribbon will be connecting both the front and back panels of the device. Carefully use the plastic opening tool to detach the ribbon from the connector pins.
-
-
-
Remove the ribbon cable connected to display logic board by pulling the plastic clips on both sides towards top of device.
-
Use plastic opening tool to carefully pull brown ribbon cable from connector.
-
-
-
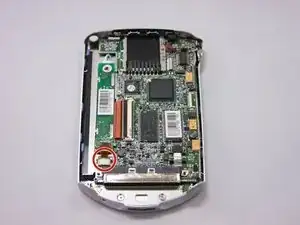
Use the plastic opening tool to carefully remove the display logic board from its housing.
-
Unplug connector from the opposite end of the display logic board.
-
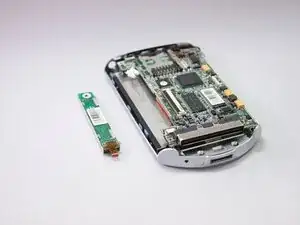
Completely remove component.
-
-
-
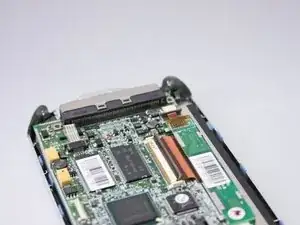
Flip up black plastic clip on large ribbon cable connector located towards center of mother board.
-
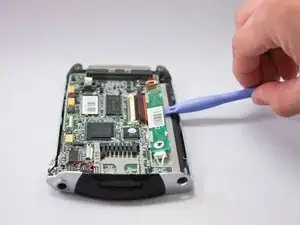
Use plastic opening tool to carefully remove ribbon cable from connector.
-
-
-
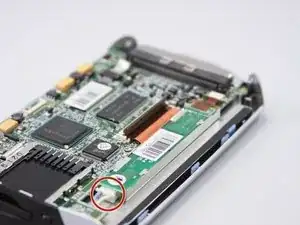
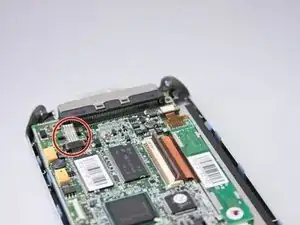
Locate clear/grey ribbon cable in bottom corner of device.
-
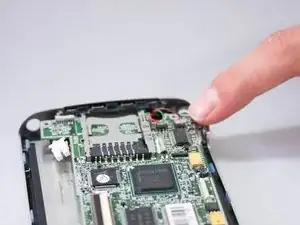
Gently pry cable out of connector with plastic opening tool.
-
Use hands or tweezers to remove if necessary.
-
-
-
Use your hands to gently unplug the speaker and microphone connectors from the mother board.
-
-
-
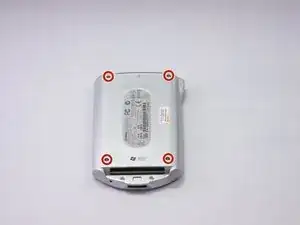
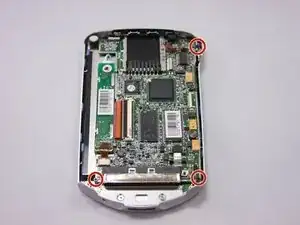
Remove three small screws from each corner of the motherboard using phillips head screwdriver.
-
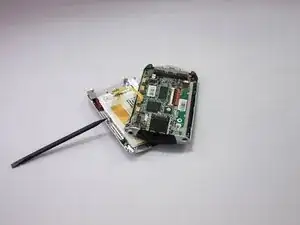
Use your hands/plastic opening tool to carefully lift the mother board out of housing.
-
Place the motherboard to the side.
-
-
-
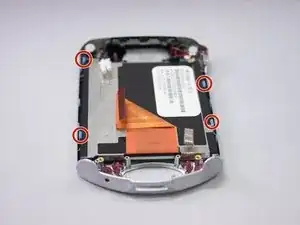
Locate the four blue plastic clips surrounding the square screen housing.
-
Pry back clips with your hands.
-
Use the plastic opening tool to remove the entire screen assembly from the housing.
-

To reassemble your device, follow these instructions in reverse order.