Introduction

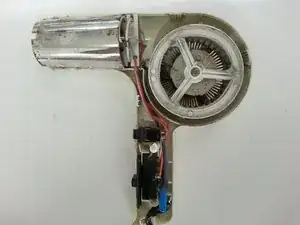
Instead of buying a new hairdryer, simply use this guide to replace the motor on your old one!

  1. jXYWKeLalGIRo2ND
    jXYWKeLalGIRo2ND
    niF4mYomOQRFhxWb
    • Remove the black air concentrating nozzle by gently twisting and pulling the nozzle.

    • If nozzle is not attached, skip to next step.

  2. ihVDFXJNUNy3D6lH
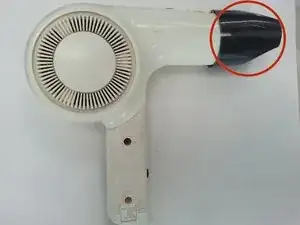
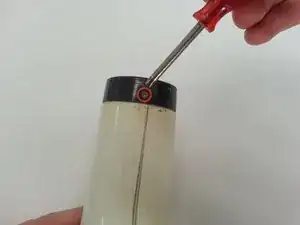
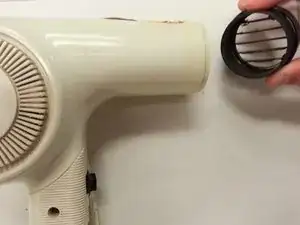
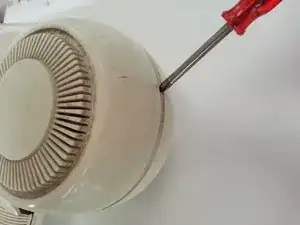
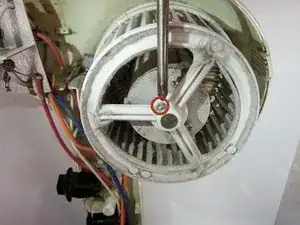
    • Using a screwdriver, remove the screw located underneath the air concentrating nozzle. This screw attaches the hair dryer body to the hair dryer grating.

    • For most hair dryers, use a Phillips #1 screwdriver. For hair dryers with smaller screws, consider using a Phillips #00 screwdriver.

  3. VMSxyYmMHo2ZWZdJ
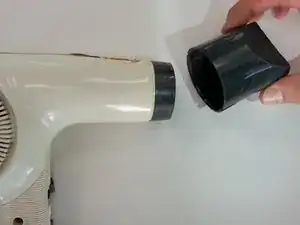
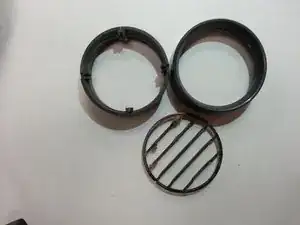
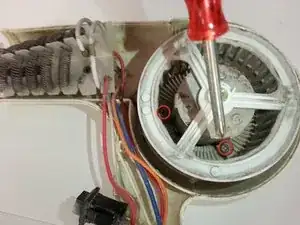
    • Detach the hair dryer grating from the body by gently twisting the grating from side to side.

  4. ViLGEHJoRRPUnaQY
    • Separate the hair dryer grating into the three pieces seen in the image.

  5. AL3AbHXlgDHS5BsK
    • Locate the screws on the handle and remove with a Phillips screwdriver.

  6. 2SEVGeiJHR2yUCsn
    • Carefully separate the plastic case with the Plastic Opening Tool.

  7. NT2LZ6pxL1oKgRcl
    • After removing the plastic case, locate the fan towards the back of the hair dryer.

  8. sQhJmMWE4CEPMuTq
    • Remove the screw that is holding the fan to the motor using a Phillips screwdriver.

  9. pMl2G3SidVAlWNkk
    • Remove the screws holding the motor to the casing using a Phillips screwdriver.

    • NOTE: This may be unnecessary if the fan can be removed without using a screwdriver.

  10. BOqLJiyuBJDfPJWS
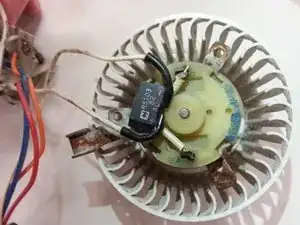
    • Isolate the fan from the rest of the dryer.

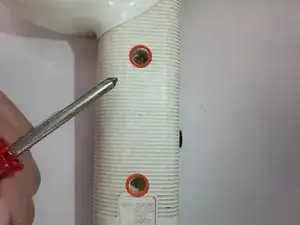
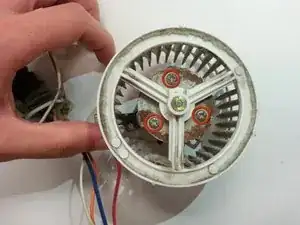
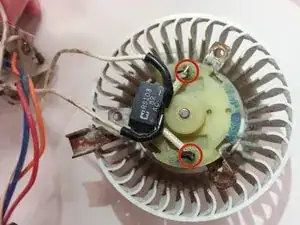
    • Remove the screws holding the motor in place. Replace with the new component.

  11. BhYPSqkgQtuImQrO
    • Solder the wires to the motor. Refer to the soldering page below, which will help you replace this component.

    • Soldering Skills

Conclusion

To reassemble your device, follow these instructions in reverse order.

Mitch

Member since: 04/10/12

34 Reputation

0 comments