Introduction

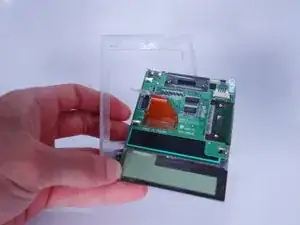
Use this guide to replace the Touch Screen.

  1. TJxRe6ldVTS1kSYI
    TJxRe6ldVTS1kSYI
    VBRxIwnI43JWc4CW
    • Remove the outer screen cover by releasing the top clip from the main body of the device.

  2. 2bpCKv4e2baweE2K
    2bpCKv4e2baweE2K
    dpYDcMnFkf5mF3AL
    udJSCCO1P5J6GBXP
    • Pull out the stylus from the top right corner of the device.

  3. SVWrxL5rpn6uxjEF
    SVWrxL5rpn6uxjEF
    Z5fVS6YirWoVvSGH
    dpQn2FxZryQyeMXQ
    • Slide the memory cartridge cover up and off the device.

  4. MK5QTUFUTDU1dHVa
    MK5QTUFUTDU1dHVa
    kamdJsJwjuvJaplP
    • Remove the battery cover by releasing the clip from the main body of the device.

  5. MhfJgE1JaHVANRXE
    • Remove the batteries from the device.

  6. p4Onlg4GdSOGIpIK
    • Unscrew the four 2.94mm screws with a #00 Phillips screwdriver.

    • One end of the OEM stylus can unscrew and contains a mini #00 Phillips screwdriver.

  7. bNKepMrSPVVuoRYs
    bNKepMrSPVVuoRYs
    fMLPBXnefuHVSOKT
    SOKEUXcWp5QMsZmZ
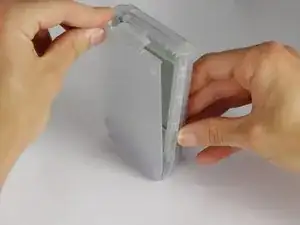
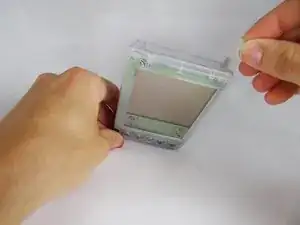
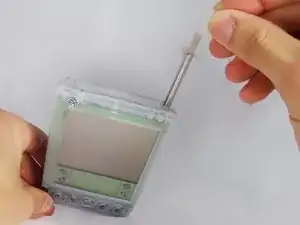
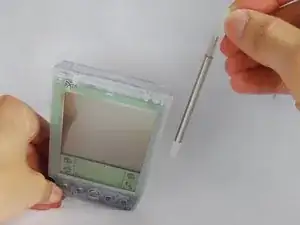
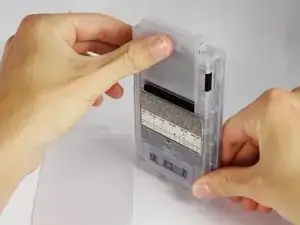
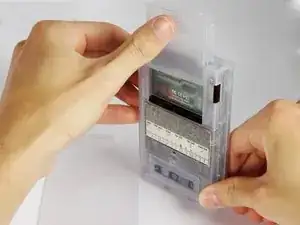
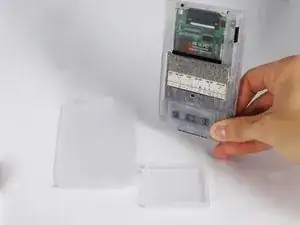
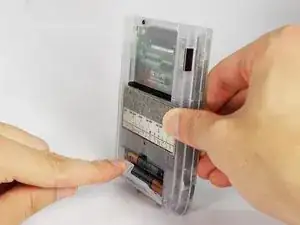
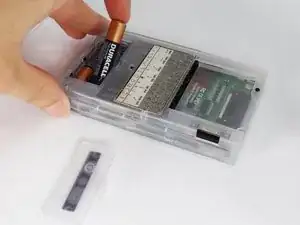
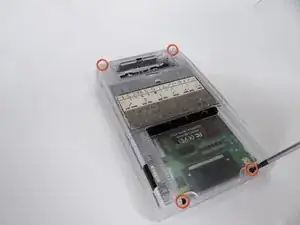
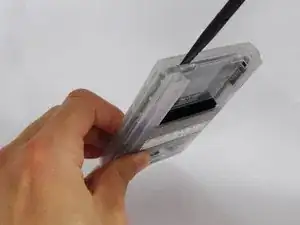
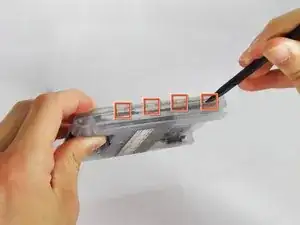
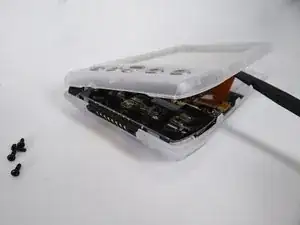
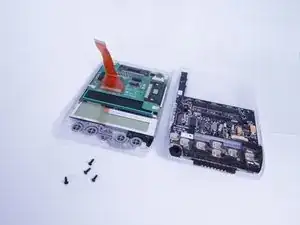
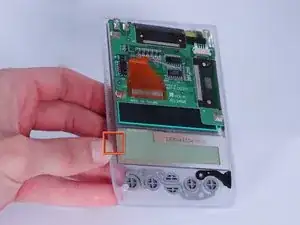
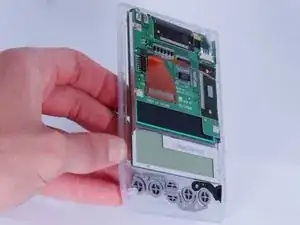
    • Use the spudger to pry open the casing by applying pressure at 4 clips on both sides of the device.

    • Be careful while opening the casing as there is a flex strip connecting the two halves.

  8. 5FDJqCwj63DwiOda
    5FDJqCwj63DwiOda
    1Gwf4KgOEXL2HLX3
    TmxP2PWfKvMv3XRB
    • Disconnect the flex strip from the motherboard with tweezers.

    little piece came off from the screen connector, is this good?

    Keegan O'Laughlin -

  9. NyNN3cWGHF6ErlOh
    NyNN3cWGHF6ErlOh
    NTrFho5AcOvlWTBX
    Ah1hkwhruVcdeOlC
    • Release the latch in bottom right corner of the touchscreen.

    • Use the spudger (if needed) to pry the screen from the front case.

Conclusion

To reassemble your device, follow these instructions in reverse order.

David Faltemier

Member since: 20/06/12

19 Reputation

0 comments