Introduction
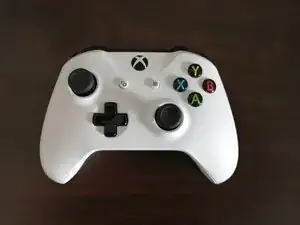
This is a quick and easy guide (also my first one!) on how to repair/clean sticky triggers (trigger buttons) on an Xbox One wireless controller. The guide has the model 1708 pictured but I know this works on the earlier Xbox One, One S, One X and the Elite controllers as well since they are very similar with regard to the trigger button’s function.
-
-
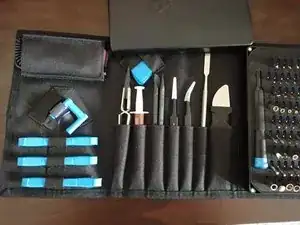
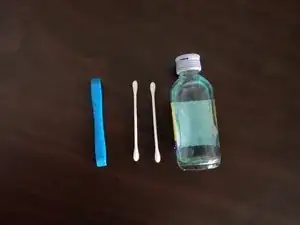
Make sure you have all the pieces you need before beginning: Plastic or metal mini pry bars for removing the covers, small cotton buds for cleaning and rubbing alcohol for the actual cleaning part.
-
Have a clean desk or workspace with good lighting and make sure you are not hunched over while working (this is applicable to all work environments!)
-
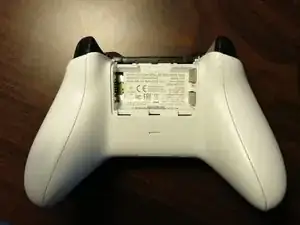
Remove the batteries and the cover panel before doing any work on the controller.
-
-
-
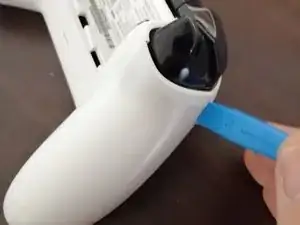
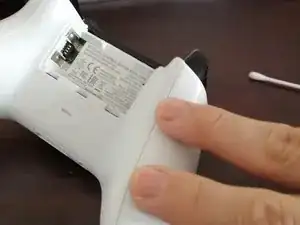
Using the pry bar, gently insert it near the base of the trigger to get under the plastic panel.
-
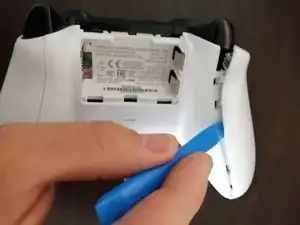
Then, with a lever action, slowly pry the panel off until you hear the plastic unsnapping from it's mounting.
-
You might find it easier to swap between the front and back of the panel so as to not damage the panel if it is particularly sticky/stubborn.
-
-
-
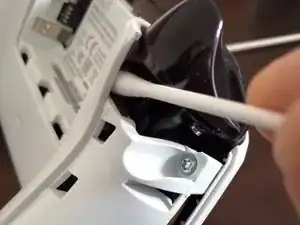
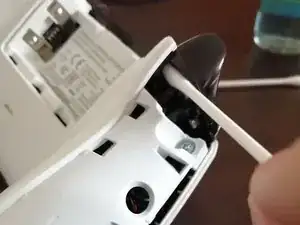
Clean the trigger contact pad with the cotton bud dipped in some rubbing alcohol. Be careful not to soak the cotton bud too much, you don't want it dripping liquid inside the controller.
-
Also, clean the opposite surface on the underneath of the trigger key, the part that contacts the pad which is likely also sticky.
-
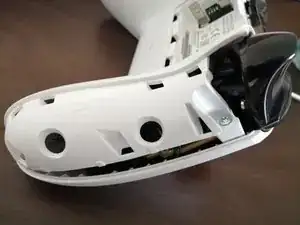
You can also see how much dust or dirt is inside the controller and in the cracks of the handles, might be a good time to tidy up!
-
-
-
Replace the plastic panel by dropping it into place then firmly pressing down on the top of the panel until you hear the clicking of the little clips inside.
-
Make sure it is properly reattached since there are a few clips inside which help to keep the panel in place, you don't want this coming off again!
-
This can be done in the exact same way for both triggers, since they are both under an identical plastic panel and you can do this exact guide for both sides of the controller.
-

To reassemble your device, follow these instructions in reverse order: simply snap the back panel(s) back into place, making sure they are firmly secured. Then reseat the batteries and cover (or your equivalent) and enjoy happy sticky-free gaming.

10 comments
The little rubber pad on mine is all torn up and is sticking really bad - ruining my Forza experience. I am going to scrape it all away, and replace it with a lil’ wee bit of felt. My guess is that all this little pad does is prevent the triggers from clicking too hard when bottoming out.
Yes that should work, from my experience with fixing a few of these different types of console controllers. The rubber pad is just a cushion for the triggers to stop them hitting the frame of the controller so anything shock absorbing material should do it, just nothing that will stick to the triggers! :)
Nothing worse than throttle stick into corners! Exactly why I am here as well lol
Ok, I had a problem with this and I thought this was it, but with some research later my situation spiraled into a monster of a problem with my trigger that require and entire replacement and I can’t find anything to help, not even a replacement part. If you can help, please do so
Hello, thanks for reply seems like a weird issue, did you have a problem with the trigger sticking or that you can press it down but it doesn't bounce back (like an issue with the trigger spring)?? I know that there is a small rubbery pad (see step 3 picture) that can come off and get stuck inside the trigger housing. Let me know some details and I will try to help :)
Great guide helped fixing the issue.