Introduction
Use this guide if you have a belt that is no longer fitting right and has already-made holes and a belt buckle to ensure the guide is used properly.
Belts are only useful as long as they fit well. If you have a belt that no longer fits but you would like to repair it, this guide contains six easy to follow steps that include nothing more extensive than a measuring tape and an electric hand drill.
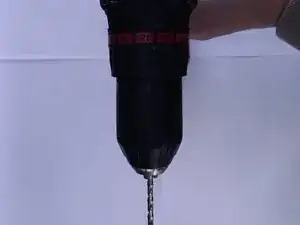
This guide works best on leather belts and requires no prior repair knowledge. If you are unsure of how to use an electric hand drill as mentioned in steps 3-5 refer here for a demo video briefly explaining the parts of a drill. Once you feel that you are ready, grab the belt you would like to restore and begin the guide.
Tools
-
-
Wrap the belt around yourself.
-
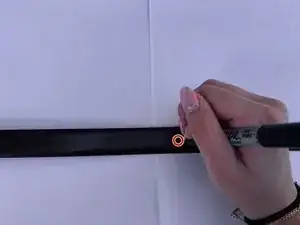
Mark with a pen, pencil, or marker where the hole should be placed.
-
-
-
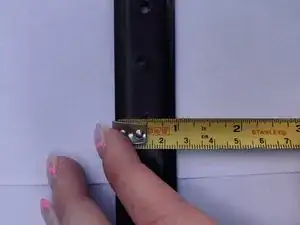
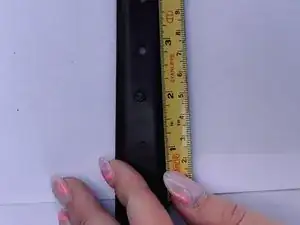
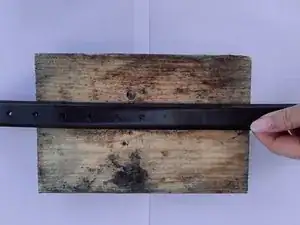
Use a tape measure to center the hole in the middle of the belt.
-
Make sure the hole is in line with the previous hole as well.
-
-
-
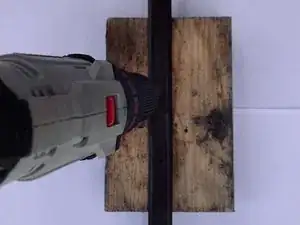
Move the drill up and down a few times in place to ensure the hole is smooth around the edges.
-
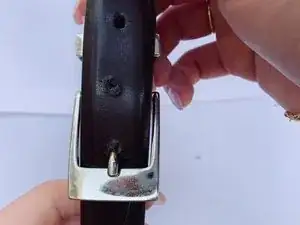
Be sure the belt buckle fits in the new hole.
-


After you complete the final step to your liking the fix is done.