Introduction
In the sport of fencing, damaged body cords cause the electrical scoring system to fail. Since functioning body cords are required for all official fencing tournaments, fencers should always have their gear in working condition.
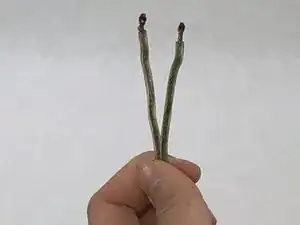
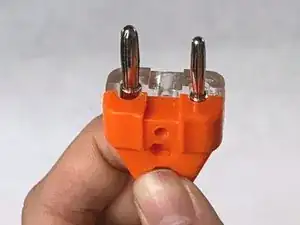
The most common type of damage to body cords is a break in the end of the wire, which is a simple fix. If the break is in the middle, you may need to buy a new cord if the remaining length is not enough. Use this guide to diagnose your body cord for foil/sabre and repair it if the damage is at the end of the wire.
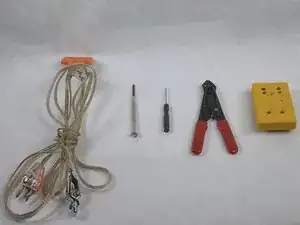
Tools
-
-
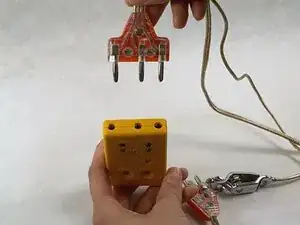
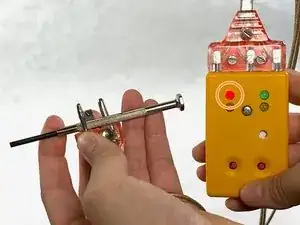
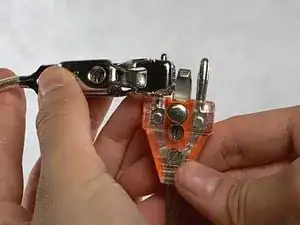
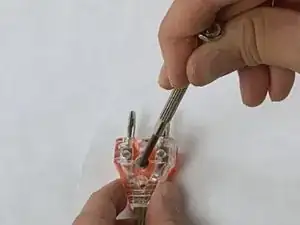
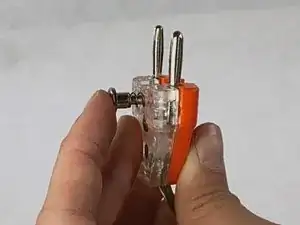
To test the two-pronged end, place and hold a conductive object (e.g. a screwdriver) in between both pins.
-
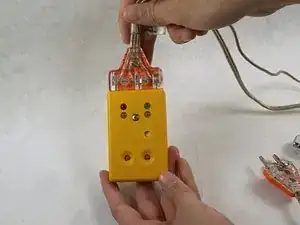
Observe the red light on the testing box. If the wires in the two-pronged end of the body cord are functional, the red light on the testing box should be steady.
-
-
-
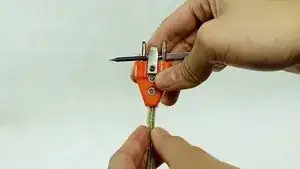
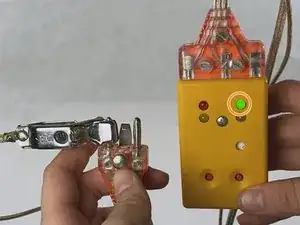
To test for breaks in the two-pronged wire, keep the conductive object in contact with both pins and move the cord in all directions beginning at the two-pronged end until you reach the end of the cord.
-
Keep an eye on the red light on the testing box. If you encounter a problem area in the wire, the red light will flicker or turn off.
-
Take note of the location of the break in the wire when the red light begins to flicker or turn off.
-
-
-
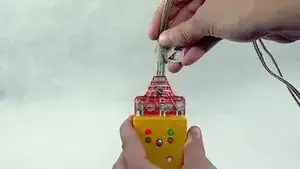
Attach the alligator clip to the smaller pin on the two-pronged end.
-
Observe the green light on the testing box. If the wires inside of the alligator clip are functional, the green light on the testing box should be steady. Otherwise, the green light will flicker or not turn on.
-
-
-
While keeping the alligator clip in contact with the smaller pin, move the cord in all directions beginning at the three-pronged end until you reach the end of the cord.
-
Keep an eye on the green light on the testing box. If you encounter a break in the wire, the green light will flicker or turn off.
-
Take note of the location of the break in the wire when the green light begins to flicker or turn off.
-
-
-
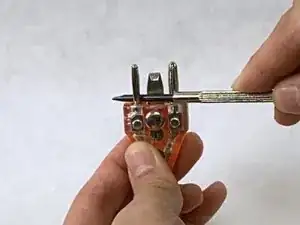
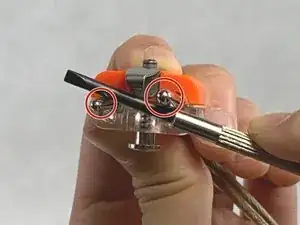
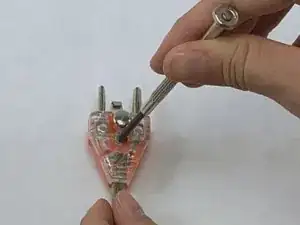
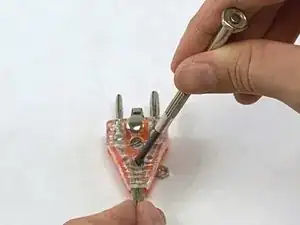
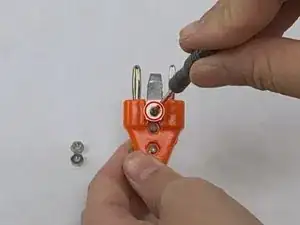
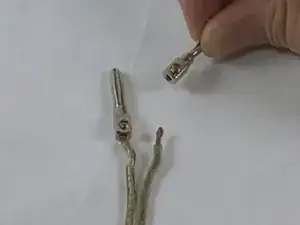
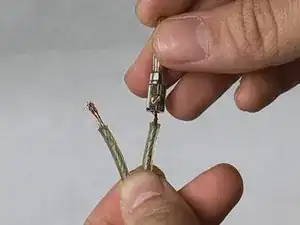
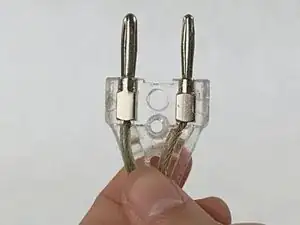
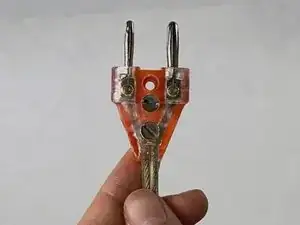
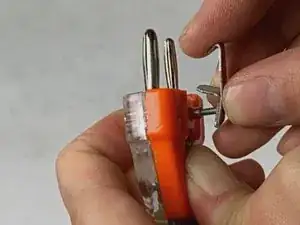
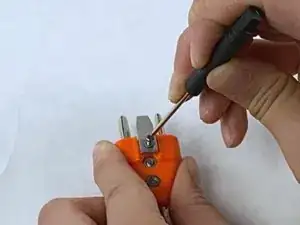
Use a slotted screwdriver to unscrew the screws in the plastic casing of the either the two-pronged or three-pronged end of the body cord depending on which side of the wire has the break.
-
-
-
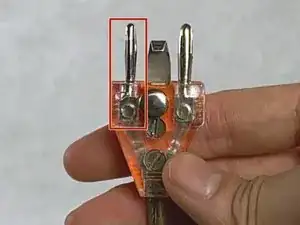
Partially unscrew the screws in the pins.
-
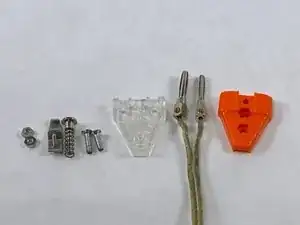
Remove both the pins from the wires and set them aside.
-
-
-
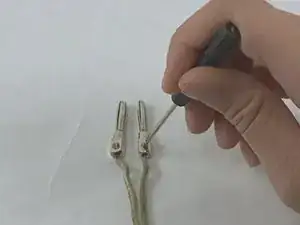
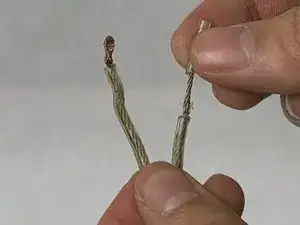
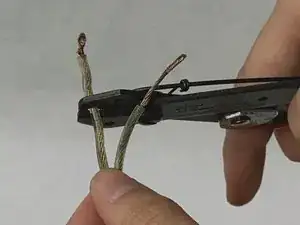
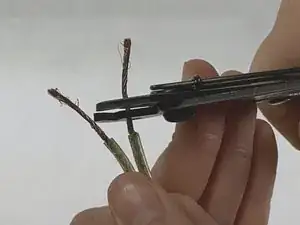
Use the wire stripper to strip the plastic wire insulation about one inch below the location of the break.
-
Pull the plastic wire insulation off to expose the wire and its break.
-
-
-
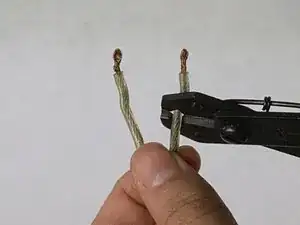
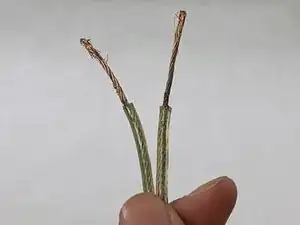
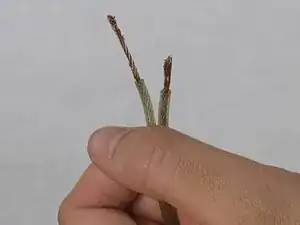
Cut the wire below the break while leaving about an inch of usable wire exposed.
-
Cut the second wire to make the wires approximately even in length.
-
-
-
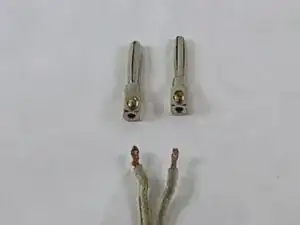
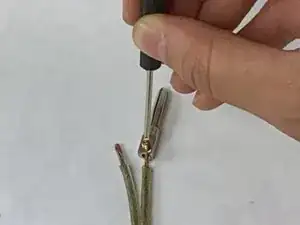
Slip the wires back into the pins. Make sure you put the wires back into the pins they were originally in.
-
Screw the pins back into place.
-
-
-
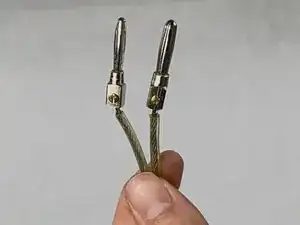
Place the pins back into their appropriate spots in the plastic casing.
-
Cover the pins with the other half of the plastic casing.
-

The body cord should now be fully functional! Repeat diagnostic steps using the fencing testing box to confirm the cord works.