Introduction

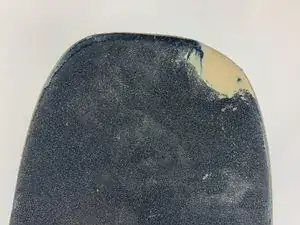
Skateboards can suffer damage such as scratches the more they are used and in certain circumstances, can sustain damage in the form of chipping.  Chipping creates disproportions in the board that can be inconvenient to the owner. This guide can be used for any type of wooden board such as skateboards or long boards.

  1. eIWxt6awX1DEkMhB
    eIWxt6awX1DEkMhB
    kWbDgWfQyk3rNDuq
    iyAM5xpcVwCOw2PX
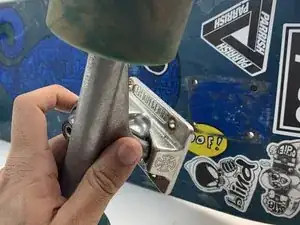
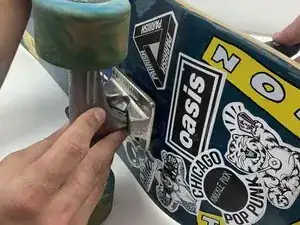
    • Unscrew the top screw from the deck using the Phillips #2 screwdriver while holding the corresponding nut on the truck.

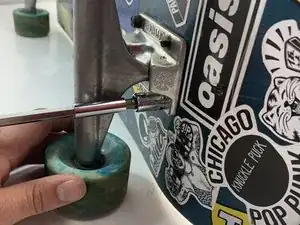
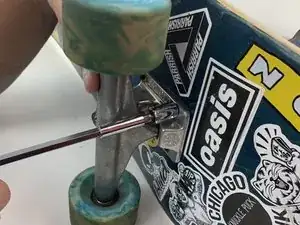
    • Use the socket to remove the nuts on the trucks.

    • 8x25mm Phillips #2 screws and 8x3/8 Nuts

  2. dybgp1qEEFZKrmFW
    dybgp1qEEFZKrmFW
    TJauWjw1iUiucZyD
    roTZOQgSMR3HYCyt
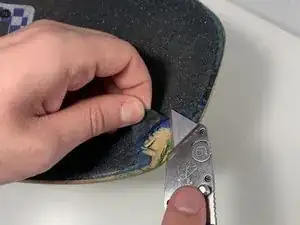
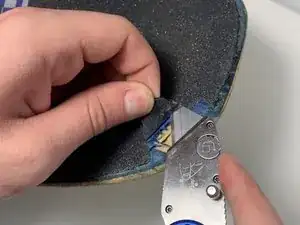
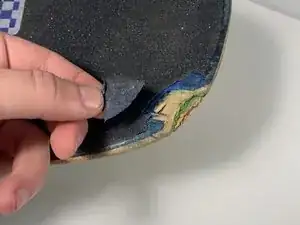
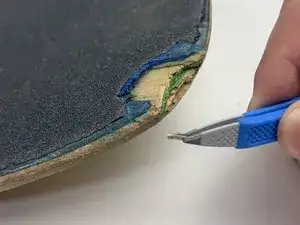
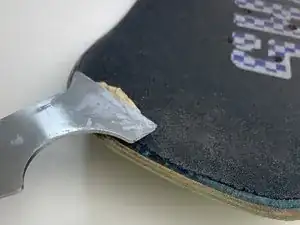
    • Using an X-Acto knife or a razor, cut off any excess grip tape that is not sticking to the board.

  3. BYhXYseA1UEtZOAU
    BYhXYseA1UEtZOAU
    jZ5LXQCaIojb6A23
    GVJufO25sWAGweBj
    • Remove any loose pieces of wood with tweezers to make the surface even.

  4. VNGae5ZIWg4CmSo5
    VNGae5ZIWg4CmSo5
    loD3qGXeK5PACDRY
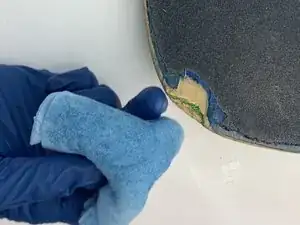
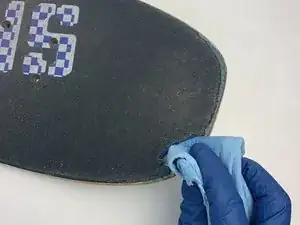
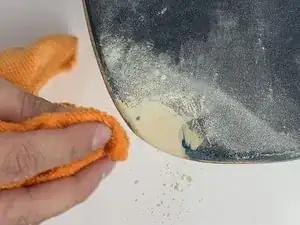
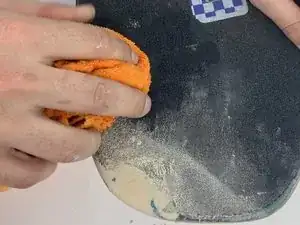
    • Place the quick evaporating liquid onto a cotton rag and dabble dampened portion on the chipped surface to clean.

    • Make sure to keep liquid away from contact with eyes or children.

    • Make sure to wear gloves to prevent dryness/irritation of skin.

  5. q3tRXpfhiGPwXcEe
    q3tRXpfhiGPwXcEe
    l1jIXN6HJSpLAFkl
    UgQoNMj4eEmZU5ZS
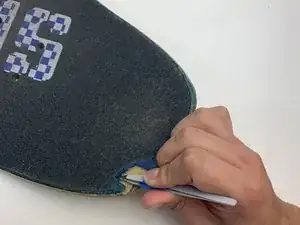
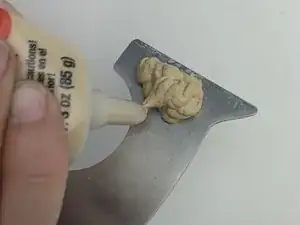
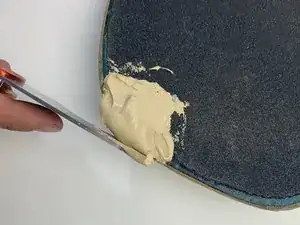
    • Apply generous amounts of wood putty to the putty knife.

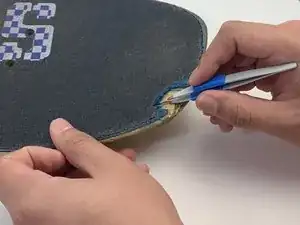
    • Slather the putty onto the chipped area.

    • Smooth the area with the knife to conform to the profile of the board.

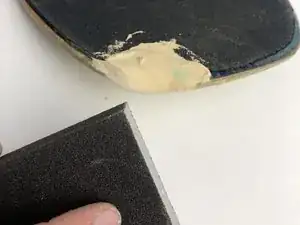
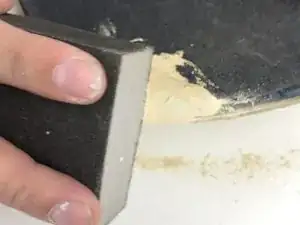
    • Let putty dry for an hour or more if needed.

  6. qZWUGQvufNF2HiBP
    qZWUGQvufNF2HiBP
    JMCht1CTx1toQsmV
    KwsUMncbGKjmHL3w
    • Evenly sand the excess putty using the sanding sponge to fit the shape of the board.

    • Make sure to sand both sides of the board so that putty is only filling the affected area.

    • The sanding should roughly take 5 to 10 minutes depending on how much excess putty there is.

  7. FNCPtaDxSvwyEfdp
    FNCPtaDxSvwyEfdp
    xtaKJIrFYC2dmDEe
    mZoNAsumDoawrBUm
    • Put the trucks of the board back on by first inserting the screws back in from the top.

    • Then fit the trucks to align with the screws and place nuts over area where the screws are overlapping.

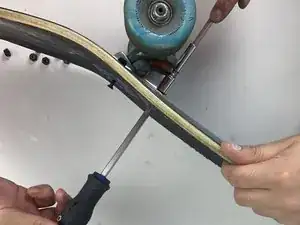
    • Tighten the nuts using the socket and the screws with the Phillips #2 screwdriver.

    • 8x25mm Phillips #2 screws and 8x3/8 Nuts

  8. j34uU6ACKuDJKaDZ
    j34uU6ACKuDJKaDZ
    BIn4VE1bwpPas2uB
    gTtaLuOpErDZSNZh
    • To clean the remaining sanding dust off the board, dampen the rag with soap and water.

    • Make sure to clean both the top and bottom.

    • Make sure to keep liquid away from contact with eyes and wear gloves if cleaner being used is not soap and can cause potential harm to oneself.

Conclusion

Once all the steps are done, you are ready to use your newly repaired board.

Joshua Simpson

Member since: 23/01/20

157 Reputation

0 comments