Introduction
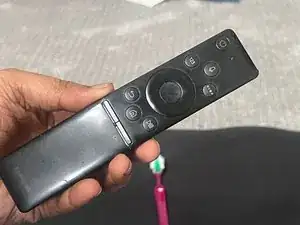
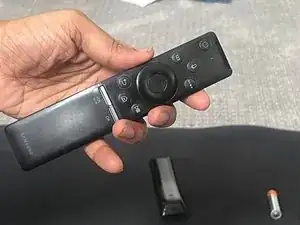
- If your Samsung Smart TV Remote (BN59-01357F) has issues with its buttons being worn out or nonfunctional, use this guide to replace the buttons on the remote.
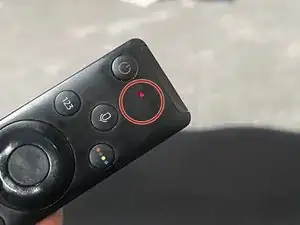
- The buttons are laid on top of the circuit board and provide functions every time the button is pressed. You also get user feedback on top of the remote when you press the button. When the light is on, it means the button is functioning.
- Before attempting this repair guide, ensure you replace the batteries to see if the batteries are the key reason for the remote not functioning.
- Step 4 requires the circuit board to be removed from the remote housing. Ensure you ground yourself before you touch the circuit board.
- Before starting the repair guide ensure the batteries removed and there is no power to the remote.
Tools
-
-
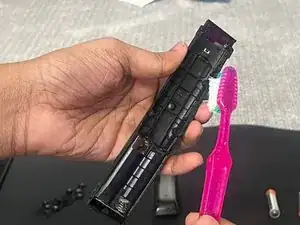
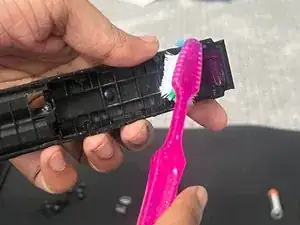
Clean the remote of any dirt between the circuit and buttons.
-
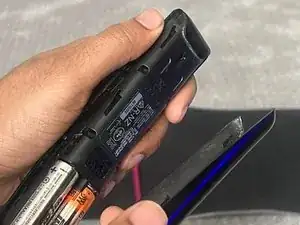
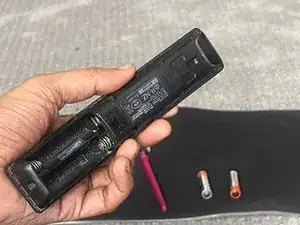
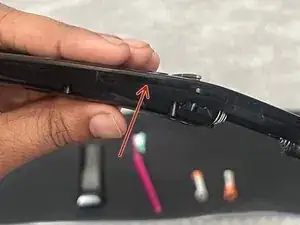
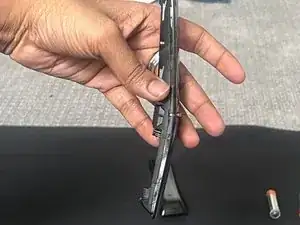
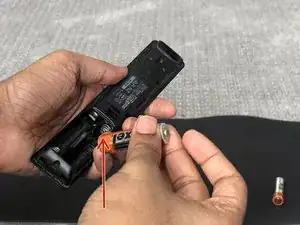
Slide the back cover off and remove the batteries to ensure there is no power.
-
-
-
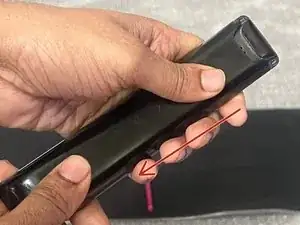
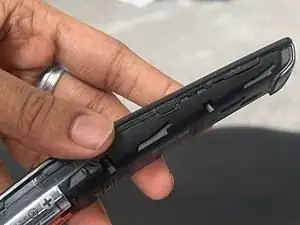
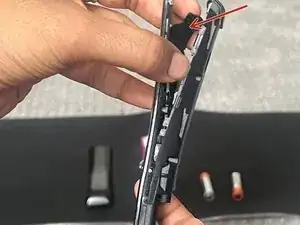
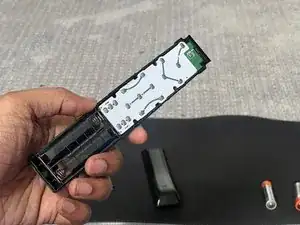
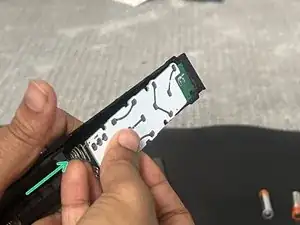
Using your hand or a pry tool to separate the front cover from the remote.
-
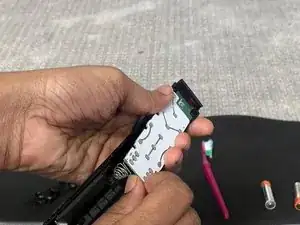
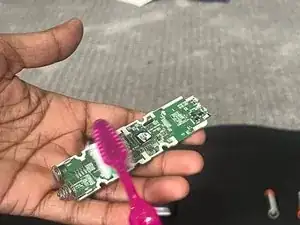
This will expose the buttons and the circuit board.
-
-
-
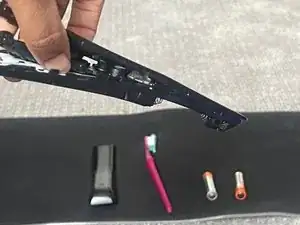
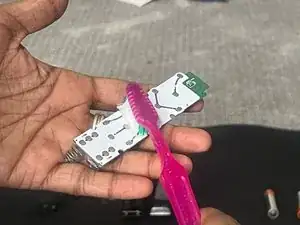
After disassembly, place the front cover onto the surface and separate the buttons that need to be replaced from the circuit board.
-
-
-
Prepare the new buttons to be placed on the circuit board.
-
Place the circuit board back into the remote assembly.
-
Place the new buttons on top of the circuit board.
-
-
-
Place the front cover on top of the new buttons and align the front cover with the clips on the main remote board.
-
-
-
Put the batteries back on to the remote and slide the rear cover of the remote on.
-
Test for all button functionalities to ensure the repair is done sufficiently.
-


This repair guide provides both disassembly and reassembly methods. After the fix ensure the remote is still functioning by doing user testing.