
Introduction
Does your dog (or cat!) have a favorite bed? Is that bed worn, torn, or falling apart, but they can't bear to part with it? This guide can help you salvage the fabric that is still usable so that your fur baby can keep using the bed.
In this guide, you will learn how to replace the worn or torn fabric and stuffing of a dog bed. You can also use old clothes to add your scent to the bed and cut down on buying new materials.
For this repair you will need:
- Fabric: Cotton canvas is suggested for durability.
- Scissors: Fabric scissors recommended for their ergonomic shape and sharper edges.
- Sharp needles: Universal Sharps were used.
- Thread: Upholstery thread is recommended for durability.
- Stuffing: In this guide, three types of stuffing were used:
- Old clothes
- Poly-fil fiber fill
- Poly fiber sheet, for stiffness
- Pins: Fabric pins are used but safety pins can be used in their place.
- Sewing Machine: This guide uses a machine for the sewing steps, but you may choose to hand sew.
Optional tools used in this guide:
- Seam Ripper: A seam ripper is used to remove the stitched seams. If your base is in poor enough condition you can instead use only the fabric scissors to cut away the base from the top.
- Fabric measuring tape: A flexible measuring tape that is used to measure fabric, dress forms, or body measurements for clothing.
Parts
-
-
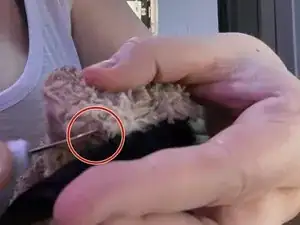
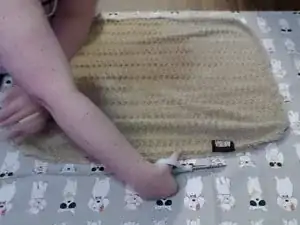
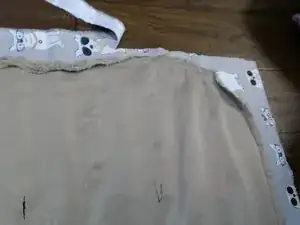
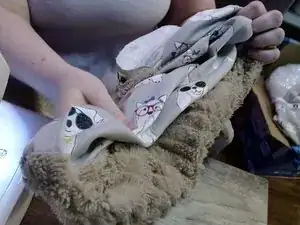
Open a hole in the base of the bed (or the fabric you intend to replace) using the scissors or seam ripper, or a combination of the two.
-
-
-
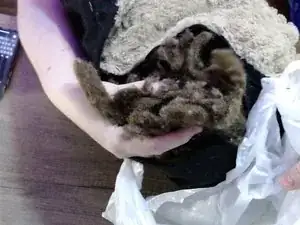
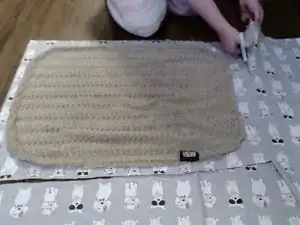
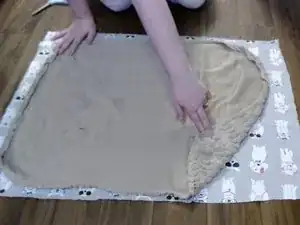
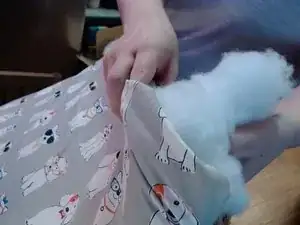
Remove all of the old stuffing from inside the bed.
-
Set aside the stuffing you want to reuse; dispose of the rest in an appropriate manner.
-
-
-
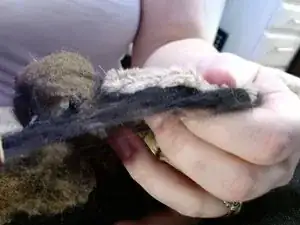
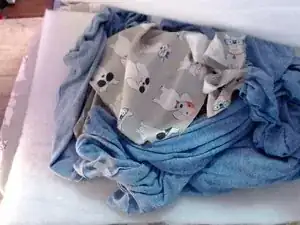
Lay the top fabric (or the fabric you are keeping) on top the new base fabric.
-
Trim the new fabric to about one (1) inch longer in both height and width than the existing fabric.
-
-
-
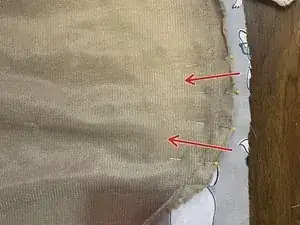
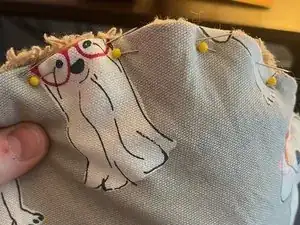
Line up the fabrics for pinning; center the smaller on top of the larger.
-
Place pins about one (1) inch apart, starting at the edge and going in towards the center of the fabric.
-
-
-
If you are sewing by hand, here is the Wiki How for hand sewn seams.
-
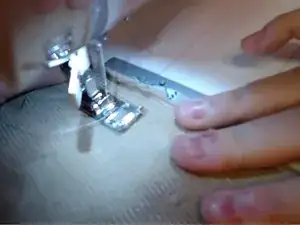
If you are using a sewing machine, make sure the bobbin is filled with your chosen thread and line up the fabric for a 1/4" seam.
-
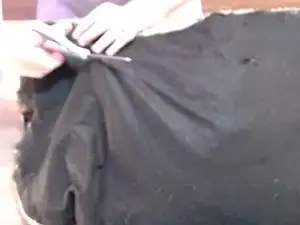
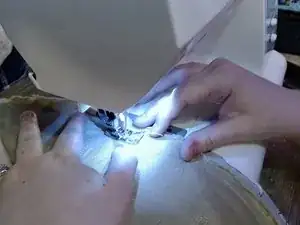
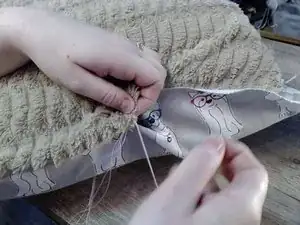
Sew three (3) sides of your fabric, pulling out the pins as you go along.
-
When you complete your three sides, backstitch about 1/2", pull the fabric away from the sewing machine to give yourself a long tail of thread, and then snip the thread.
-
-
-
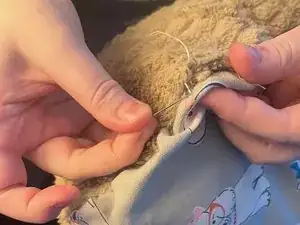
Flip the bed right-side out by pulling the fabric through the opening you have left.
-
Start filling the bed with your chosen stuffing.
-
-
-
Sew the final side closed.
-
If you would like to use an invisible closure, usually called a pillow closure, here is the YouTube video on how to do a pillow closure.
-


You have now extended the longevity of your dog bed!