Introduction
Use this guide to replace the hard drive of your IBM ThinkPad T30 laptop.
-
-
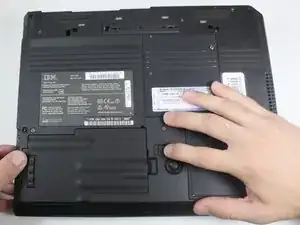
Flip the ThinkPad upside down with the bottom facing you.
-
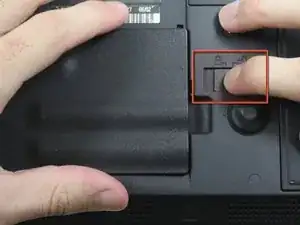
Slide the latch on the underside of the ThinkPad to the right into the unlock position.
-
While holding the latch in the unlock position, lift the battery out with your other hand.
-
-
-
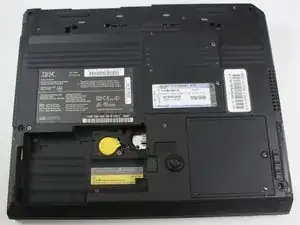
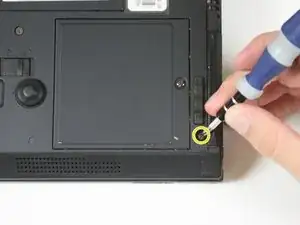
Flip to the back of the Thinkpad and focus on the screw in the bottom left corner of the Thinkpad.
-
Unscrew the 11mm Phillips #0 screw.
-
-
-
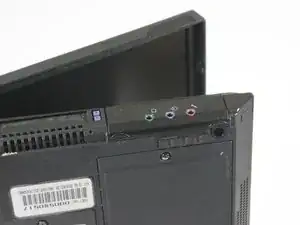
Flip the Thinkpad on its side to get a better view of the hard drive.
-
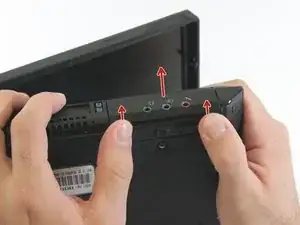
Use your thumbs to push on the lower edge of the hard drive cover to detach the hard drive from the Thinkpad.
-
Once you have detached the hard drive from the Thinkpad, slide the hard drive out of the device.
-
-
-
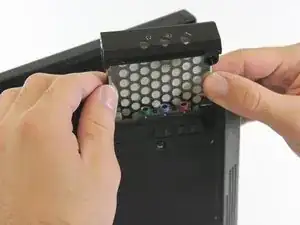
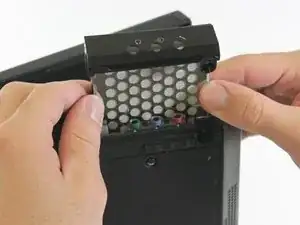
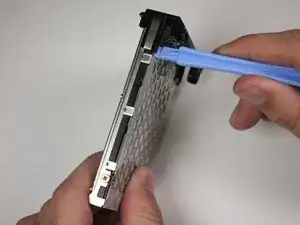
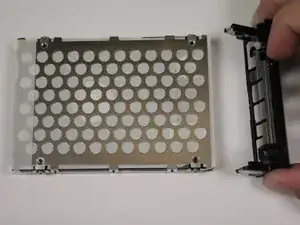
Use the plastic opening tool to remove the black plastic cover from the main body of the hard drive. Pry on the ends of the plastic cover to detach it from the hard drive.
-
-
-
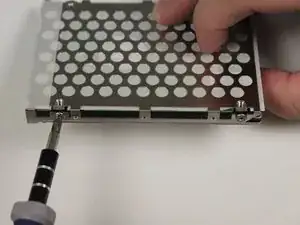
Locate and remove the four 2.8mm Phillips #0 screws on the mounting bracket.
-
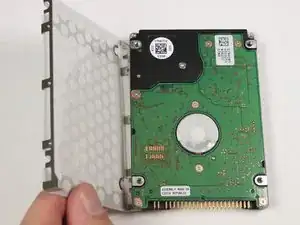
Pull the mounting bracket off of the hard drive.
-
To reassemble your device with a new hard drive, follow these instructions in reverse order with a new hard drive replacing the old one.
One comment
good description and photos..thanks :]
David -