Introduction
This guide shows how to take out and replace the screen in this device.
-
-
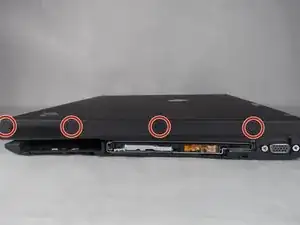
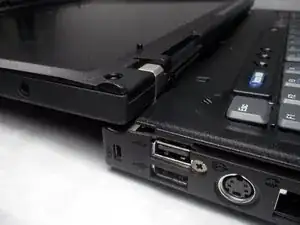
Remove the covers by inserting plastic spudger in between the edge of the cover and laptop.
-
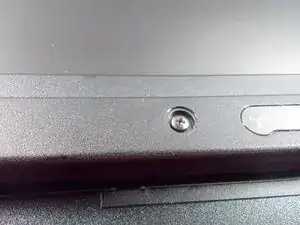
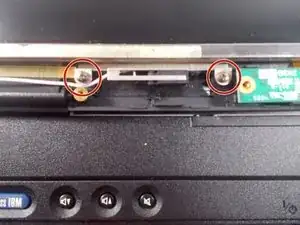
Remove screws by using the Phillips head #0
-
-
-
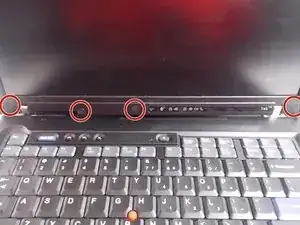
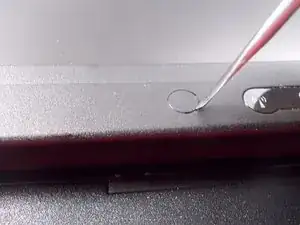
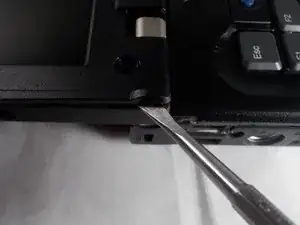
Insert the flat metal spudger into the edge of the screen cover and slowly pry open.
-
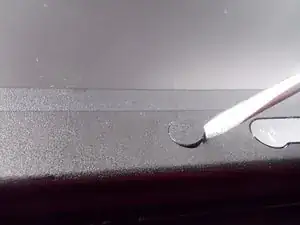
Slide the spudger along the edges and pry open to release the cover from the clips
-
While slide the spudger up the side of the cover, pinch the cover to help unhook the clips
-
-
-
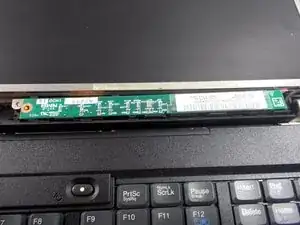
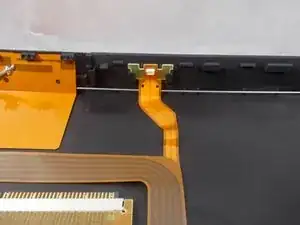
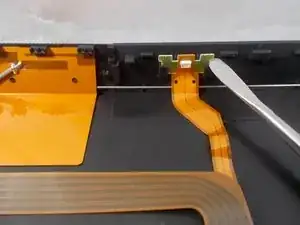
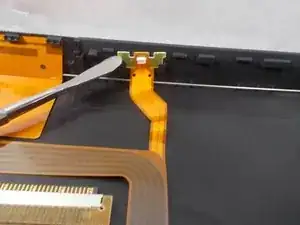
Flip over the green rectangular shaped board
-
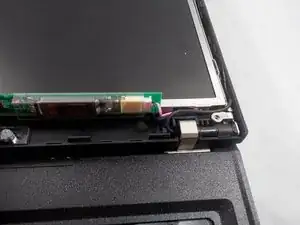
Disconnect the screen from the rectangular board using your fingers or tweezers
-
-
-
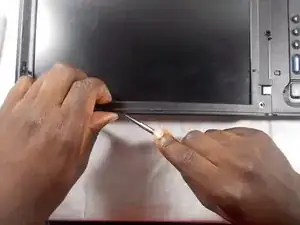
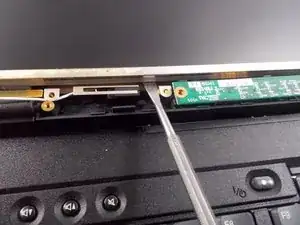
Using "Flat metal spudger" lift up the screen from the bottom slowly until you see the ribbon cable
-
Detach the ribbon cable before lifting completely the screen
-
Now you be able to remove the screen
-
-
-
To replace the screen follow the next set of steps
-
Using your fingers or tweezers, pull out the light by placing them on the sides and lifting up
-
Insert the wide plug on the ribbon cable into the new screen and place back into the laptop.
-
Now if you follow these steps in reverse order, you will be able to finish replacing the screen
-


To reassemble your device, follow these instructions in reverse order.