Introduction
If your Jabra Elite 85h will not charge or cannot retain a charge, it may have a faulty battery. This guide will show you how to replace the battery for the device.
Tools
Parts
-
-
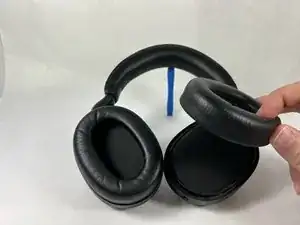
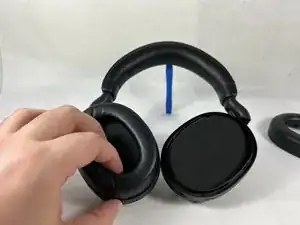
Remove each ear cushion by hooking your fingers along the inside of the ear cushion and pulling up and away from the ear cup.
-
If the cushion does not fully release, move your hand to the opposite side and pull up inn the same manner.
-
-
-
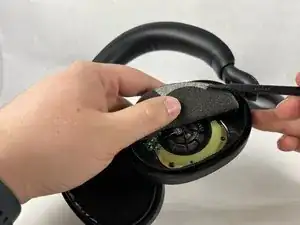
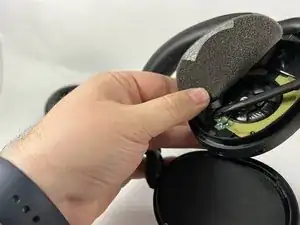
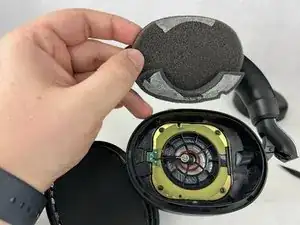
Using the small plastic spudger to assist, begin lifting up and removing the foam inserts with attached backing tape.
-
-
-
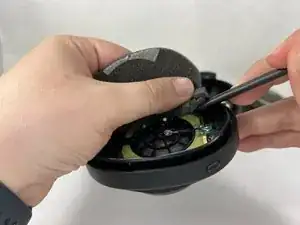
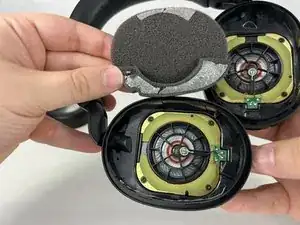
Tilt the headphones over so that the speaker tilts out of the plastic holder.
-
Repeat for both sides.
-
-
-
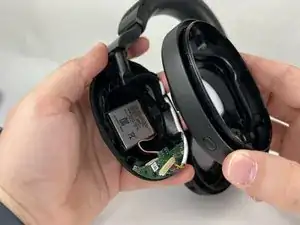
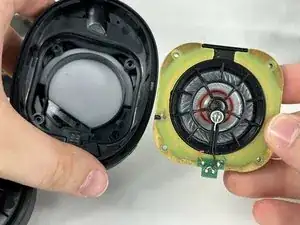
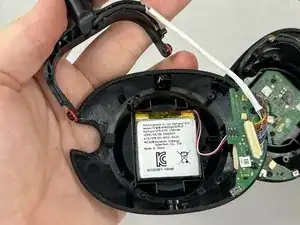
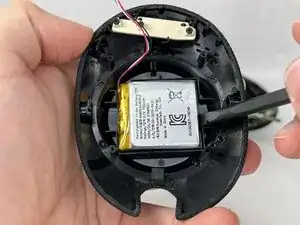
Remove the plastic speaker housing from the left ear of the headphones. This should reveal the battery and motherboard.
-
-
-
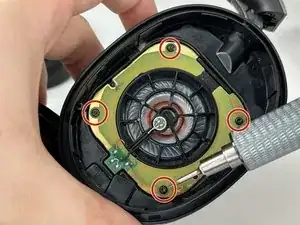
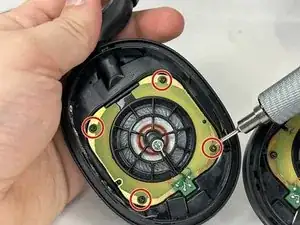
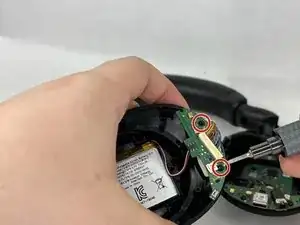
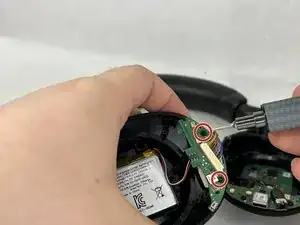
Unscrew the two screws holding the motherboard in place and remove the motherboard from the enclosure.
-
-
-
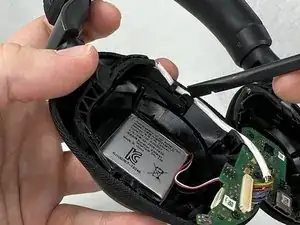
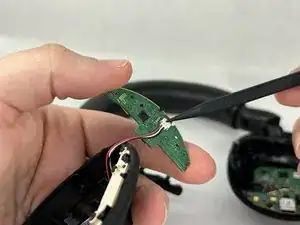
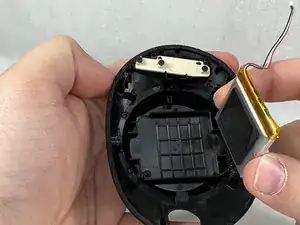
Flip the motherboard to reveal a 2-pin JST connector. Carefully unplug the connector from the motherboard and use a plastic spudger to remove the battery from the enclosure.
-


To reassemble your device, follow these instructions in reverse order.
Hi sir, I think your guide is incomplete. Do you have the opportunity to bring a sequel?
Oğuzhan Sancak -