Introduction

This guide will guide the user to effectively remove and replace the speaker. This replacement will take around 15-20 minutes. However, if the guide is followed to the letter, the task will be accomplished with minimal damage to the device.

  1. EixLgB3A4RO6BKeY
    EixLgB3A4RO6BKeY
    GSM4o2wSNum1IeEw
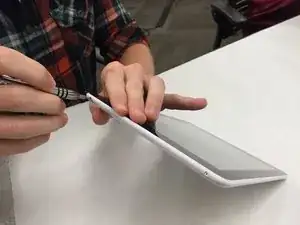
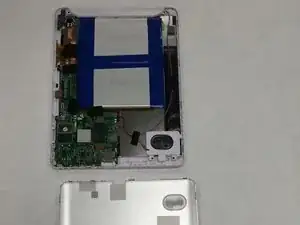
    • Start by removing the back panel.

    • Remove the 4 screws holding the device together: two on the left side, and two on the right side.

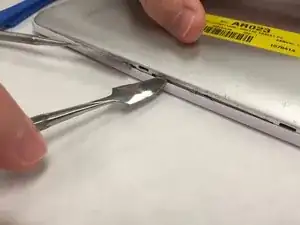
    • Using a metal spudger, carefully pry open the case.

    • With the screws gone, the case is held together with clips along the outside edge of the aluminum backplate.

    • Undoing these clips can take a bit of force. Be cautious not to damage the plastic edge of the device.

  2. 3mAy2inZqZlFv12w
    • Place the device on the table with the screen-side down.

  3. mBCj6PDECZvEvnjL
    • This is the Speaker.

    • Remove the two black screws.

  4. RHHafnpiguCMCnYe
    • Remove black tape from the wires.

    • Keep this tape, you will need it for reassembly.

  5. anku5Q4bPABjKOhU
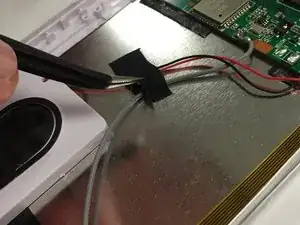
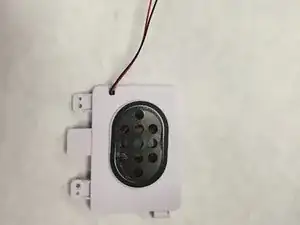
    • Using a soldering iron, heat up the spot where the speaker wires connect to the mainboard.

    • Remove Speaker wires when the solder liquifies.

    • Remember to make note of where each wire is connected. When reinstalling the speaker, it is important that the wires are reattached to the same spot.

  6. msoGTPLHaCoMKiSq
    • Remove the speaker.

    • Replace the speaker by following these steps in reverse.

Conclusion

To reassemble your device, follow these instructions in reverse order.

Tim Poe

Member since: 26/09/15

361 Reputation

0 comments