Introduction

Use this guide to properly replace your speakers.

  1. HTnRmaKcPUqhJN2S
    HTnRmaKcPUqhJN2S
    PASaJ33EXJWRCpwQ
    SV4hXsVNZqyy1LNG
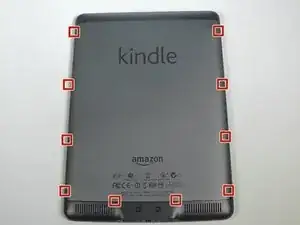
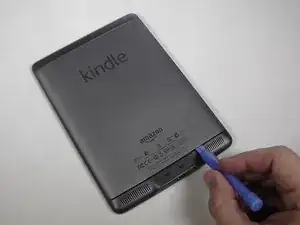
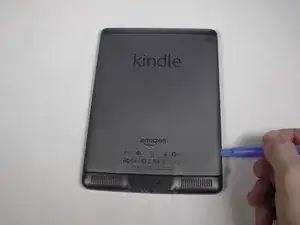
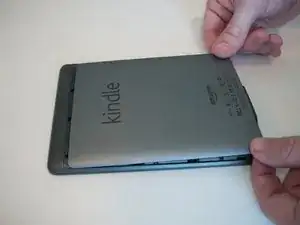
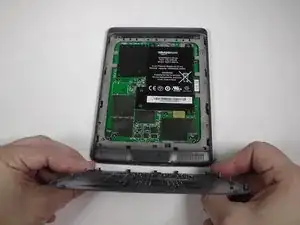
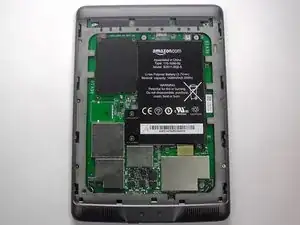
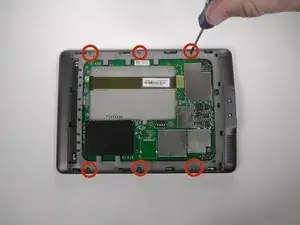
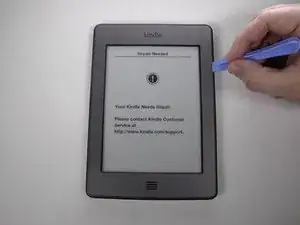
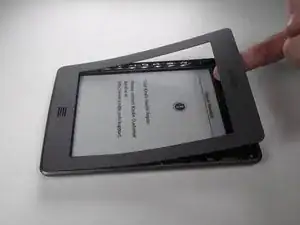
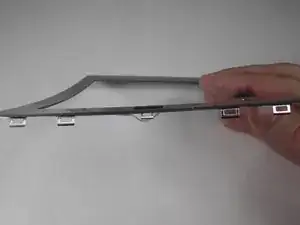
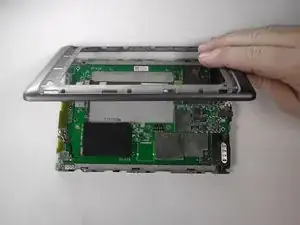
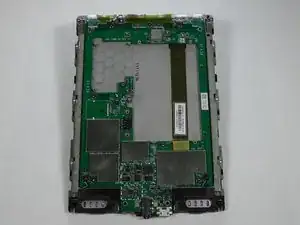
    • Use the plastic opening tool to undo the ten plastic clips around the back panel of the Kindle.

    Wear work gloves as the tool can easily slip and stab you in the hand.

    BRUCE -

  2. 3Ad5BKbISCIUnD3P
    3Ad5BKbISCIUnD3P
    KgMp3ZxIO3rjZrsK
    • Gently lift the bottom and slide the panel off.

    There are four tabs on each side.The two nearest the top are open at the top, hence they slide out (back towards the power connector end.

    This is important in the reassembly stage:

    1. Align the back cover about 0.75 cm away from the top

    2. Hold the top half of the cover flat against the unit, and flex the cover away from the case a little at the bottom

    3. Slide the top and the first two clips parallel to the case

    4. snap the remaining bottom clips in place

    John Haywood -

  3. AekhLDwNenFqZHDE
    AekhLDwNenFqZHDE
    BkLQYEor6bRPyiIB
    tkvGp5mMiCQOaU1I
    • Use a Phillips #00 screwdriver to remove the five screws.

  4. X4tY65W6kjyWVNmc
    X4tY65W6kjyWVNmc
    VoEHW6iSUJSUA2Ym
    pNPxayDDIyXIpFcP
    • Using the flat end of your spudger, gently pry the battery up and remove it.

  5. sifHtIpPRQDTJCkG
    sifHtIpPRQDTJCkG
    DrwZj6EDLSHuKA6H
    • Using a Phillips #00 screwdriver, remove the six 4 mm screws to access the front plate.

  6. BfjiOtVTeJi6XNJL
    BfjiOtVTeJi6XNJL
    ytdMLIEIESvLUEXS
    YdXvOU3nSXLmEjkJ
    • Use the plastic opening tool to pry the bezel from the top and sides

    • The bottom of the bezel will be glued, so be careful when sliding the clips out.

    • The clips can be easily bent, so do not try to force them out. If you do bend some, they can be bent back.

  7. 6pQW4DOyAvkPMbpO
    • Use your Phillips #00 srewdriver to remove the indicated screws.

    • There are three pairs of screws that are each different. The screws on the top corners are 4 mm #00 Phillips screws, the screws on the bottom corners are 2 mm #00 Phillips screws, and the black bottom center screws are 6 mm #00 Phillips screws.

  8. JB4bg5IHkrfCRtgm
    JB4bg5IHkrfCRtgm
    Y2PKsxyJhOtmBAty
    • With the screws removed, gently remove the case from the internals.

  9. SZptJSOkJXCusPpK
    SZptJSOkJXCusPpK
    IO41YkMRUTidQYZp
    gMFQLFat1PBtEBJL
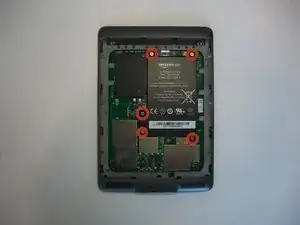
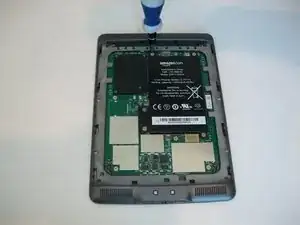
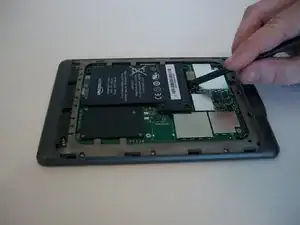
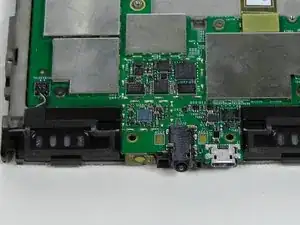
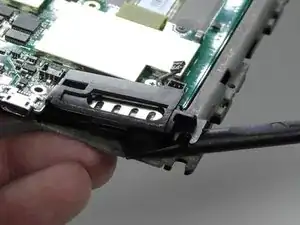
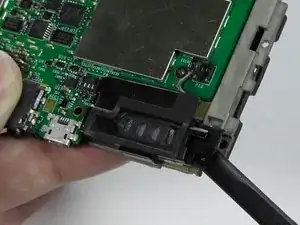
    • Use the pointy end of your Spudger to separate the Speaker's connector from the motherboard on both sides.

  10. heBQAWxYAARDWVVC
    heBQAWxYAARDWVVC
    t5bVGeCAxn2WNdLV
    Kiim2r6wdA1yeQCb
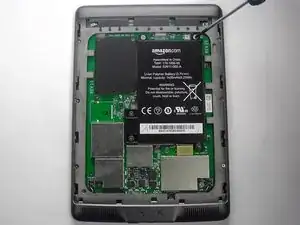
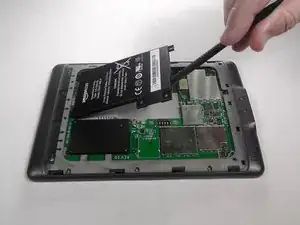
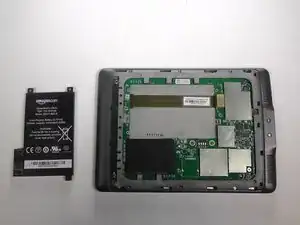
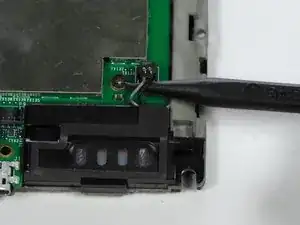
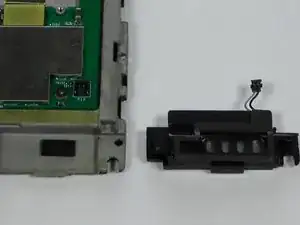
    • The speakers are held down solely with contact adhesive, so use your Spudger to pry them from the support board.

Conclusion

To reassemble your device, follow these instructions in reverse order.

Adam Yerly

Member since: 20/01/15

1885 Reputation

0 comments