Introduction

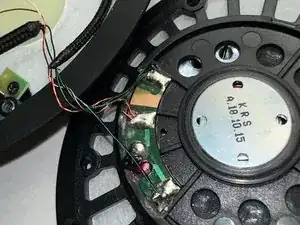
If your Kingston HyperX Cloud II microphone is having connection issues, use this guide to replace or reconnect your microphone wire to the driver. Inside the driver, the red wire is the wire that must be soldered to the driver for the microphone to be repaired. This problem occurs when the red wire gets disconnected from the speaker or stops working from natural causes.

  1. tGHWbjSigshm3Xdt
    • Pulling along the edges, take off the padding.

  2. akqDZRWxCTkFCSxb
    akqDZRWxCTkFCSxb
    N1XBMMR4XH1WTNyv
    • Use a Phillips #0 screwdriver to remove the two 11 mm screws from the bracket support.

  3. YW13RsXYNnKb2lWd
    YW13RsXYNnKb2lWd
    X63SoTmCNnpZ3UTM
    34uFYNmsHRC1K1hy
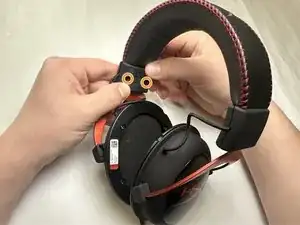
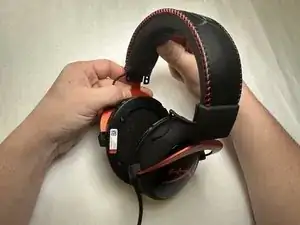
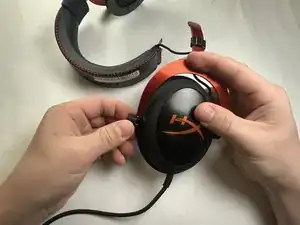
    • Remove the inside bracket support and then remove the outside bracket support. Then set it to the side.

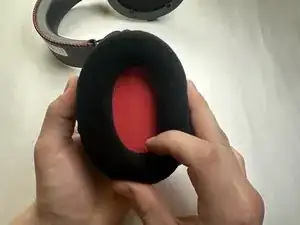
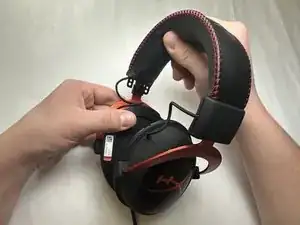
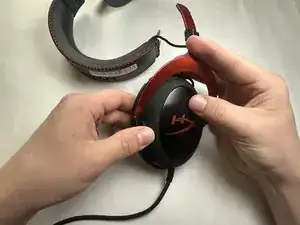
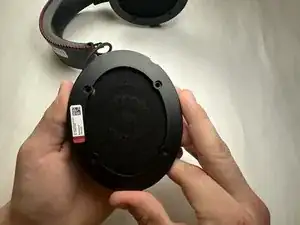
    • After removing the bracket support. Expand and remove the microphone speaker from the frame.

  4. CWRyOTmPOwyFXLWD
    CWRyOTmPOwyFXLWD
    qRSs3uKLaI6ZFSt3
    FWpyDcnRSVEqqulp
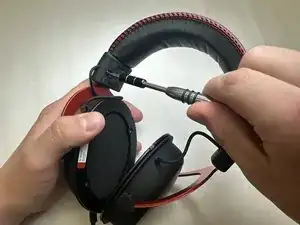
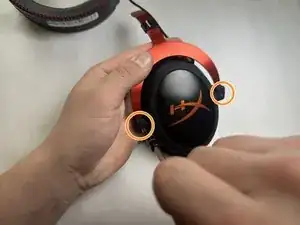
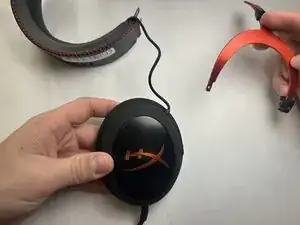
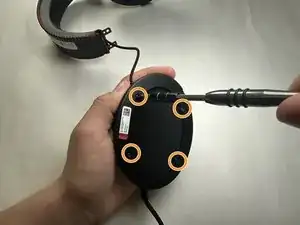
    • Use a Phillips #1 screwdriver to remove the two 7.9 mm screws from the red support attached to the microphone speaker.

  5. TS3fPJjZcqt4eNjE
    TS3fPJjZcqt4eNjE
    nvqDLYDmXCrjaMk3
    GBooVsvWGs6hNCGV
    • Separate the red frame support from the microphone speaker by putting it to the side.

  6. fQHimLEOiwwrvqnI
    fQHimLEOiwwrvqnI
    VTiEXhmGuLPQAcVl
    • Remove the four 11 mm screws on the speaker frame with a Phillips #2 screwdriver.

  7. GBTUY2SVAfMmMmCk
    GBTUY2SVAfMmMmCk
    gRMcPtKvfSXPHHoQ
    NFDNR4tStO616ixj
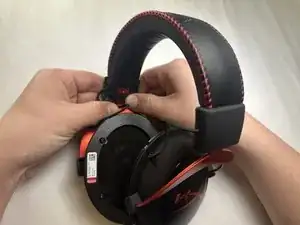
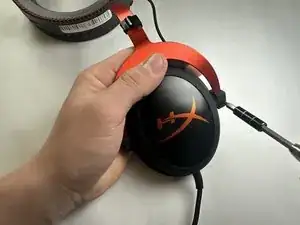
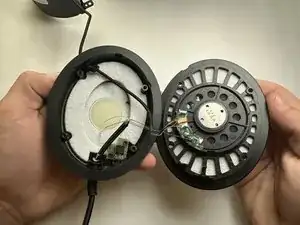
    • Remove the microphone speaker frame.

    • Open the microphone speaker to reveal circuitry.

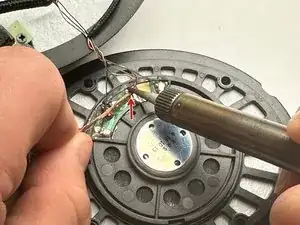
    • Solder the detached red wire onto the driver.

    • Be cautious not to solder the wrong wire.

Conclusion

To reassemble your device, follow these instructions in reverse order.

Daniel Olaoluwa Ajagbonna

Member since: 27/03/23

301 Reputation

0 comments