Introduction
Tools
Parts
-
-
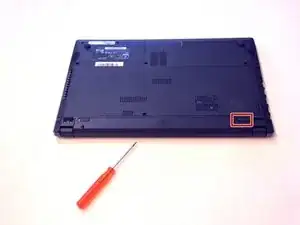
Unlock the battery latch on the right.
-
Unlock the battery lock on the left.
-
Remove the battery pack from its slot.
-
-
-
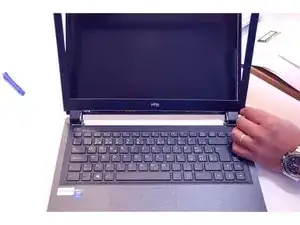
Gently insert the fingernail between the screen frame and the screen glass.
-
De-clipping one by one the fixing points of the frame surrounding the LCD screen
-
-
-
Completely detach the frame surrounding the LCD screen.
-
Mark the 2 upper fixing screws of the LCD screen. Unscrew them.
-
Mark the two lower fixing screws on the LCD screen. Unscrew them.
-
-
-
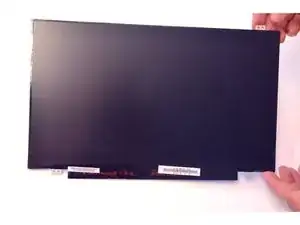
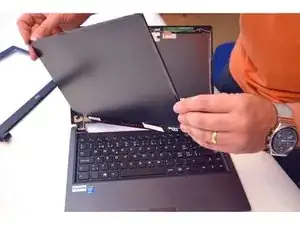
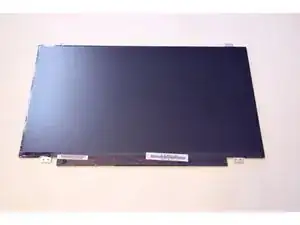
Gently lay the LCD screen on the keyboard.
-
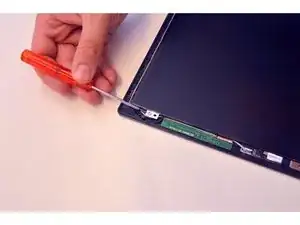
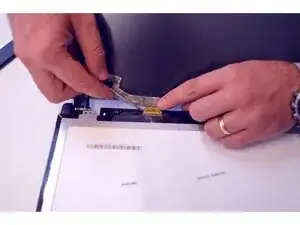
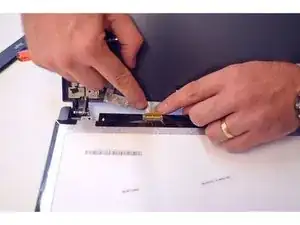
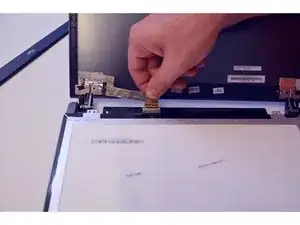
Locate the connector on the LCD screen
-
Release the connection cable.
-


Conclusion
To reassemble your device follow the following instructions in reverse order