Introduction
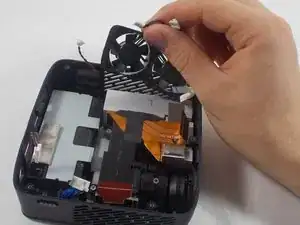
If the LG Cinebeam's (Model# PH150B) fans aren't working correctly, your projector might overheat and become hot to the touch. This guide will help you replace the fans.
The fans ensure that the projector maintains a constant temperature and prevents overheating. If your projector overheats, it might damage the internals and the battery which could be dangerous.
Before replacing the fans, make sure they aren't working by turning on the projector and check to see if the fans are working or making a sound. If your device heats up and the fans aren't working, you will have to replace them.
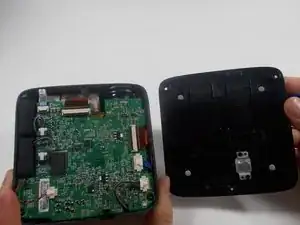
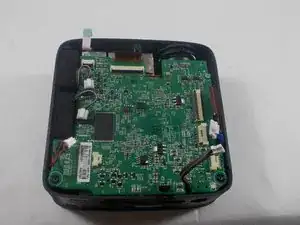
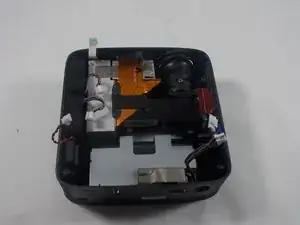
You will have to remove the motherboard to access the fans. While removing it, make sure to use caution while replacing the ribbon cables as they could rip.
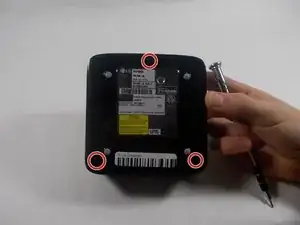
Before beginning, make sure to power off the projector completely and disconnect from any external power source.
-
-
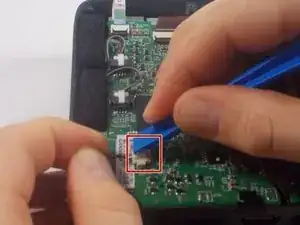
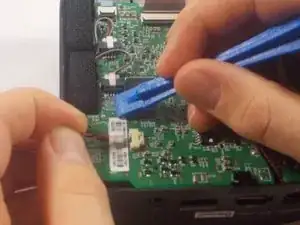
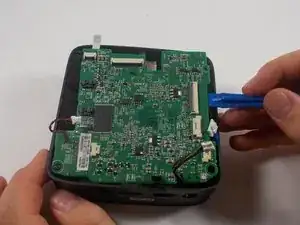
Using an iFixit opening tool, press down the lever on the top of the minilock connector for the speaker and pull the plug out gently.
-
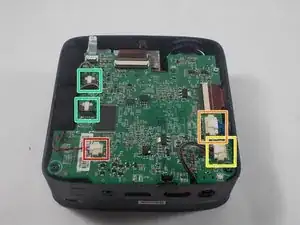
Repeat this process to remove the WiFi/Bluetooth card connector.
-
Remove the battery connector.
-
Remove the fan connectors.
-
-
-
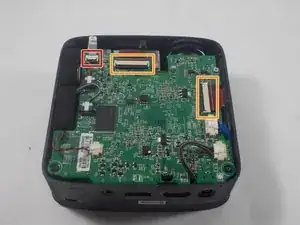
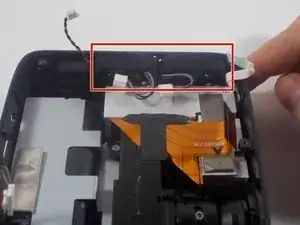
Using an iFixit opening tool, pry up the black plastic tabs on the back of the power button/joystick board cable.
-
Gently pull the ribbon cable out of the socket.
-
Repeat this process for the two display cables.
-


To reassemble your device, follow these instructions in reverse order.