Introduction
Use this guide to replace your NES Controller's Charging Rail, made for Nintendo Switch Lite consoles with an online membership only. The model numbers for the pair are 109045 / 09046A. When exposed to prolonged, yet normal, charging over many years, it may become damaged on the outside and/or halt the functioning of the onboard charger, making the controller unusable. We will show users how to restore their Nintendo Switch NES Controller to fully operating order.
-
-
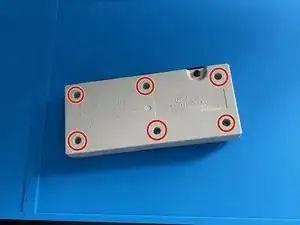
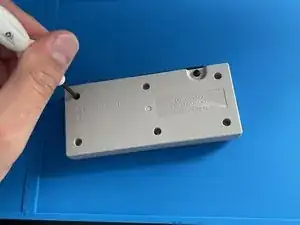
Use a Tri-point #Y00 screwdriver to remove the six 6.0 mm screws securing the back case.
-
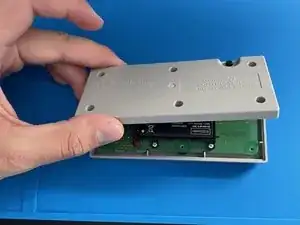
Remove the back case from the controller.
-
-
-
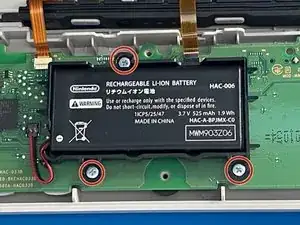
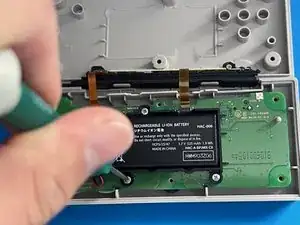
Use a Phillips #000 to remove three 3.0 mm screws holding the battery and it's housing.
-
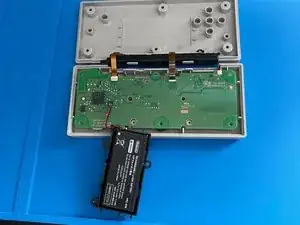
Remove the battery housing with the battery from the main board and set it aside.
-
-
-
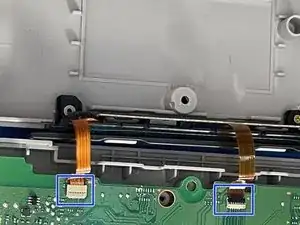
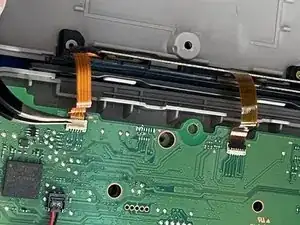
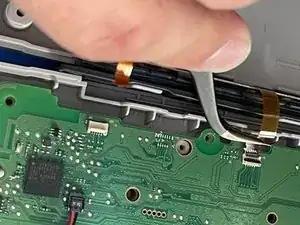
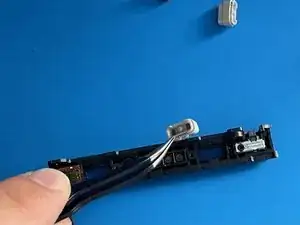
Use the tip of a spudger or your fingernail to flip up the small locking flaps on the two ZIF Connectors. Then, you can safely pull the cable out.
-
-
-
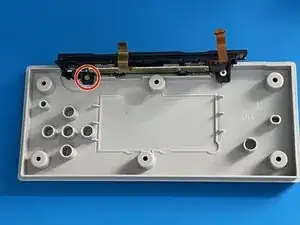
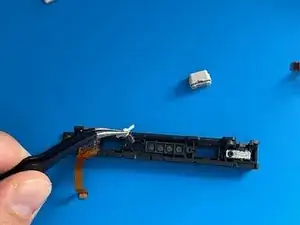
Use a Phillips #000 to remove the single 3.0 mm screw holding the charging rail to the back plate.
-
Remove the charging rail.
-
-
-
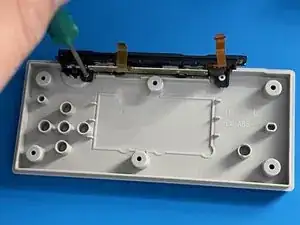
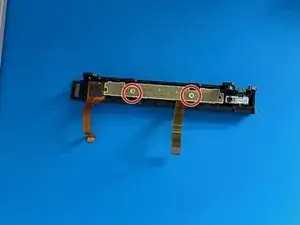
Use a Phillips #000 screwdriver to remove two 3.0 mm screws from the rail PCB.
-
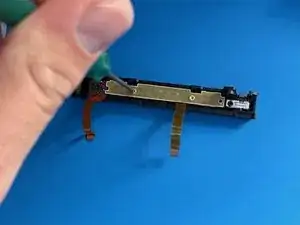
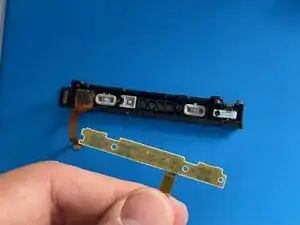
Remove the charging rail PCB.
-

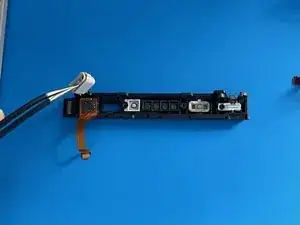
We hope you enjoy your new and improved Charging Rail for your Nintendo Switch NES Controller.