Introduction

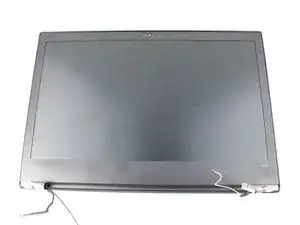
If you need to replace the LCD screen of your Lenovo ThinkPad T480, follow this guide. The LCD screen or liquid crystal display is a type of flat-panel display. It uses liquid crystal film between glass plates that when voltage is applied its optical properties change and images are displayed or hidden.

If damage or failure occurs you may notice missing pixels, the color could be off, or the screen could crack if it is dropped or sustains a fall.

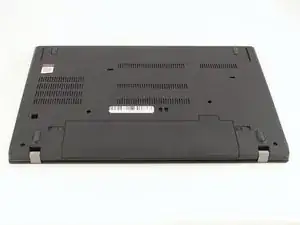
Prior to starting this repair, be sure to disable the internal battery, turn off the device, and unplug it from the charging cable.

  1. IsnhEpxDL1S62wJb
    IsnhEpxDL1S62wJb
    crrVCEAMWal4MQYJ
    • Disable the battery, power down, and unplug your device before you begin.

    • Flip the laptop over so the bottom of the device is showing.

  2. JImDPDOLndVQGGwS
    JImDPDOLndVQGGwS
    gp3rFiNWn4YLJqUR
    lkVNtucsw11AlWrR
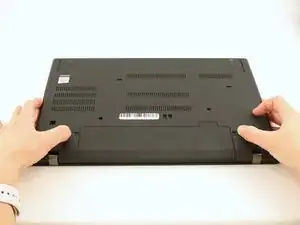
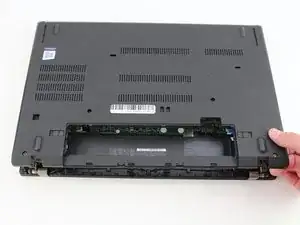
    • Using your fingers, slide the lock on each side of the battery to the unlocked position.

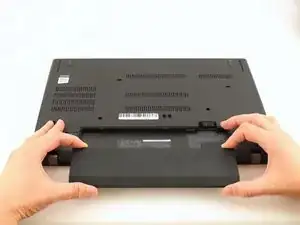
    • Remove the battery from the slot.

  3. E1PWOUdEVSVKIAN2
    E1PWOUdEVSVKIAN2
    R3yUwvFbSoSNAl2O
    • Using the Phillips #1 screwdriver, loosen the six captive screws.

  4. 4UMQtbC5yMPQDGDG
    4UMQtbC5yMPQDGDG
    nZwHZQAuROh1AUQm
    Ffv6mtRVNaYvSJFg
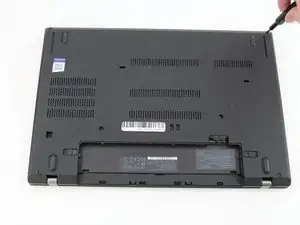
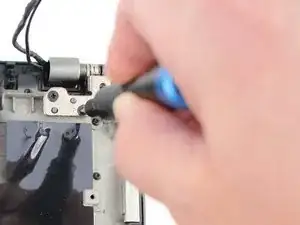
    • Insert the blue plastic opening tool into the space between the lower case and the chassis.

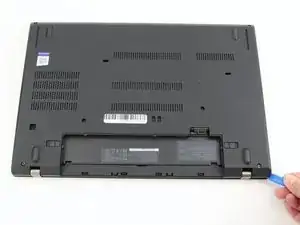
    • Slide the opening tool around the perimeter of the case to release the clips holding the case and the chassis together.

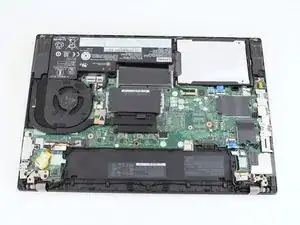
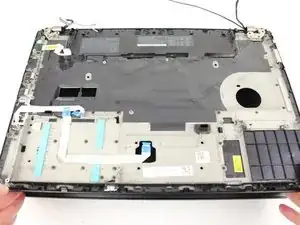
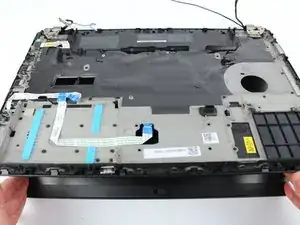
    • Remove the back case.

    I found a tough spudger (or even better a plectrum) is best here as the clips, although easy to separate, hold the case firmly leaving a tight gap which a soft spudger may fail to enter.

    Benjamin Kinsey -

    Hi Benjamin, thanks for the tip!

    Sarah Westberg -

  5. Dp4ruFSV1XShvJHA
    Dp4ruFSV1XShvJHA
    DZgJRSuysLNTRUTA
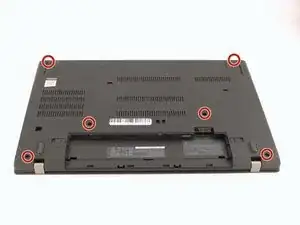
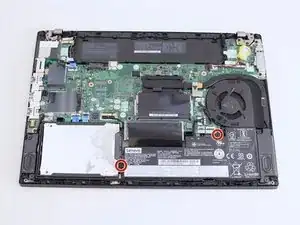
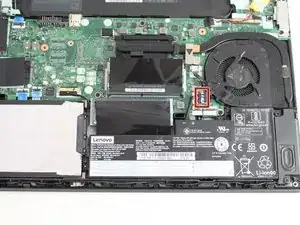
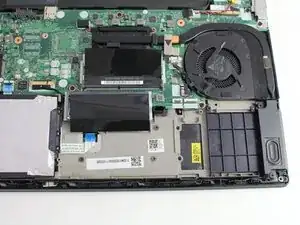
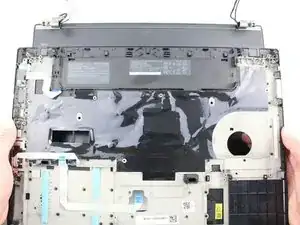
    • Using the Phillips #1 screwdriver, remove the two 4.6 mm screws securing the internal battery to the frame.

  6. d2BHjhJZ5SS4YVHY
    d2BHjhJZ5SS4YVHY
    AhMMEoiFlEiIXit1
    eJ1fGJPJGabEuQ4l
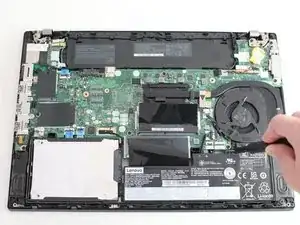
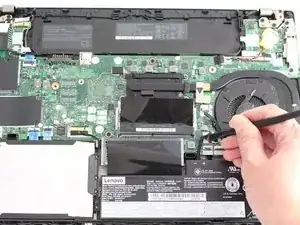
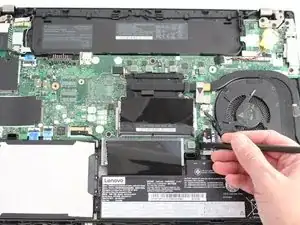
    • Use the spudger to slide the battery socket connector parallel to the motherboard and out of its socket on the motherboard.

  7. ZhXWBTl4cdMCHYAD
    ZhXWBTl4cdMCHYAD
    3Buro4rTwTh6oRWC
    jORCGqdFFBilhTkU
    • Using the black nylon spudger, wedge the battery up from the case and lift it out.

  8. Ax3RJYBwAKOUCrAu
    Ax3RJYBwAKOUCrAu
    AVOIcUp4VYJii3Au
    • Remove the cables from the cable guides.

  9. xOQSWpAphuePNPs4
    xOQSWpAphuePNPs4
    kgOysKVWvTX3GEXq
    poMujHspUWh3XOpk
    • Using the Phillips #1 screwdriver, remove two 4.3 mm screws from each hinge (four total).

    These screws were tricky for me. Be careful not to strip. I had success with a Phillips #2 and needed to apply a decent amount of vertical force into the screw before turning.

    Mark Schott -

  10. fxTPHXfJfQSH22TD
    fxTPHXfJfQSH22TD
    tPuHx3Qv1GqnZoUT
    PysbYGZjmMLSfXes
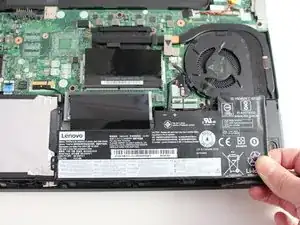
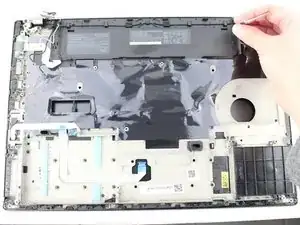
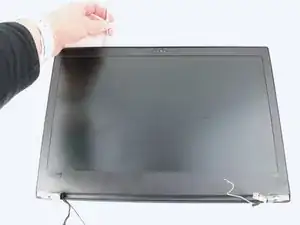
    • Lift the keyboard bezel up and slide it out from the hinges to separate it from the LCD assembly.

    • In this image, all of the internal components were removed prior to this step so your device will look somewhat different.

  11. e1n5yOrNMFBiOEh6
    e1n5yOrNMFBiOEh6
    jl2v1jNK3vDOUbw2
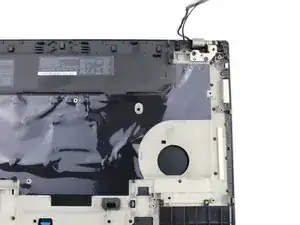
    • Use the metal spudger to create a space between the bezel and lid and carefully undo the clips around the perimeter of the bezel.

  12. gXd2QOIHUEjYGaDV
    gXd2QOIHUEjYGaDV
    dpqUKUulpSXQCvpJ
    • Finish removing the bezel from the screen using the metal spudger and your hands.

    • The bottom edge of the bezel is not connected with clips but with adhesive. Take care as you remove it so you don't bend or break the bezel.

  13. tCRpPtvtpnbr5fwT
    tCRpPtvtpnbr5fwT
    DjvLefJNCerdGkTT
    O14NWVRbiHsjiMag
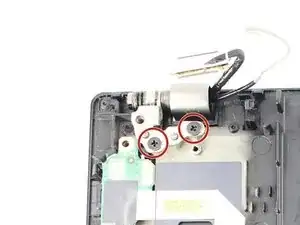
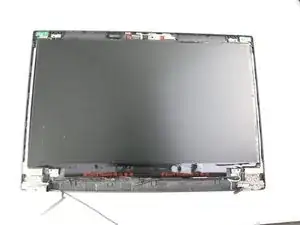
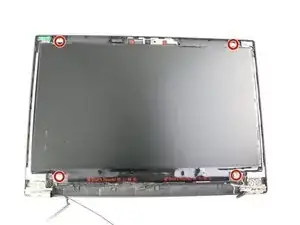
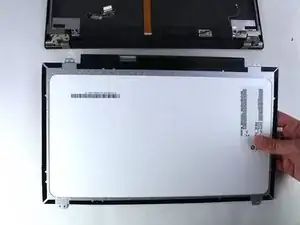
    • Remove the four 3.0 mm Phillips #1 screws from the four corners of the LCD screen.

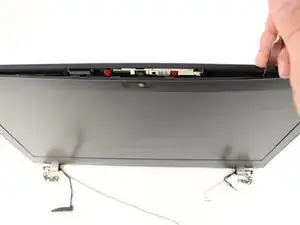
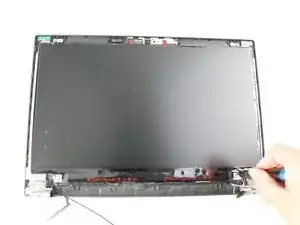
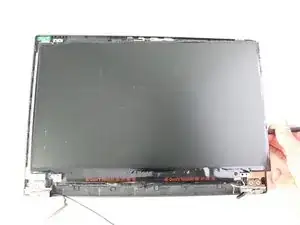
    • Lift it up using the spudger and flip it over gently towards you.

    • The LCD screen is still connected by a connector cable so be sure not to yank or pull on the screen.

  14. 6ZO6ObOa1GvhiCmH
    6ZO6ObOa1GvhiCmH
    i2WwsTGD1Up46nD2
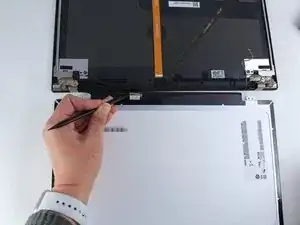
    • Using the black nylon spudger, disconnect the display connector cable and remove the LCD screen.

Conclusion

To reassemble your device, follow the above steps in reverse order.

Take your e-waste to an R2 or e-Stewards certified recycler.

Repair didn’t go as planned? Try some basic troubleshooting, or ask our Answers community for help.

Sarah Westberg

Member since: 11/03/19

19531 Reputation

9 comments

For the screen replacement you really only need like 11 steps.

Step 1,2,9,10,12,35-40. All other steps are optional and it only took me 15 mins.

Batnert -

If the internal battery is disabled why do you need to remove it?

Dan Matiesanu -

Hi Dan, if you disconnect the internal battery from the motherboard, (Step 12), you should be fine. We just want to make sure that there is no power to the system and the step to remove the battery is included as a precaution. Thanks!

Sarah Westberg -

@sarahw thank you but my question was more about why do you need to physically disconnect the battery if it is already disabled in BIOS?

Dan Matiesanu -

Hi Dan, the software disconnection is a stopgap to ensure nothing goes wrong while the device is being opened, but the only way to 100% ensure that the motherboard won't accidentally draw power and short a connection is to physically disconnect the battery.

Sarah Westberg -

I'm on Batnert on this. Sarah just making everything a hassle when it can be done in under 30 minutes even for the meticulous person. Its like showing people how to cook an instant noodles but instead of showing them the 2 minutes in hot water guide, you're telling people to cut some meat, veggies, mushroom, couple of onion, fried it all a little bit & use some salt or some other seasoning for taste without even telling the person that you can just boiled it in hot water but it might not taste that great without the other ingredients guide. I can just say to follow Batnert but I am following Sarah steps in explaining, so...

Openterminal -

Hi Openterminal and Batnert, thank you both for the suggestions. I am sorry I didn't address this sooner. I will work on updating the guide to eliminate the steps you suggested.

Sarah Westberg -

You really don't need to disassemble the whole upper lid just to get to the LCD. All you really need is disable the internal battery and then take a spudger to the bezel. The lower part is a bit annoying and might require a bit more force and something like a credit card (there also actually are two more plastic clips to take care of). Then it's just 4 screws and the connector. Still very helpful!

Jan Scheddler -

Thanks Jan! I appreciate the tip and info.

Sarah Westberg -