Introduction

  1. vOCrqSFVNUFafXR4
    • With a T5 Torx screwdriver, remove ten 6.35 mm screws from the back of the laptop.

  2. MdCCCR5lEwTUlMSn
    • Carefully separate back panel from laptop.

  3. YwF6LFhbL1Rfyy5c
    • Once you complete the prerequisite guide, locate the two speakers.

  4. IpgQv5VSC1ZHiRed
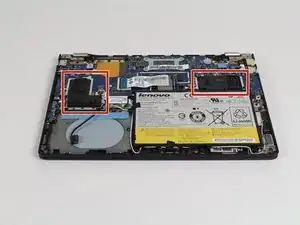
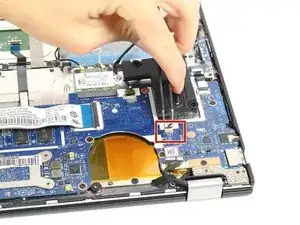
    • Using a Philips 00 Screwdriver, remove the four 4.762mm screws that hold the speakers in place (two for each speaker).

  5. e1m2Ny2oWu1jIB6K
    e1m2Ny2oWu1jIB6K
    ZQ4FxUZVbFJVxWWX
    • Locate and carefully detach the clips that connect each speaker to the computer.

  6. fC5JBViwAGtEVkd5
    fC5JBViwAGtEVkd5
    IwIE2Uh6SMDqrpZs
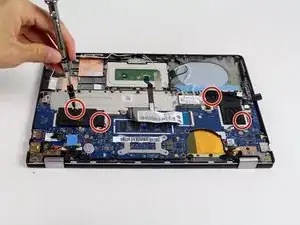
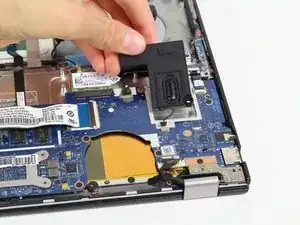
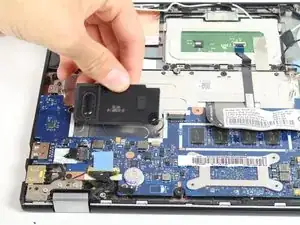
    • Now that the speakers are completely free from the computer, you are able to remove each speaker and replace it.

Conclusion

To reassemble your device, follow these instructions in reverse order.

Peyton Leeson

Member since: 01/10/15

939 Reputation

0 comments