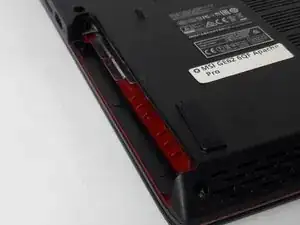
Introduction

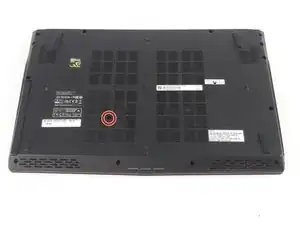
Use this guide to remove the bottom case of the device.

  1. XKva4Guxtt2OwR1T
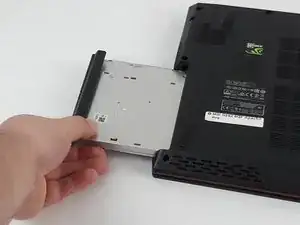
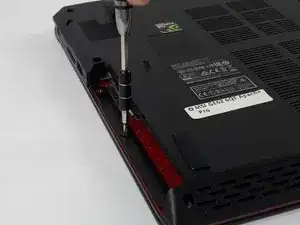
    • Use a Phillips screwdriver to remove the 5mm screw securing the optical drive to the bottom case.

  2. oCBRVJbISiqY46jY
    • Slide Optical Drive out of the computer.

  3. ACEtSC6OXqM2KKLL
    • Use a Phillips screwdriver to remove the fourteen 5mm screws on the back of the laptop.

    • One of these screws is hidden under a sticker.

  4. 5WVAaQAuqMIfT2CK
    5WVAaQAuqMIfT2CK
    WB1H1npJgCBmS6XW
    BLJmu5RTASW55HeR
    • Remove the three PH #0 2mm screws that were hidden underneath the optical drive.

    These 2mm screws require a PH #00 screwdriver (vs PH #0 as stated by author).

    DVL -

  5. pCORhCJ6YlykcGHe
    pCORhCJ6YlykcGHe
    ZQNWYtV1NI1BWcc3
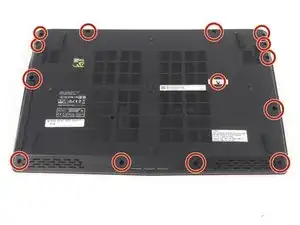
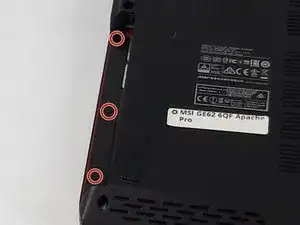
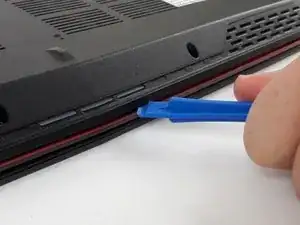
    • Use an opening tool to run along the seam of the case where the upper and bottom case meet.

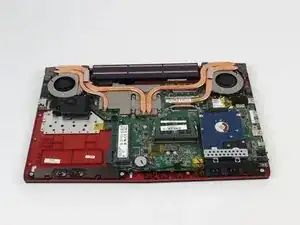
    • Pry the bottom case and remove from the upper part.

Conclusion

To reassemble your device, follow these instructions in reverse order.

Justice Owens

Member since: 26/09/17

589 Reputation

0 comments