Introduction
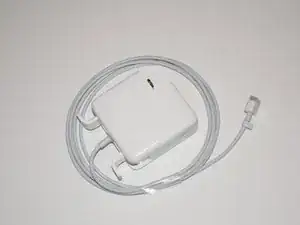
If your MacBook no longer charges or you don't see the little orange or green charging light when it's plugged in, check the cord for signs of damage.
In this guide we will change the cord connecting the charger to the MacBook.
Alternatively, you can use this guide to repair your existing cable instead of replacing it.
-
-
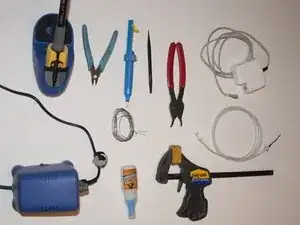
Tools required:
-
A decent soldering iron
-
Wire cutters
-
Desoldering pump
-
A big heavy-duty spudger
-
A pair of snap-ring pliers for use with external snap-rings. Really any long-nose pliers would do, this is just perfect for the job if you happen to have a pair :-)
-
Super glue
-
1 or 2 small clamps
-
-
-
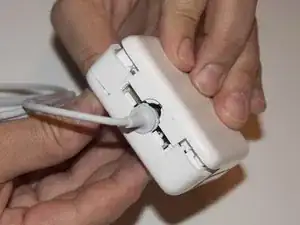
Open the cord winding flaps.
-
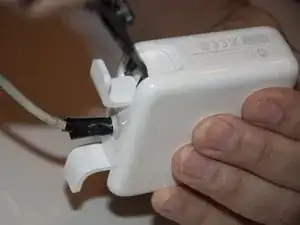
Heat the power brick's plastic casing with a hair dryer, and/or run a razor blade along the seam between the two halves of the casing, in order to weaken the adhesive. This will make it easier to pry the case open.
-
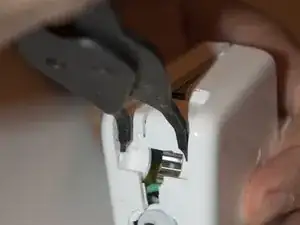
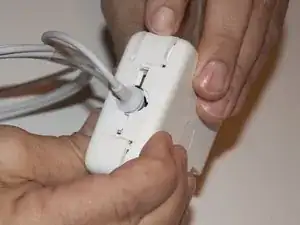
Insert your pliers and pry slowly. (Make sure they stay seated in the inside corners, or you may injure yourself or gouge the case.)
-
The cord winding flap will fall out.
-
Do the same on the other side.
-
Work slowly!
-
-
-
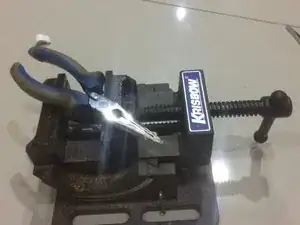
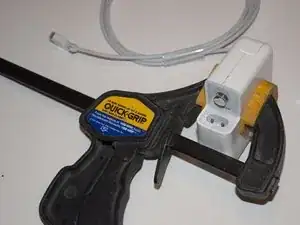
If your charger is never opened before, it would be difficult to pry it open. Try bench-vise tools to add power your needle nose plier
-
Handle of your needle-nose plier is laid upon the closed bench vise, insert into the casing, then roll the vise slowly.
-
The casing would be cracked and you can continue to next step
-
-
-
Finish it by hand; you'll have to apply some force.
-
At some point, the case will crack open. (The edges are glued all the way around, and the interior metal sheeting may be glued to the case with a foam adhesive as well.)
-
-
-
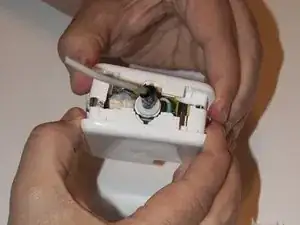
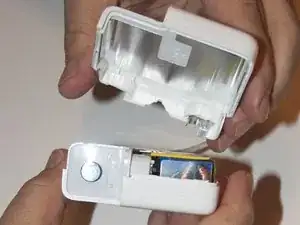
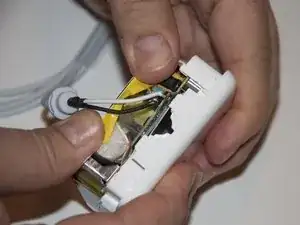
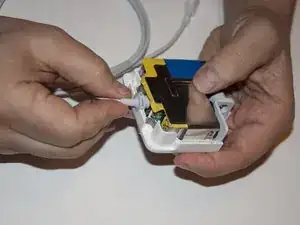
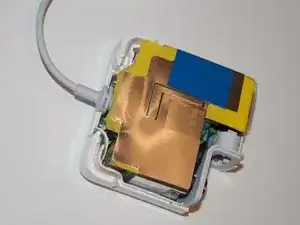
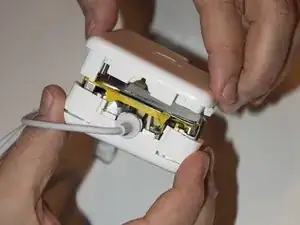
Carefully remove the inside from the shell.
-
Use a heavy duty spudger or other pry tool to pry the edge of the A/C connector from the shell, and carefully pry between the shell and the inside to break the foam glue.
-
You may find the metallic sheeting breaks a little; that's okay, but try to minimize the damage!
-
-
-
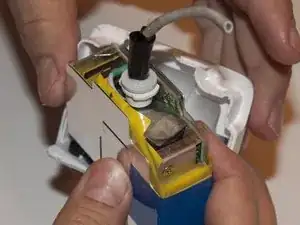
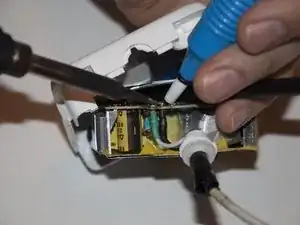
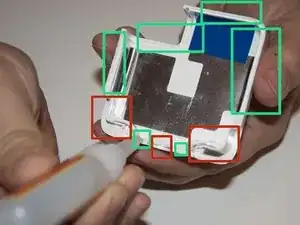
Make sure you note the position of the positive and negative terminals.
-
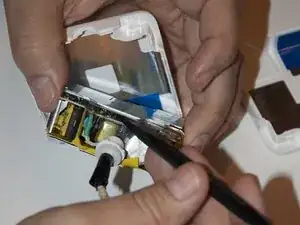
Start by removing a bit of solder with the pump.
-
Separate the cables. It may require some force, so be careful not to break the board.
-
-
-
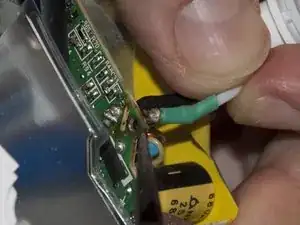
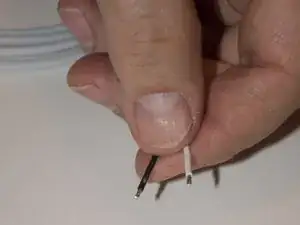
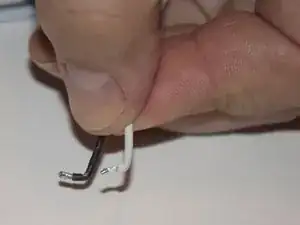
The replacement cable should be tinned with solder before solder on the board; just put the leads in place and apply heat to install it.
-
-
-
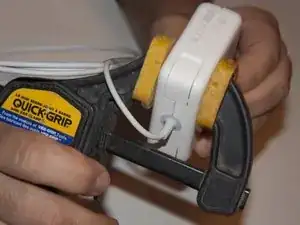
Hold the flaps in place and install the other half of the casing.
-
Make sure the flaps stay in place.
-


Apply and repeat to all your friends victim of faulty cable ;-)

48 comments
This guide was very helpful in figuring out what needed to be done and how to do it. I don't have access to a lead pump so I ended up removing the old wires and then soldering the new ones on top of the remaining solder. So far it's working just fine!
I wasn't able to open my charger, even when using heat, the pliars as shown here and even a knife. As the damage to my cable was a few inches from the charger I just cut the cord and soldered a new one to the end. Cable looks a bit ratty but you could use white tubing to place over the top.
This guide is great and would definitely use it if possible =)
Try using bench vise with needle-nose plier
ridwan -
You certainly need to knife thoroughly along the seam for it to open; after which you need to pry slowly with a pair of pliers by applying a considerable amount of force. Prudence is necessary when applying force because brute force will likely damage the casing; that means if you think adding more force will break the casing, it probably will. Knife it some more and then try again. Patience is *key*.
nawkwan -
I managed to open the casing without breaking it *but I did break my pliers in the process. lol
nawkwan -
Thank you guys.. this guide was super helpful, without this I would have to spend 73 box unnecessarily.
Thanks again..