Introduction
I completed this “teardown” about two years ago and wanted to place it on this website. Did not have the time to post then but now posting some images I took during the procedure. Even though it is not 100% complete I think it should give some contribution since it is the first I have seen that show these images on this website. If I am not the first to post this primary teardown please correct me.
-
-
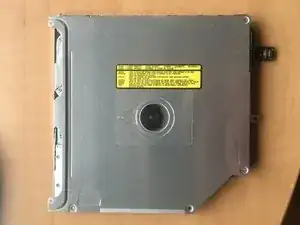
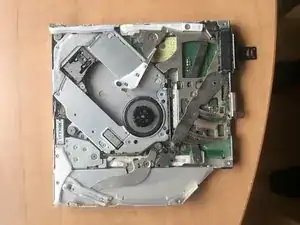
This is the optical drive once it has been removed from the computer. I think there might be some screws that I removed prior to taking this picture.
-
-
-
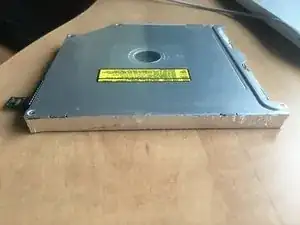
There is aluminium foil sticky tape that covers how the drive is split. You can see how the drive is split after having removed the tape. Now that you know how it is split you can probably make a nicer rip than me.
-
-
-
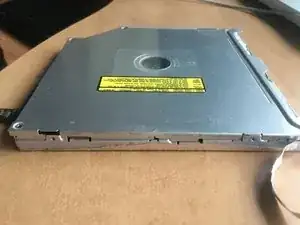
If I remember correctly, the aluminium and hinges held the cover on. With the aluminium off you can now enter deeper into the drive.
-
To reassemble your device, follow these instructions in reverse order.