Introduction
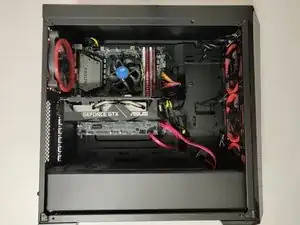
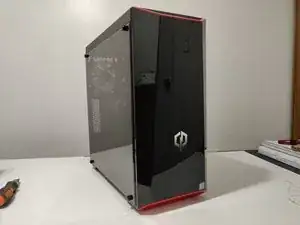
Use this guide to replace faulty or low memory RAM module in your Desktop PC case with a Masterbox Lite 5 Mid Tower Case using the MSI B360M BAZOOKA motherboard.
- Before using this guide, make sure to purchase the correct RAM module with the correct speeds. This information would be located on the motherboard’s website where specifications such as DDR3 or DDR4, speeds of anywhere from 800 MHz to 1600 MHz for DDR3 and 2400 MHz to 4400 MHz for DDR4 (Crucial.com).
- To find where to get the correct RAM speed for your computer, please visit the website of your specific motherboard. In my case, I have the B360M BAZOOKA motherboard by MSI and it supports DDR4 Memory, up to 2666 MHz (msi.com).
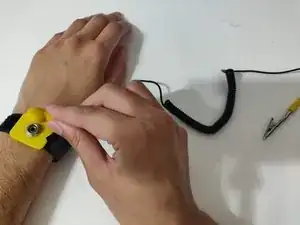
Wear an anti-shock wristband bracelet to ensure that you safely ground yourself before working on very sensitive electronic equipment. The wristband will help prevent the buildup of static electricity which could damage the motherboard.
Parts
-
-
Attach the anti-static strap to your wrist.
-
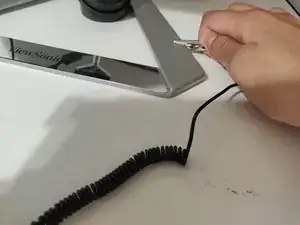
Connect the cable to the wrist band.
-
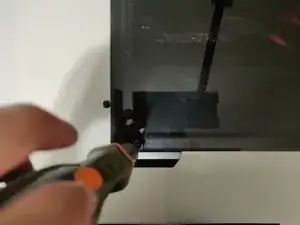
Attach the metal prong on the cable to a metal surface such as a computer case.
-
-
-
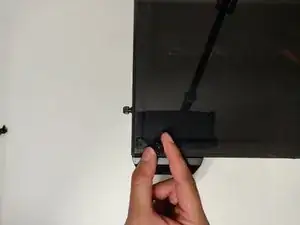
Unscrew the four 7 mm screws from the corners of the panel using a Phillips #00 screwdriver.
-
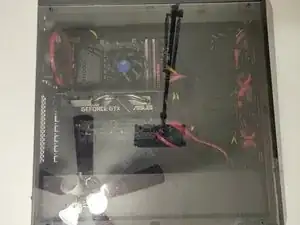
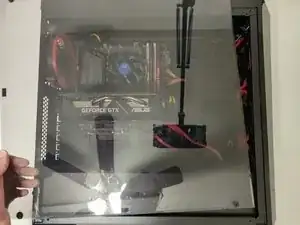
Lift the plastic side panel carefully and put it to the side.
-
-
-
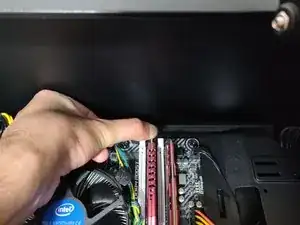
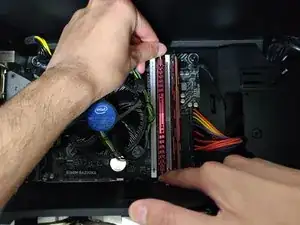
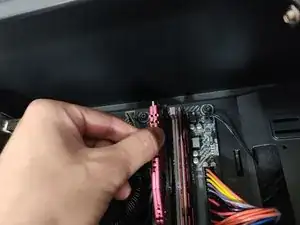
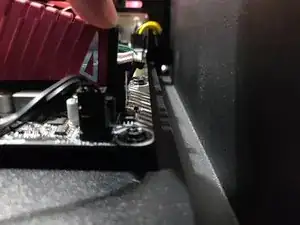
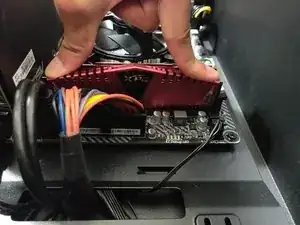
Align the notch on the bottom of the RAM with the notch on the motherboard port to avoid damage to the board or the RAM.
-
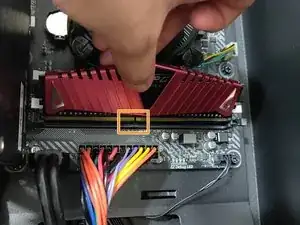
Apply some pressure for the prongs on the side to clip in the RAM stick.
-
-
-
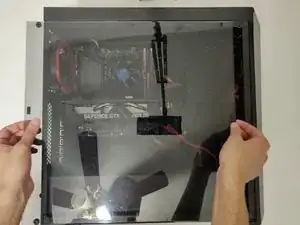
Put the plastic side panel back on.
-
Align the screw holes to the ones on the PC case.
-
Screw in the screws in all four corners to hold the side panel in place using a Phillips #00 screwdriver.
-
-
-
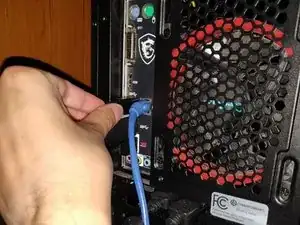
Connect all of the previously connected cables from the back.
-
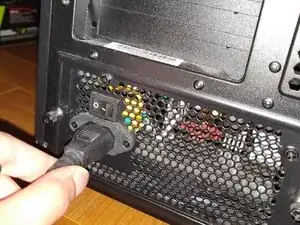
Connect the power supply cable back to the power and the PC.
-
Test to see if the PC starts up without any errors.
-


After purchasing the correct RAM module for the correct motherboard, this guide will take about 15 minutes to accomplish successfully.
If you run into any booting issues and cannot fix it, please install the previously used RAM module.
If it boots up using the previously installed RAM stick, please review to see if the correct RAM was purchased for your specific motherboard.