Introduction
This guide explains how to replace the battery in the Microsoft Surface Book 2 15. It requires the motherboard replacement guide as a prerequisite guide, which is a very difficult guide to follow without breaking the laptop.
The battery guide itself can also prove to be very difficult. The battery is secured to the laptop with very strong adhesive, which makes it troublesome to remove. It is recommended that you use isopropyl alcohol in order to help get the glue off of the laptop.
A majority of the issues that are found with the Microsoft Surface Book 2 15 can be solved through software solutions. Make sure to review troubleshooting page and try the solutions listed there before making any repairs to the device.
-
-
Open up the laptop and orientate it so you see the right side.
-
Count from the bottom up by six holes on the tablet portion of the laptop.
-
-
-
Take a paper clip and undo a portion of it.
-
Place the paperclip in the sixth and push until you hear a click.
-
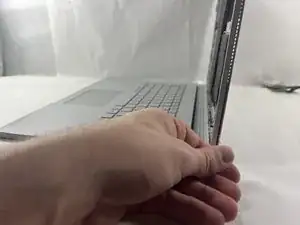
Once you hear the click lift up on the right side of the tablet from the base until they separate.
-
After the right side has been detached, lift up the left side as well.
-
-
-
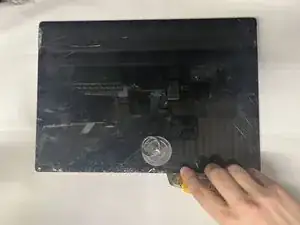
Place the tablet on a flat surface.
-
Using a heat gun or iOpener, heat up the edges of the screen to soften up the adhesive.
-
-
-
With either a pick or exacto knife, slice underneath the edge of the screen.
-
Slowly make your way around the screen, and carefully cut the adhesive that secures the screen to the frame.
-
-
-
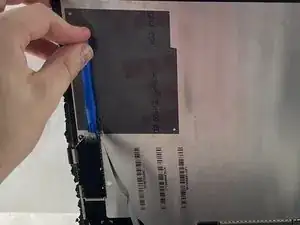
Lift up the screen.
-
Detach the ribbon cables connected from the screen to the motherboard on the underside of the screen.
-
-
-
Use a T3 Torx screwdriver to remove eleven 4 mm screws from the motherboard.
-
Use a T3 Torx screwdriver to remove the ten 2.5 mm screws from the top bar.
-
-
-
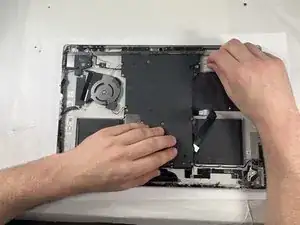
Once the screws are removed from the top bar, gently lift up and remove the top bar.
-
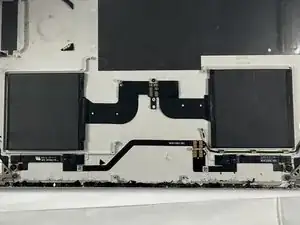
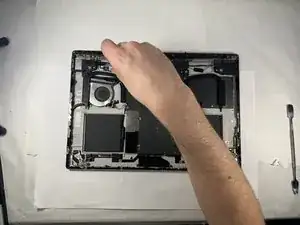
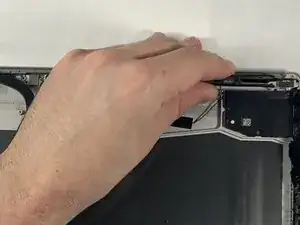
Gently lift up on the motherboard to remove it.
-
-
-
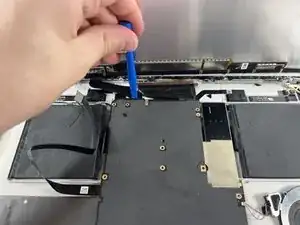
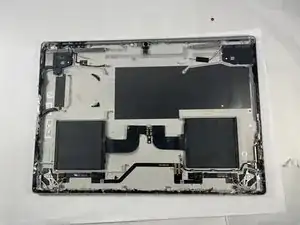
Use an iOpener or a heat gun to carefully heat the back side of the tablet to help soften the battery adhesive.
-
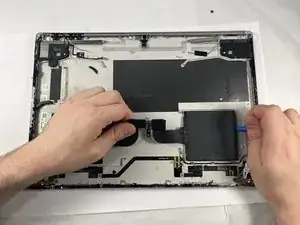
Use prying tools such as a guitar pick, plastic card, or a nylon spudger to help sever the adhesive, and gently lift the battery free.
-


To reassemble your device, follow these instructions in reverse order.
