Introduction
Follow this guide to remove and replace the small vibration motor on the Moto E4 Plus. This requires removing the daughterboard, which houses the motor’s connector.
Before you begin, download the Rescue and Smart Assistant app to backup your device and diagnose whether your problem is software or hardware related.
Tools
-
-
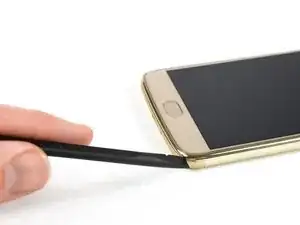
Insert the edge of the spudger into the notch on the bottom right corner of the phone.
-
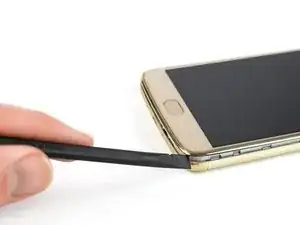
Twist the spudger to start releasing the back cover from the phone.
-
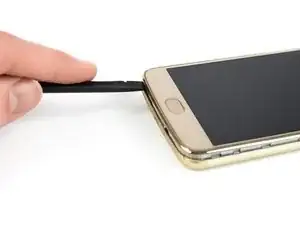
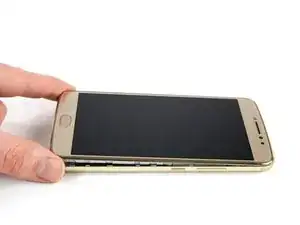
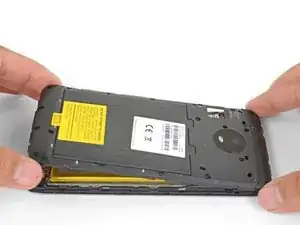
Slide the spudger along the bottom edge to separate the back cover from the phone.
-
-
-
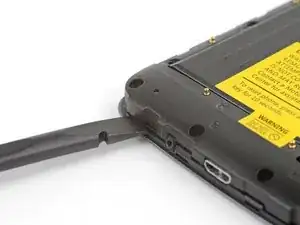
Insert the flat end of a spudger into the midframe seam at the bottom left corner of the phone (near the microphone hole).
-
Twist the spudger to release the plastic clip.
-
Repeat the process for the clip near the top right corner of the phone.
-
-
-
Lift the bottom edge of the plastic midframe upwards until the clips along the top edge release.
-
Remove the plastic midframe.
-
-
-
Use the point of a spudger to pry up and disconnect the battery connector from its motherboard socket.
-
-
-
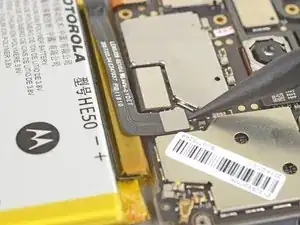
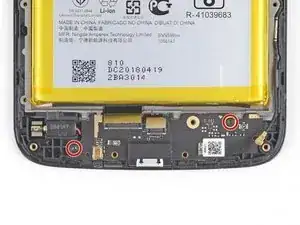
Use the point of a spudger to pry up and disconnect the antenna cable from its daughterboard socket.
-
-
-
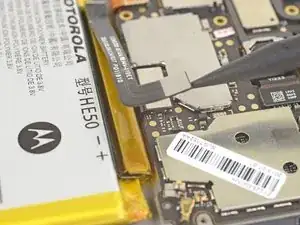
Use the point of a spudger to pry up and disconnect the interconnect cable from its daughterboard socket.
-
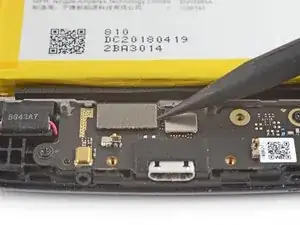
Pry up and disconnect the fingerprint sensor cable next to it from the daughterboard.
-
-
-
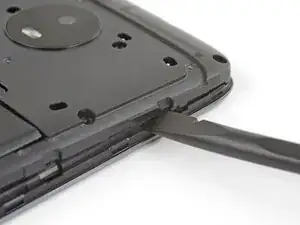
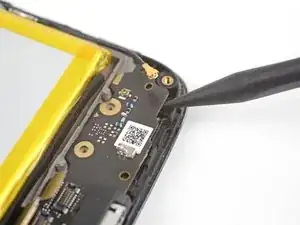
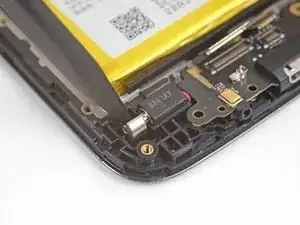
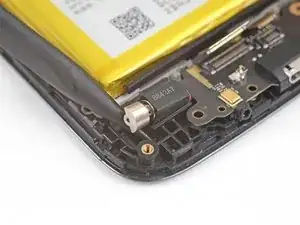
Insert the point of a spudger under the bottom right corner of the daughterboard and pry up to loosen the daughterboard.
-
-
-
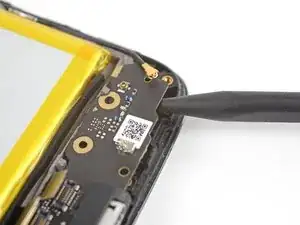
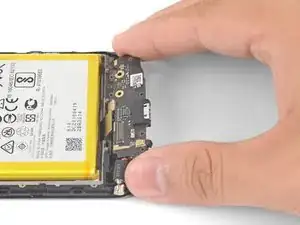
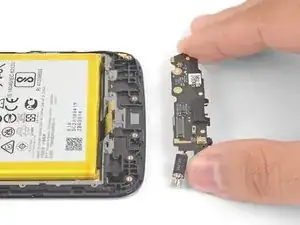
Grasp the daughterboard by the edges and lift it out of its recess.
-
Remove the daughterboard. The vibration motor will be attached to it.
-
-
-
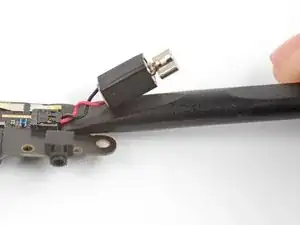
Insert the flat edge of a spudger between the vibration motor wires and the daughterboard
-
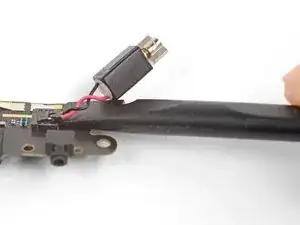
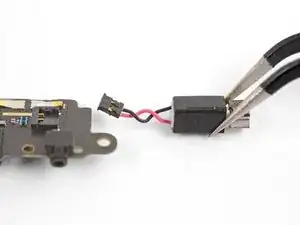
Gently twist to pry the connector upwards out of its socket.
-


To reassemble your device, follow these instructions in reverse order.
Repair didn’t go as planned? Try some basic troubleshooting, or ask our Moto E4 Plus Answers community for help.