Introduction
If you are experiencing trouble with your rear camera, chances are it has a faulty connection or it has been damaged. Follow these steps to remove your rear camera.
Before you begin, download the Rescue and Smart Assistant app to backup your device and diagnose whether your problem is software or hardware related.
-
-
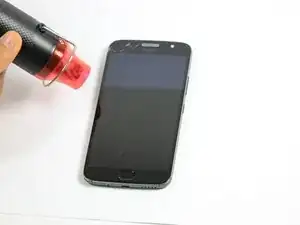
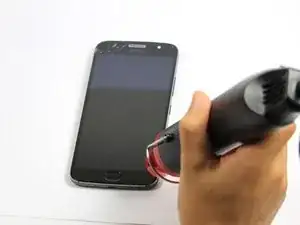
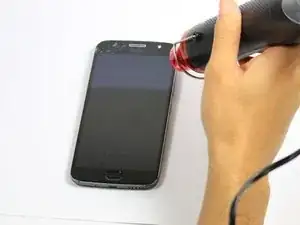
Bring the heat gun one to two inches from the edges of the display to melt the display adhesive.
-
Spend equal amounts of time applying heat around the entire edge of the phone.
-
-
-
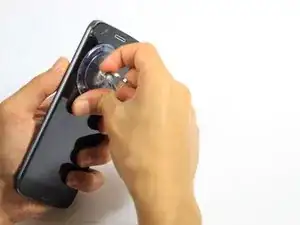
Attach the suction cup to the display slightly to the left of center.
-
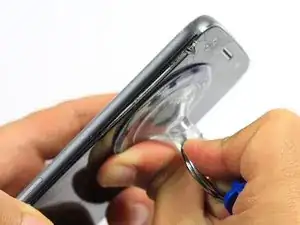
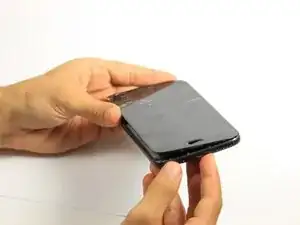
Exert a moderate force to pull on the suction cup. The display will come loose.
-
-
-
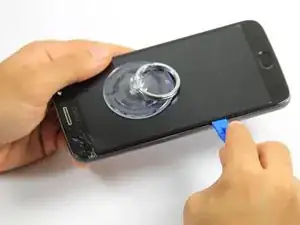
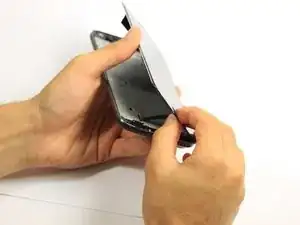
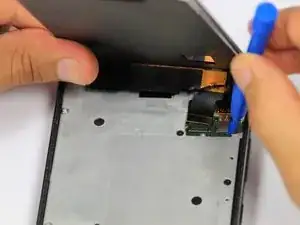
Insert the opening tool inside the loosened edge.
-
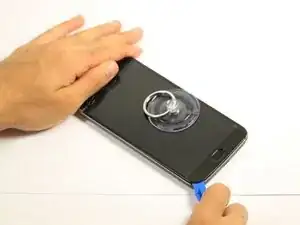
Gradually work the opening tool around the edge of the entire screen to cut through the adhesive.
-
-
-
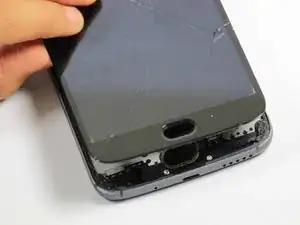
Press down on the fingerprint sensor with the display slightly raised to disconnect it from the display.
-
-
-
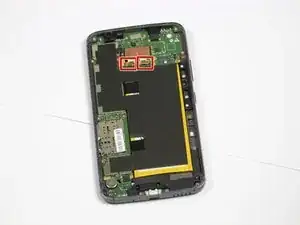
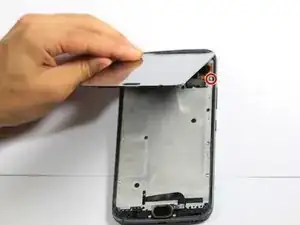
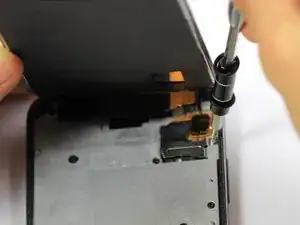
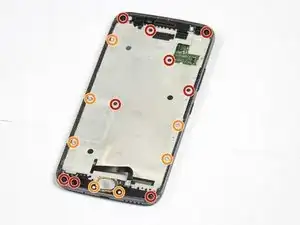
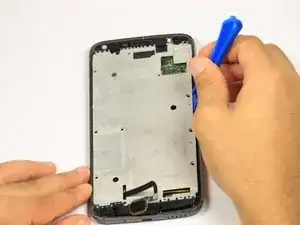
Remove the one 5mm Torx-5 screw located by the connector cables in the top right corner of the device.
-
-
-
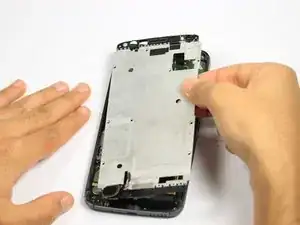
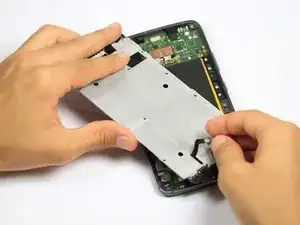
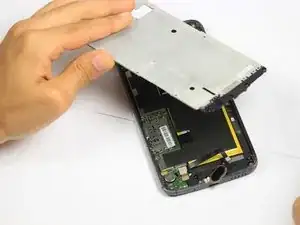
Grab the unscrewed metal plate with your blunt tweezers.
-
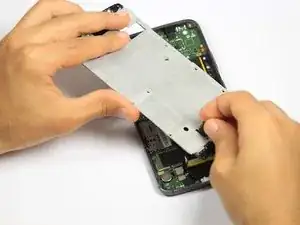
Slide the metal plate to the left and then out to remove it.
-
-
-
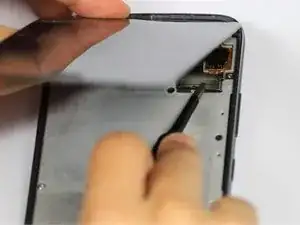
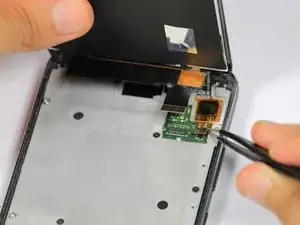
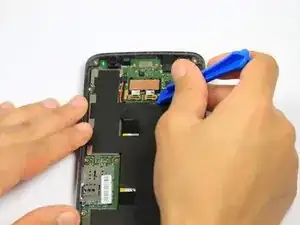
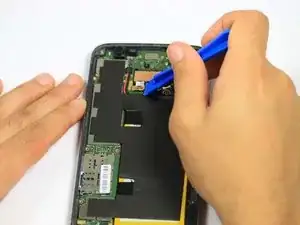
Disengage the two cable connectors by gently prying beneath the edge of the connector with the opening tool.
-
-
-
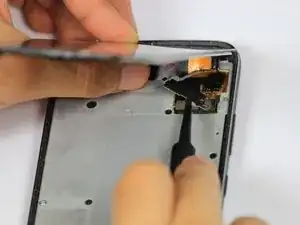
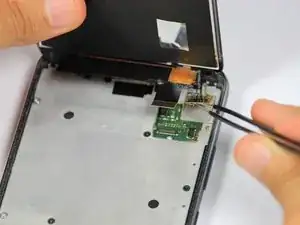
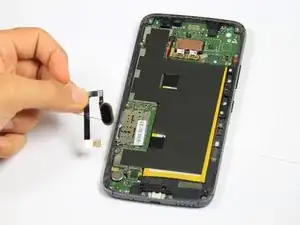
Remove the fingerprint connector by gently prying underneath the connector with the opening tool.
-
-
-
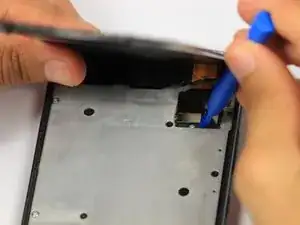
Disengage the two cable connectors by gently prying beneath the edge of the connector with the opening tool.
-


To reassemble your device, follow these instructions in reverse order.

The screen is not coming off. I have set the temperature at 125 Celsius on my smd rework station and have tried heating up to 3 minutes. I am focusing heat on the lower part. The Adhesive doesn't become loose even a bit. I do not want to increase temperature further or heat for a longer time period before asking experts. Does moto g5 sPlus use a stronger adhesive?
Sahil Singh -