Introduction

This guide will show you the steps on installing the motherboard. This will be helpful if the controller won't turn on or if it turns on and doesn't work.

  1. gIc3eroIeGlIjSQ2
    gIc3eroIeGlIjSQ2
    kB3lriVOXO6M2WJ5
    • Pull down on the battery cover release lever and pull back to remove the cover.

  2. ihC1vNSuSNCMJlKO
    • Remove both batteries from the device.

  3. BQJIvRpASkXSABSU
    BQJIvRpASkXSABSU
    1KiSGhUGXcCNBbT4
    • Remove the eight 9 mm screws from the back panel using the Tri-point Y1 screwdriver.

    • During reassembly, firmly hold the panels of the controller together while replacing the screws so the panels do not separate.

  4. ivsa5goaQNZepGLO
    ivsa5goaQNZepGLO
    RHjvYmMuCMeWQGnh
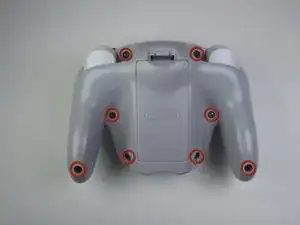
    • Carefully turn over the controller and place it on a flat surface.

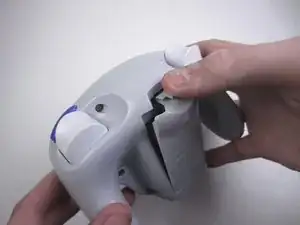
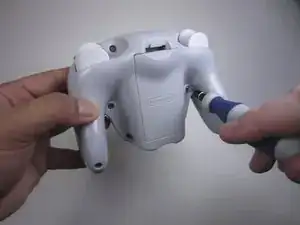
    • Slowly separate the top panel from the bottom panel.

    • The buttons are loose and may fall off the motherboard.

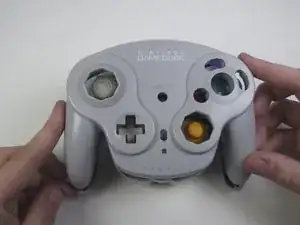
    • Once separated, set aside the top panel.

    • During reassembly, make sure the front panel lines up with the buttons so they slide back into place.

  5. UGNXFfptbAxhMZgc
    UGNXFfptbAxhMZgc
    5tGonOCHcVQ1Cnc6
    EVZh3kaOrPmCQYVV
    • Use tweezers to remove the buttons.

    • It may be easier to remove the A button off of the pad by lifting it with your fingers.

    • During reassembly, make sure all buttons are in their respective sockets so they match up with the front panel.

  6. aMTQcJUEdWuLBTmd
    • Using tweezers remove the three grey button pads from the motherboard.

  7. 3YT3ALTAo6KYLjrN
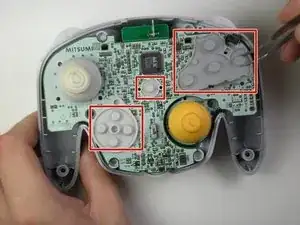
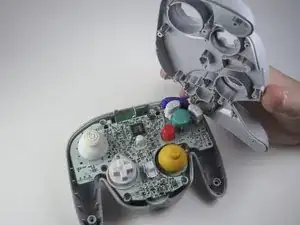
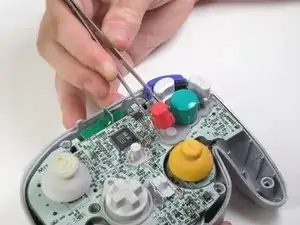
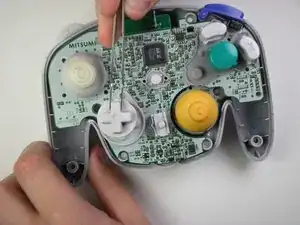
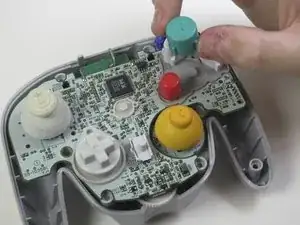
    • With your fingers gently grip the motherboard on both sides and lift it away from the back panel.

    • To put the motherboard back into place, align the two metal clips under the motherboard with the slots in the back panel. The motherboard should fall into place.

Conclusion

To reassemble your device, follow these instructions in reverse order.

Travis Taylor

Member since: 12/04/13

392 Reputation

0 comments