
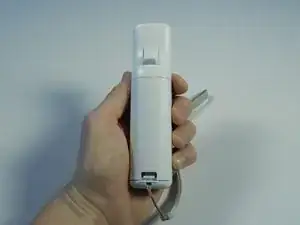
Introduction
Disassembling the case requires removing screws under the batteries. Removing anything inside requires this guide.
-
-
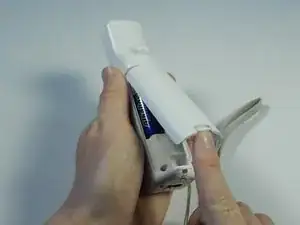
Flip the Wii Remote over so the battery cover faces you.
-
Push up on the bottom tab.
-
Remove the battery cover.
-
-
-
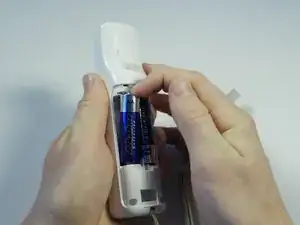
Remove the first battery by pressing down on the positive end and pulling the battery out.
-
Remove the second battery by pushing up on the positive end and pulling the battery out.
-
-
-
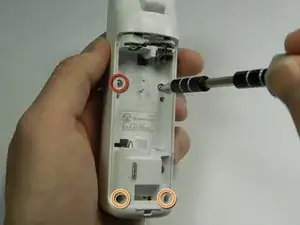
Using a tri-point Y1 Screwdriver, remove the two center 7mm screws by turning them counterclockwise.
-
Repeat with the two bottom screws.
-
-
-
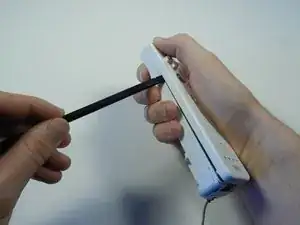
With the flat end of a spudger, gently apply pressure to the tabs located on left side of the controller.
-
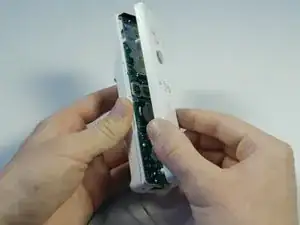
Open the front plate like a book.
-
To reassemble your device, follow these instructions in reverse order.
4 comments
Worked! Had to solder the tab to contact the battery which had broken. Saved $50.00.
The Tools section lists a Tri-Point Y1 Screwdriver but the guide mentions a Tri-Wing Y1 Screwdriver. This could cause people to purchase the wrong item.
iFixit’s guides seem to be based on the original Wii controller, model RVL-003. I’m not sure if Nintendo has changed fasteners for subsequent versions but the Wii MotionPlus Controller, model RVL-036, uses a Tri-Wing Y0 screw.
kivrin -
My controller (the original) had three tri-wing screws and one philips. Not sure why. Had to re-solder the negative battery terminal as it came off the bottom of the ‘top’ (faces bottom) of the board.
audvare -