Introduction

This is a prerequisite-only guide! This guide is part of another procedure and is not meant to be used alone.

Use this guide to remove the back cover on your Nokia G22.

  1. Krp2LRrEhgQuwovX
    Krp2LRrEhgQuwovX
    PLmEQHbX3JGhTBTd
    cSkZM2KEUhhZVjxb
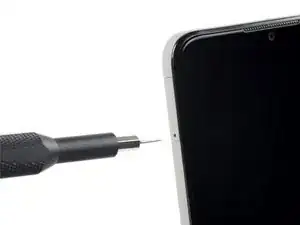
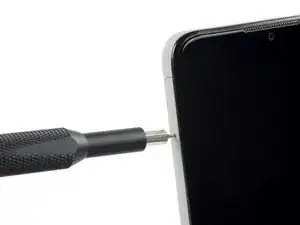
    • Insert a SIM eject tool, bit, or a straightened paper clip into the small hole on the SIM card tray on the upper left edge of the phone.

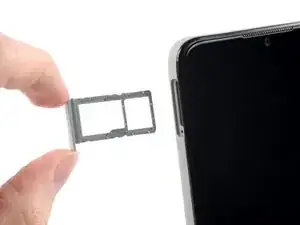
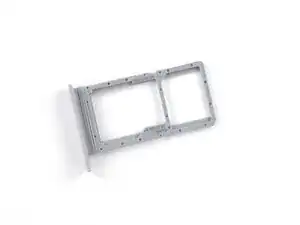
    • Press firmly to eject the tray.

  2. JIlxxKYYZHpTPmoL
    JIlxxKYYZHpTPmoL
    DvilvmIpw31MMEij
    FdYFlL1nIQaBCyKc
    • Remove the SIM card tray.

    • When installing either a SIM card or a microSD card, make sure they're in the correct orientation and sitting completely flush with the edges of the tray before reinserting the tray into the phone.

  3. LYNIySDYrSOhH4mZ
    LYNIySDYrSOhH4mZ
    CMjKN4DEeKZ5DTFd
    UsIKJMTX2A46oOQX
    • The back cover of the phone is held in place by plastic clips.

    • Insert an opening pick under the small notch in the SIM card tray slot.

  4. CZX1FynBmWd3tZTx
    CZX1FynBmWd3tZTx
    MOLPokXknPjBGbLW
    qnLLAxUPebDCOQDU
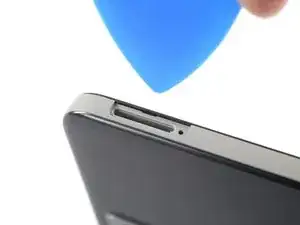
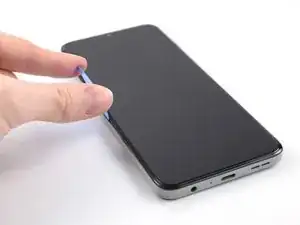
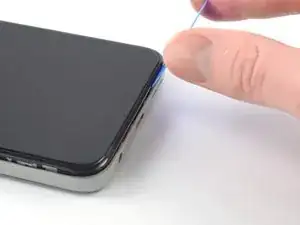
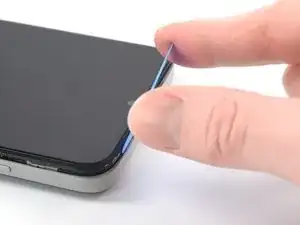
    • Position the opening pick at a steep downward angle between the back cover and the screen assembly.

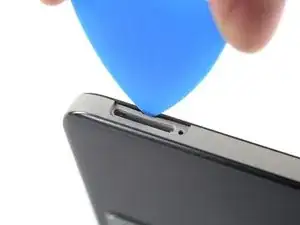
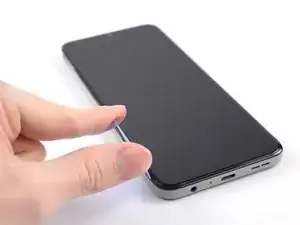
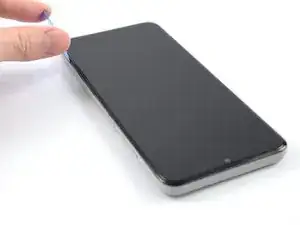
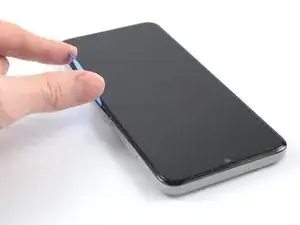
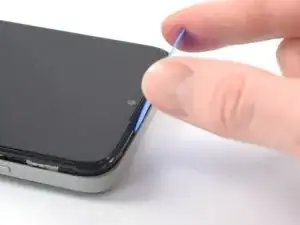
    • Slide the opening pick down the left edge of the phone to release the plastic clips.

  5. DyQqk4FUSaiDuwRl
    DyQqk4FUSaiDuwRl
    ruBMCikUeEwBKsw1
    ELFPEpRsaj3LRNSl
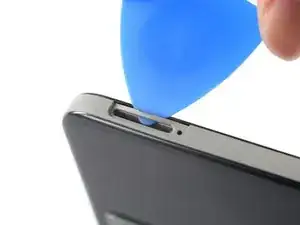
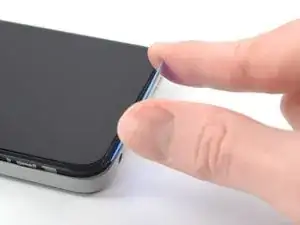
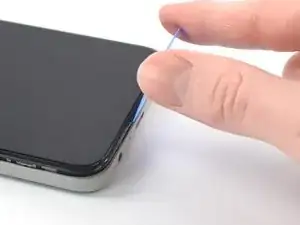
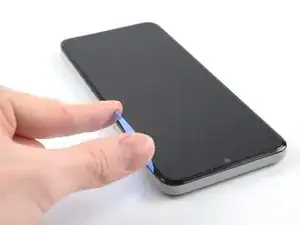
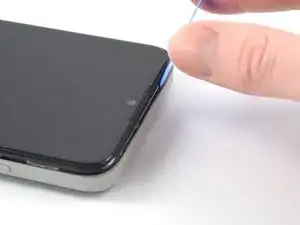
    • Turn the opening pick around the corner and continue to slide it along the bottom edge to release the plastic clips.

  6. f2cwKBOeLMqlwNU6
    f2cwKBOeLMqlwNU6
    QYfteatpsPsMA66i
    KFTSqPSPKNlpqD6D
    • Slide the opening pick up the right edge to continue releasing the plastic clips.

  7. tXNDwJXTbGmZwKMl
    tXNDwJXTbGmZwKMl
    5VYlvAIfbIEMurGX
    MpneQnQYlnK3hWZF
    • Slide the opening pick along the top edge to release the remaining plastic clips.

    • Don't try to fully remove the back cover just yet, as it's still connected to the phone.

  8. PUdCWWLYvLoZ1LZm
    PUdCWWLYvLoZ1LZm
    d461dwmu6JWZhBeq
    ktIFiZoLMPWMIHPn
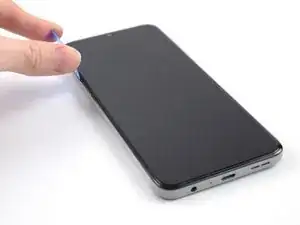
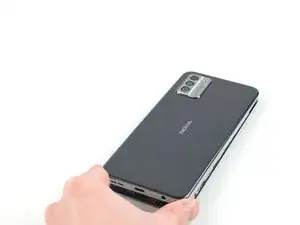
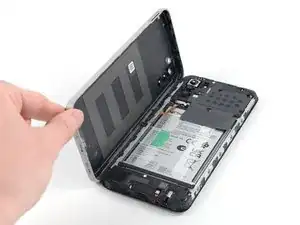
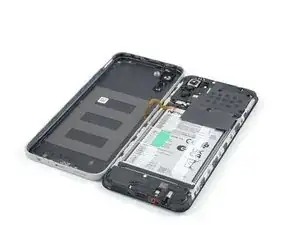
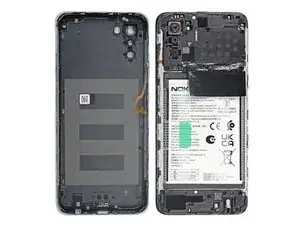
    • With the phone laying screen-side down, carefully lift the right edge of the back cover, opening it like a book.

    • Take care not to strain or tear the attached fingerprint reader cable during this procedure.

    • Lay the back cover next to the phone.

  9. vWWNGyZgyT41gM5w
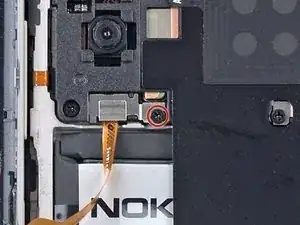
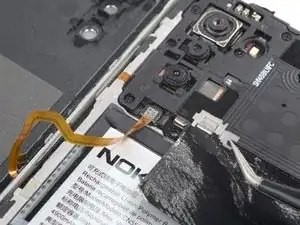
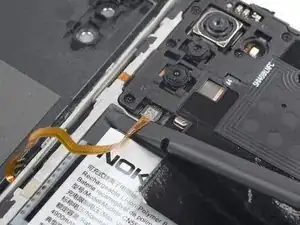
    • Use a Phillips screwdriver to remove the 3.8 mm‑long screw securing the fingerprint reader bracket.

  10. JZBwoT6SNFWACJA1
    JZBwoT6SNFWACJA1
    YZHEYJDoU2alGdGs
    • Use a pair of tweezers or your fingers to remove the fingerprint reader bracket.

    • Take care not to puncture the battery with your tool—a punctured or bent battery may leak dangerous chemicals or cause a fire.

    • During reassembly, make sure to align the fingerprint reader bracket correctly and push the small metal edge back into its recess under the motherboard cover.

  11. eAHMTBtGt525I3M4
    eAHMTBtGt525I3M4
    fucfcAexAH5UN3AY
    YcnLEWNQQNIsT5Hg
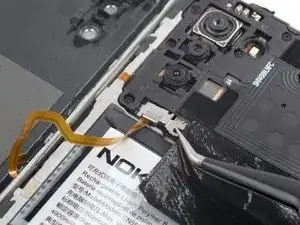
    • Use the flat end of a spudger to disconnect the fingerprint reader by prying the connector straight up from its socket.

    • To re-attach press connectors like this one, carefully align and press down on one side until it clicks into place, then repeat on the other side. Do not press down on the middle. If the connector is misaligned, the pins can bend and cause permanent damage.

    • Remove the back cover.

Conclusion

To reassemble your device, follow these instructions in reverse order.

Take your e-waste to an R2 or e-Stewards certified recycler.

Repair didn’t go as planned? Try some basic troubleshooting, or ask our Answers community for help.

Manuel Haeussermann

Member since: 13/07/22

9940 Reputation

0 comments