Introduction
This is a prerequisite-only guide! This guide is part of another procedure and is not meant to be used alone.
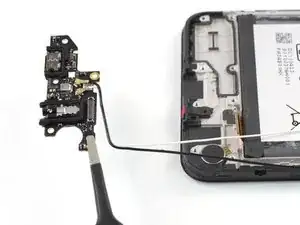
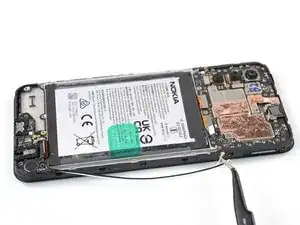
Use this guide to remove the charging port assembly in the Nokia G42 5G.
-
-
Use the flat end of a spudger to disconnect the interconnect cable by prying the connector straight up from its socket.
-
-
-
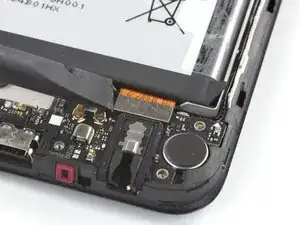
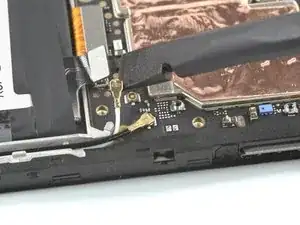
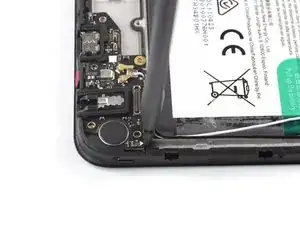
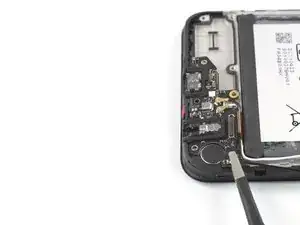
Use a spudger to disconnect both antenna cables by prying their connectors straight up from the sockets on the motherboard.
-
-
-
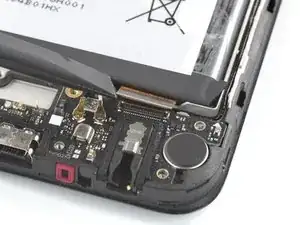
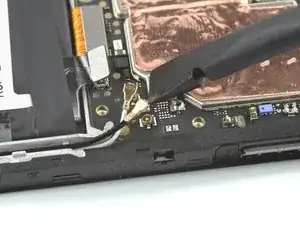
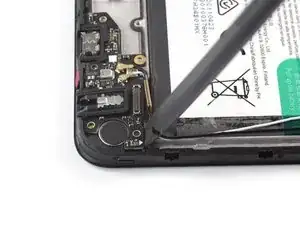
Use a pair of tweezers or your fingers to lift the antenna cables out of their recess in the frame.
-
-
-
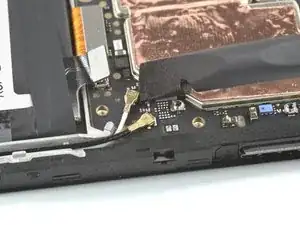
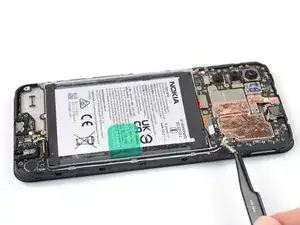
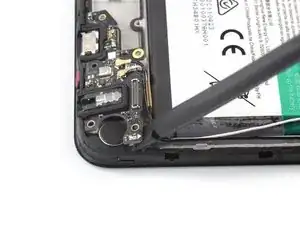
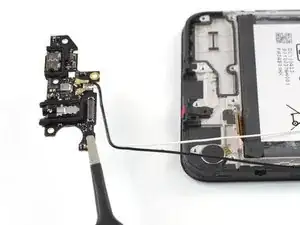
Insert the flat end of a spudger underneath the top right edge of the charging port assembly.
-
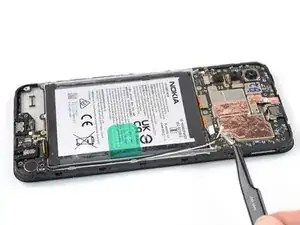
Pivot the charging port assembly up until you can grip it with your fingers.
-
To reassemble your device, follow these instructions in reverse order.
Take your e-waste to an R2 or e-Stewards certified recycler.
Repair didn’t go as planned? Try some basic troubleshooting, or ask our Answers community for help.