Introduction
This replacement guide will save you from having to buy a new phone by showing you how to replace the motherboard of your Nokia XL Dual SIM Android Smartphone.
-
-
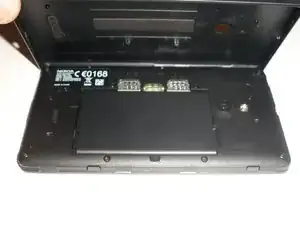
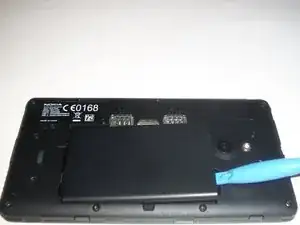
You will first need to separate the back cover from the device.
-
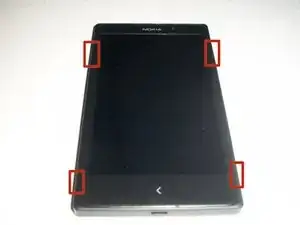
Gently pry open each side of the device at the indicated locations. It is best to use a plastic opening tool or similar tool.
-
-
-
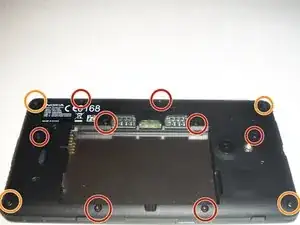
To access the inner components of the device, remove the various screws. Keep them separate, and organize them by size.
-
The locations of the T5x3.4mm screws are indicated in the picture.
-
The locations of the T5x4.1mm screws are indicated in the picture.
-
-
-
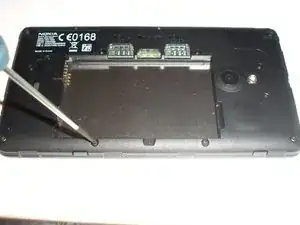
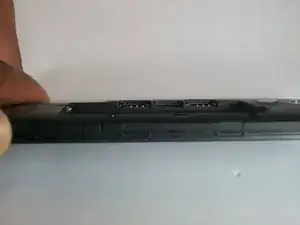
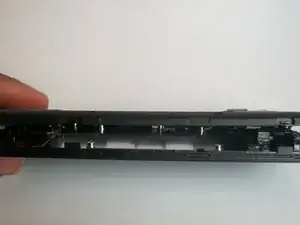
Use the plastic opening tool to gently pry the device apart.
-
There are flaps on both sides of the phone as indicated in the picture. This is what you will need to pry apart.
-
-
-
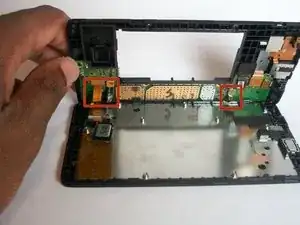
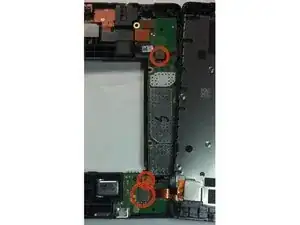
The 3 motherboard connectors for the touchscreen, volume buttons, and power/screen lock button assembly are indicated on the picture.
-
The touchscreen assembly can now be removed and set aside.
-
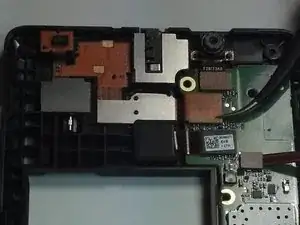
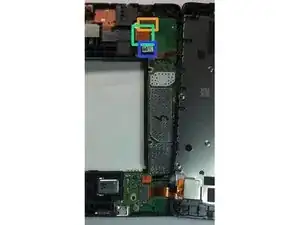
The motherboard connector for the front camera is indicated on the picture.
-
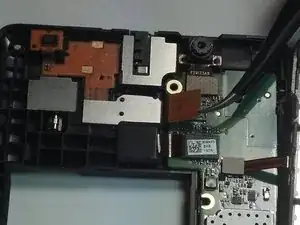
The motherboard connector for the camera flash, vibrator, and headphone jack assembly is indicated in the picture.
-
The motherboard connector for the front camera is indicated on the picture.
-
-
-
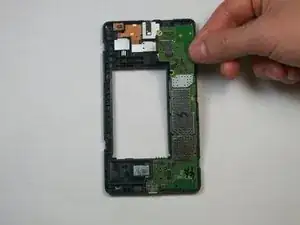
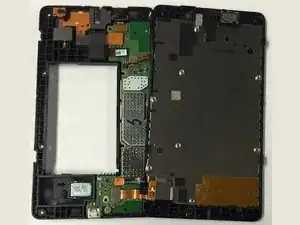
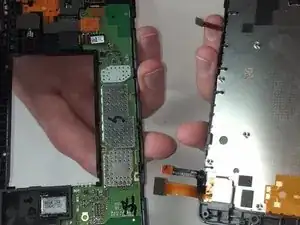
Gently pry up on the top underside of the motherboard with the small plastic opening tool.
-
Gently pulling upward on the motherboard will allow it to be removed.
-
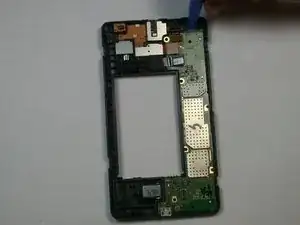

To reassemble your device, follow these instructions in reverse order.

2 comments
I removed my charging system while removing the charger from the phone after that i sgave it to phone repaire to insert a new charging system ,When my phone was ready he gave it to me,After i switched it on it turned bluish incolour the whole screen,so what can i do pls?
My phone is not charging when I plug it on the wall you ll see the charging indication on the battle sign on the phone that it is charging but it won't from morning to the next day it ll not what should i do,please
John -