Introduction
Tools
-
-
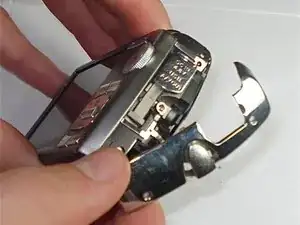
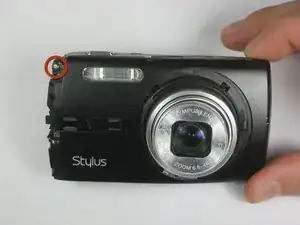
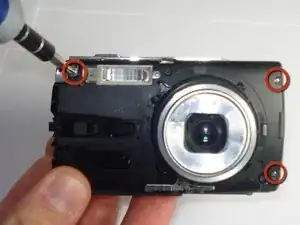
Remove the black front panel by sliding it towards the lens and then pulling it up off of the camera.
-
-
-
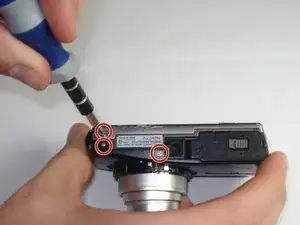
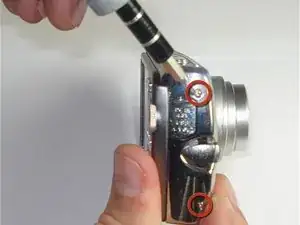
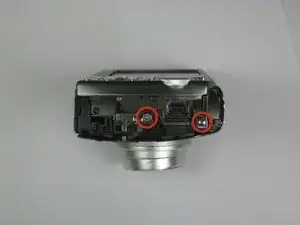
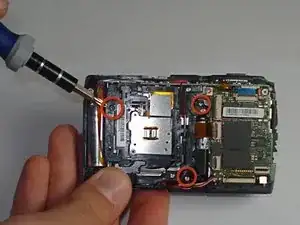
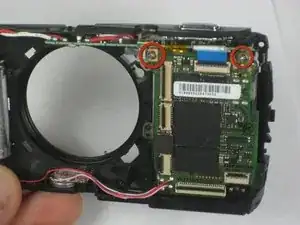
Remove the three Phillips #00 screws from the front of the camera.
-
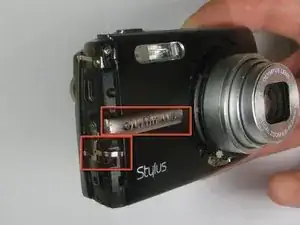
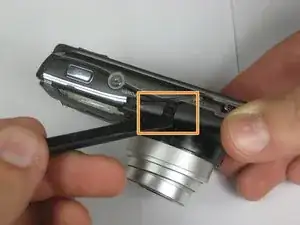
Using a spudger, lift the two tabs to separate the case—one tab on top and one tab on the right side.
-
-
-
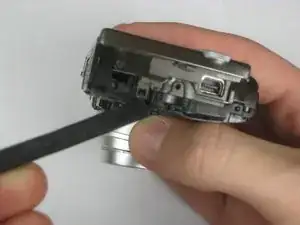
Using a plastic spudger, lift up the black clips.
-
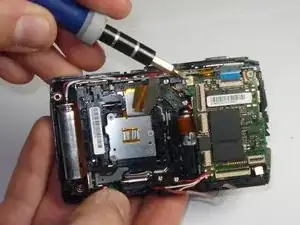
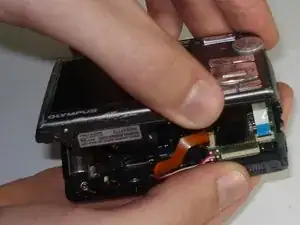
Still using the plastic spudger, detach the gold connector strip and white connector strip.
-
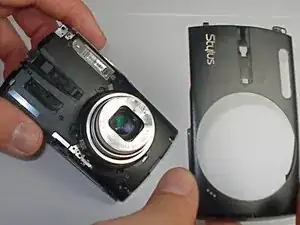
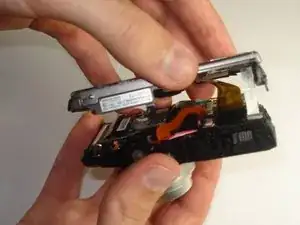
Using both hands, pull the camera apart into two pieces.
-
-
-
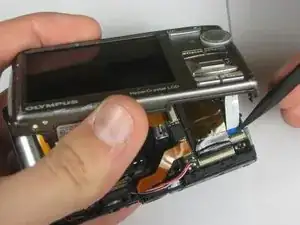
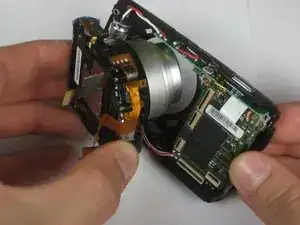
Using a plastic spudger, lift up the black clips.
-
Still using the spudger, detach the three gold wire tape connectors from the inside of the camera.
-
-
-
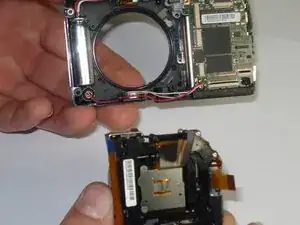
Using your thumb and forefinger, pull the lens piece straight out from the body of the camera.
-
-
-
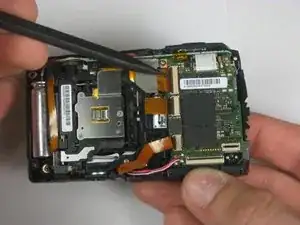
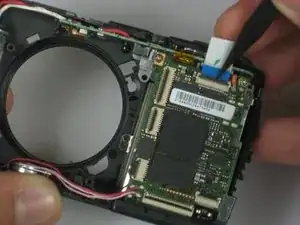
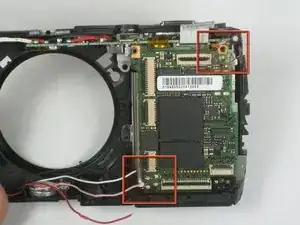
Using a plastic spudger, lift up the black clips.
-
Still using the spudger, detach the gold wire tape connectors from the motherboard.
-
-
-
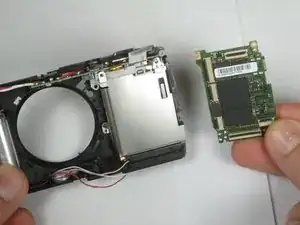
In order to remove the motherboard, grab each side of it and pull up using your thumb and forefinger.
-


To reassemble your device, follow these instructions in reverse order.
Put a notice on here that the screws are very small and are easy to misplace while disassembling device. Also, while disassembling the device there was only one screw present, where the guide suggested there were three.
Curtis Reedy -
Before beginning, put a note that the camera should be turned off before proceeding.
Curtis Reedy -
Add a note at the beginning of the guide that there are a large number of small screws that should be separated as the steps are completed.
Curtis Reedy -
There's a capacitor .....watch out for it in every step.
BILL BOYD -