Introduction
If you’re looking to replace a part of your Olympus Stylus 1030 SW Camera, you will most likely need to disassemble it first. This guide will help you accomplish that. Don’t worry, no special skills are required.
Before you begin disassembling, be sure to remove the SD card and the battery from the camera.
-
-
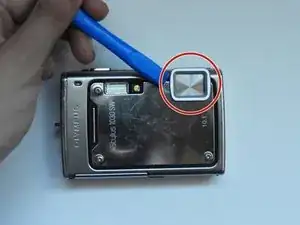
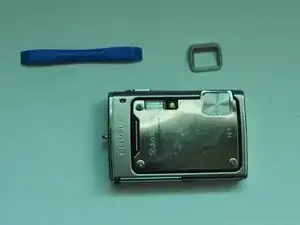
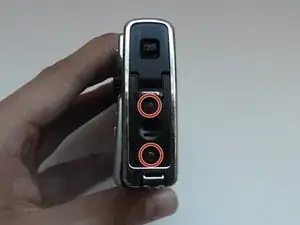
Using the iFixit Opening Tool, pry off the plastic part of the lens.
-
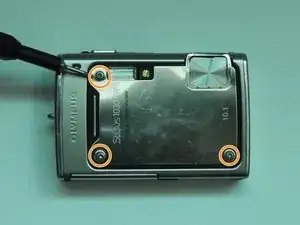
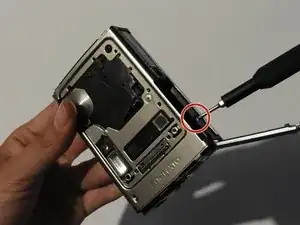
Using the T6 Torx screwdriver, unscrew the three screws.
-
-
-
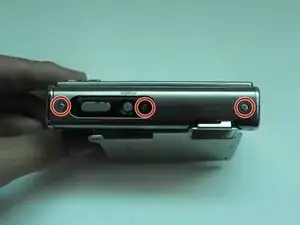
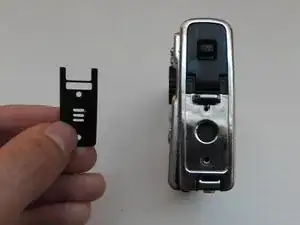
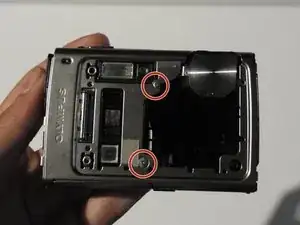
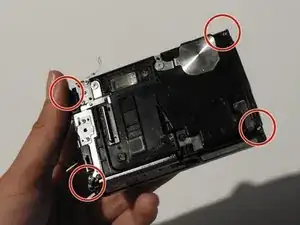
Using the Phillips #00 screwdriver, unscrew the three screws.
-
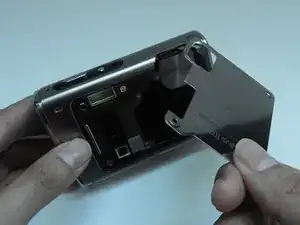
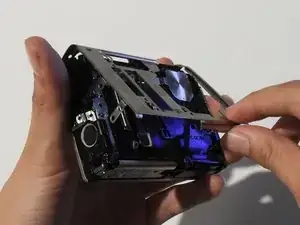
Carefully swivel the metal cover out towards you.
-
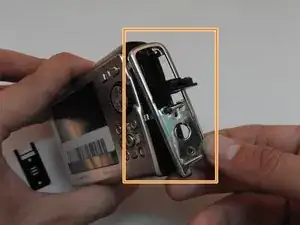
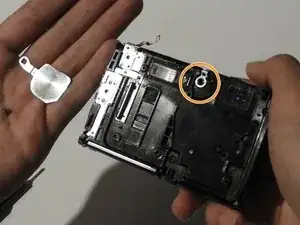
Using tweezers, remove the metal washer.
-
-
-
On the opposite side, use the Phillips #00 screwdriver to unscrew both screws.
-
Take out the speaker plate.
-
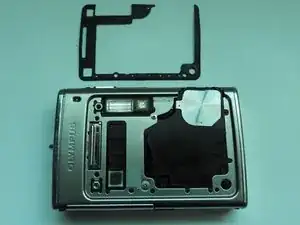
Open the multi-connector cover and slide off the side panel.
-
-
-
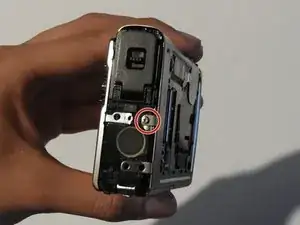
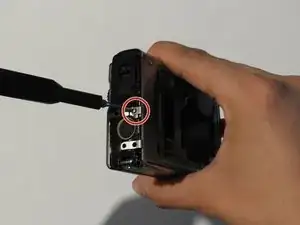
Using the Phillips #00 screwdriver, unscrew the screw above the speaker.
-
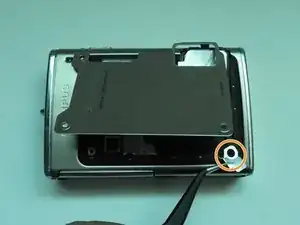
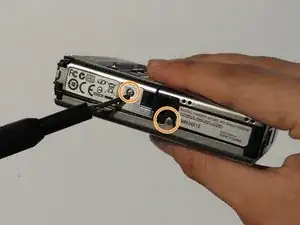
On the bottom side of the camera, unscrew the two screws.
-
-
-
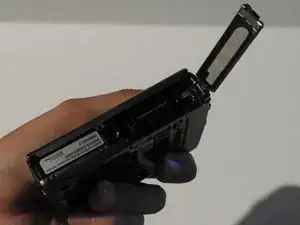
Open the battery compartment cover.
-
Use the Phillips #00 screwdriver to unscrew the screw in the battery compartment.
-
-
-
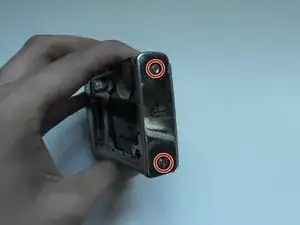
On the front of the camera, unscrew the two screws shown.
-
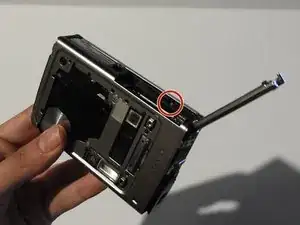
Gently pull on the side until the camera is separated from the back panel.
-
Remove the shutter and power button.
-
-
-
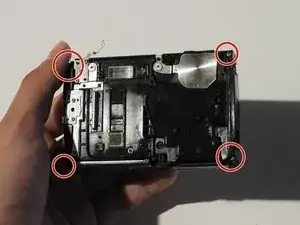
Use the Phillips #00 screwdriver to unscrew the four screws on the front of the camera.
-
Unscrew the shutter using the Phillips #00 screwdriver.
-
-
-
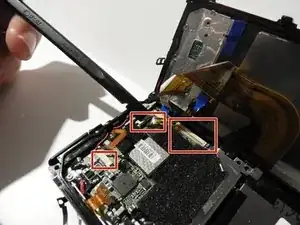
Release the top holding using a spudger.
-
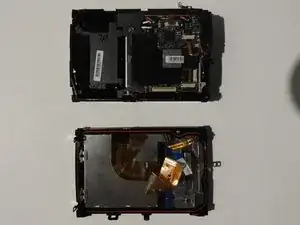
Slowly and carefully separate the front and back of the camera, exposing the electrical ribbons.
-


To reassemble your device, follow these instructions in reverse order.
What secures the plastic part back to the lens when reassembling?
Patrick Mitchell -