Introduction

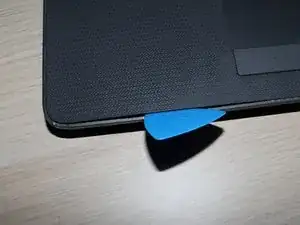
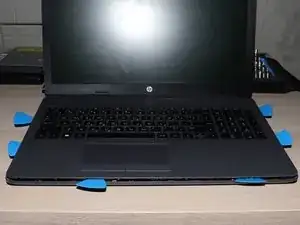
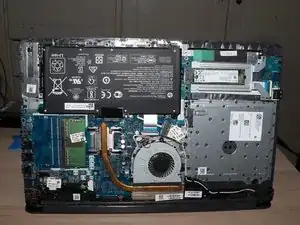
To do anything inside of the HP 255 G7, you will need to remove the bottom cover of the laptop. This guide will help you do so, giving you access to the inside.

  1. mNMqUZAlvpmIiIxc
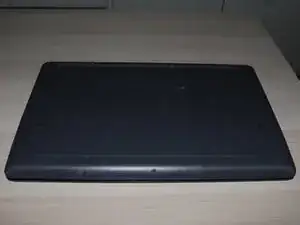
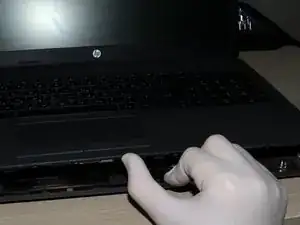
    • Firstly, flip the laptop upside down, so that you are looking at the bottom of it, and the hinge of the screen is facing away from you.

  2. JqCISseY466NNJAU
    JqCISseY466NNJAU
    vPeMKmDxvAmBkGwy
    • Use the spatula to remove the rubber "leg", all the way until it is completely removed.

  3. K5UQFxQ2Mfu63uGs
    • Repeat for the top rubber.

  4. gZu3bnyys2wmGlQL
    gZu3bnyys2wmGlQL
    aOMxnrPLm3V6EBdA
    KVR3tNTKAc2HnIiu
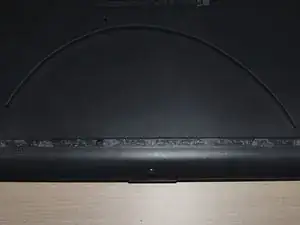
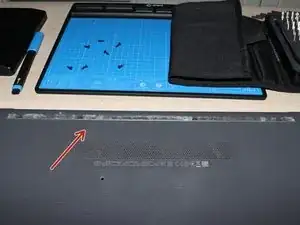
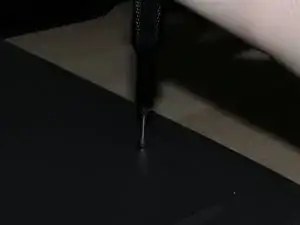
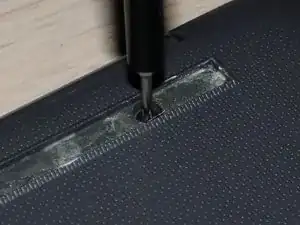
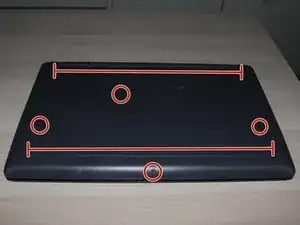
    • Unscrew all the screws from the laptop, including the ones that were under the rubber "legs".

    • There should be 11 screws in total. (4 under the upper leg, 3 under the lower one, and 4 that were not under rubber).

  5. XaYHOpYAYIQNjHax
    • Carefully insert a pick under the touchpad of the laptop.

  6. ttJmpZoLqRsFquf5
    • Continue inserting picks all the way around the laptop.

  7. oSdHD1Mtvcl1P2MB
    • Pull apart the cover and the body of the laptop.

    • If you find resistance, reduce the angle of the screen hinge, since the hinge might be "clamping" the cover.

    • If you still find resistance, check for any forgotten screws on the bottom. Never apply too much pressure if there is a lot of resistance.

  8. ZbdxUBmgK3WPFigu
    • Finally, the bottom of the laptop should look like that.

Conclusion

To reassemble your device, follow these instructions in reverse order.

Stratos Thivaios

Member since: 27/02/23

756 Reputation

0 comments