Introduction

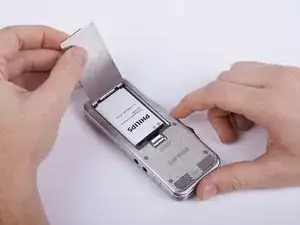
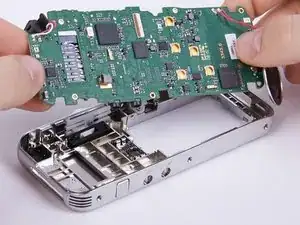
Ensure to have a new/flawless motherboard lying next to you before you start removing the defective one.

You should also have a little bowl ready to set aside screws and other small parts.

  1. QcOIHrTMFoARG5NG
    • Before you start disassembling your device make sure that it is turned off.

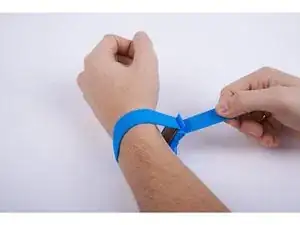
    • Put on the Anti-Static Wrist Strap and clamp the end of the band to an unpaintet spot of a radiator.

  2. 4koDSDCqa1fdd6QW
    4koDSDCqa1fdd6QW
    4CCgqZuIaMfwMKhd
    • Remove the battery lid

  3. wf5kYP6E5dEiOiCw
    wf5kYP6E5dEiOiCw
    lquX1YRRkVoXXaGE
    • Remove the battery.

    • The battery lid is designed to function as an instrument for this task.

  4. eLNXJ1TKwBejQlIK
    eLNXJ1TKwBejQlIK
    IgKXXLHuIhAZPAuM
    XfkQXx4roeWWltIr
    • Unscrew the six Torx #4 (5,3 mm) screws from both sides of the device

    • Collect the removed screws in a bowl or something comparable, otherwise they might get lost.

  5. NnbDw5vkEDeQVw6E
    NnbDw5vkEDeQVw6E
    Y2CLPQTKuULZnDSW
    B1aKYNUCfPtHuJXd
    • Remove the upper ornamental part from the housing.

    • If your fingernails are not long enough you can use a plastic opening tool.

    • When reassembling the device be aware that the six shackles on the sides of the upper ornamental part need to be placed inside the frame.

    Be carefull, the newer versions of the unit have the display “glued” to front cover to stop dust getting between the outer cover and display. The display now comes out with front cover and as such care must be taken with cables

    Somco Cape -

  6. EANPckjPhXOuhATb
    EANPckjPhXOuhATb
    prRgbwJSitWZDYFM
    • Lift up the housing.

    • The display as well as the speaker are connected to the motherboard. Therefore you need to be careful not to harm those connections.

  7. VnAL3tr5hGKNdV1N
    VnAL3tr5hGKNdV1N
    kgA3fopJQRXMbr56
    • Unlock the connection between display and motherboard by pushing open the brown cleat.

    • It is recommended to use a spudger or a comparable tool for this step.

    • If the connection is not completely open, one of the involved components could easily be harmed.

  8. kqdGTx5IInYwLjF4
    kqdGTx5IInYwLjF4
    qtAS35SLPOsSvRm2
    • Separate the connection by pulling out the display cable.

    • If the cable does not come out easily, the connection is probably still locked.

    • When reconnecting the display to the motherboard don't forget to lock the connection, otherwise it will eventually come loose and you will have to redo the first eight steps of this guide.

  9. NGc3mVOOCtXXjWWo
    NGc3mVOOCtXXjWWo
    NJvUSCBBmtZxmFSC
    tqJkSEIUdsEyvNU1
    • Remove the mounting spring from the speaker with a pair of tweezers.

    • If you just want to replace the motherboard, it is recommended to ignore the steps 9 and 10.

  10. rBJieX4mRAEAxqLa
    rBJieX4mRAEAxqLa
    dtRocNCgwUtqLgNb
    • Take off the safety mat from the speaker.

    • Remove the speaker from the housing.

  11. TyMmEZgposReXVY6
    TyMmEZgposReXVY6
    pI1A6biZVVHKYWdD
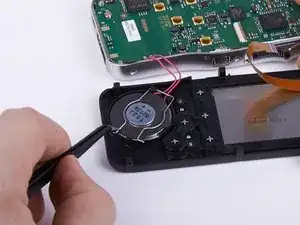
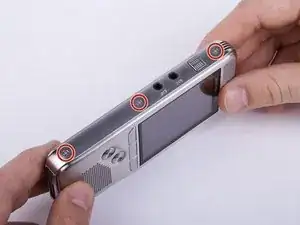
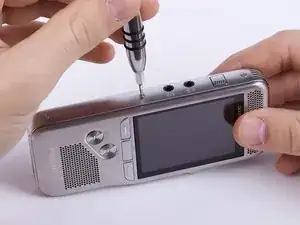
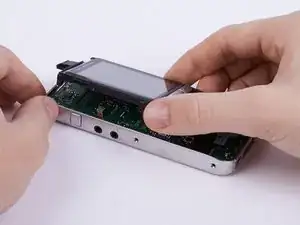
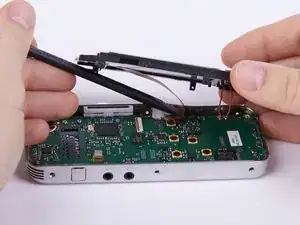
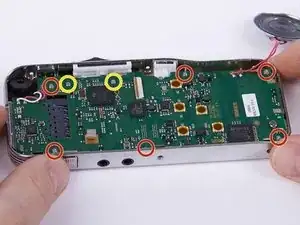
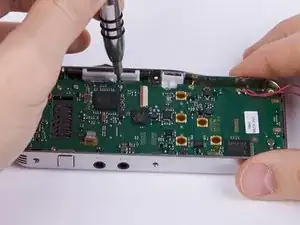
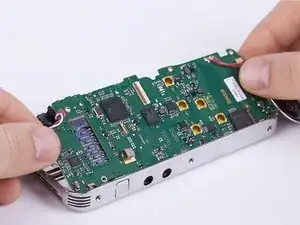
    • Unscrew the eight Torx #4 (5,0 mm) screws from the motherboard.

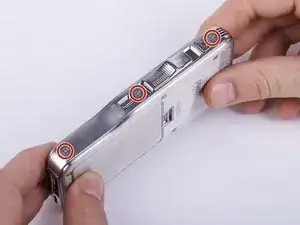
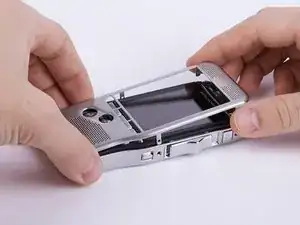
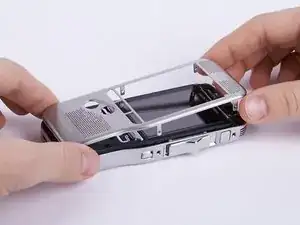
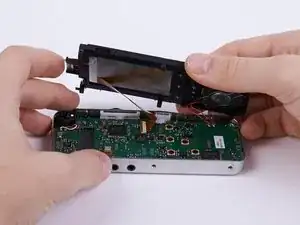
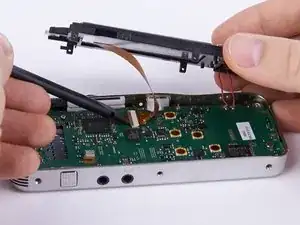
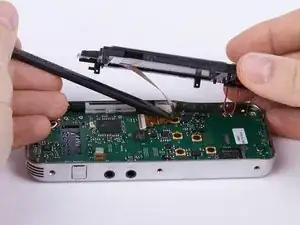
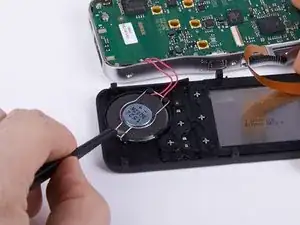
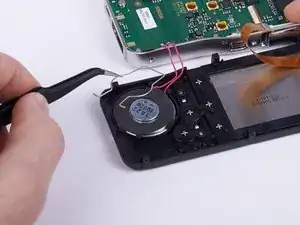
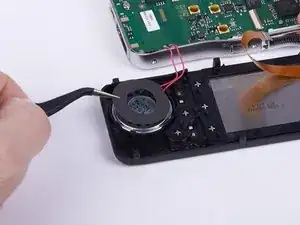
    • These two screws connect the motherboard with the sliding cage. In this guide they are removed as well. Hence this is not compulsory you can decide for yourself whether you want to remove them now or later.

  12. M3ABKZ4ClPVkNT6X
    M3ABKZ4ClPVkNT6X
    y44skkVQSYGjOOHR
    • Push in the SD-Card to eject it.

    • If the memory card remains in its slot you will not be able to remove the motherboard.

  13. QaxUwNrUOHy4GchO
    QaxUwNrUOHy4GchO
    JlvdR3JDHCbxrPmE
    • Abstract the motherboard.

    • Lift up the motherboard as shown in the picture before completely removing it.

    • When inserting the motherboard first put in the side with the speaker jack on it and make sure that the microphone is placed properly under the motherboard.

Conclusion

Dissolve the solder connections between motherboard and speaker (step 14) as well as the microphone (step 14). Then solder both components to the new board.

Replace the old motherboard by a new one and then reassemble your device. Therefor follow these instructions in reverse order.

Andreas Holl

Member since: 05/11/15

731 Reputation

One comment

Very well described and very well illustrated, thank you

Somco Cape -