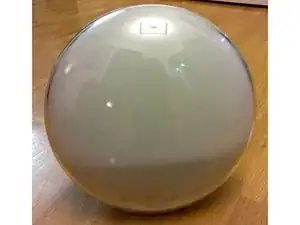
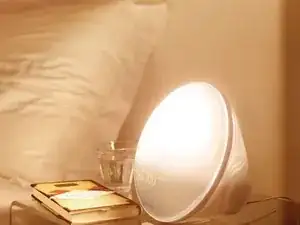
Introduction
The IC (chip) inside the lamp seems to die slowly resulting in flickering/flashing lamp operation when using the radio. Also, the buttons may become unresponsive.
The problem occurs specifically when the device is cold and/or humid. Heating up the IC makes it work again.
-
-
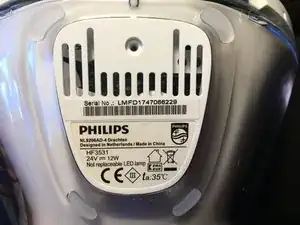
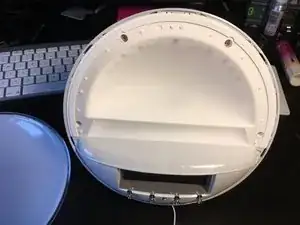
There is a screw under the shiny UL sticker. Remove the sticker and screw to remove this bottom panel.
-
-
-
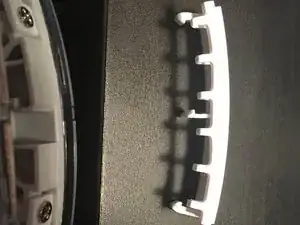
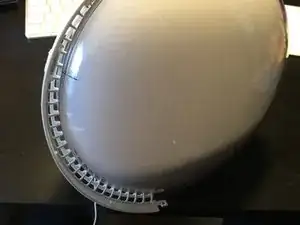
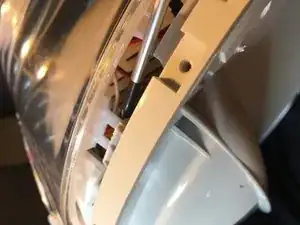
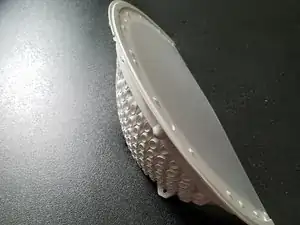
Flipping the light upside down will present a small section of the bezel that can be pried upward. It is a small plastic strip with hooks that have to be disengaged to be removed.
-
-
-
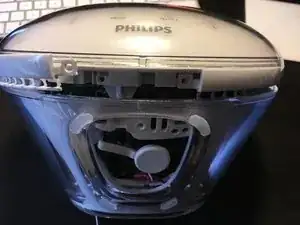
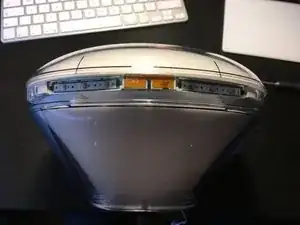
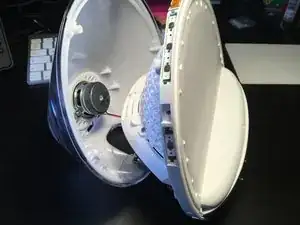
Now the screws holding the front screen shield need to be removed and the shield can be pulled away to the front.
-
Unscrew the four screws holding the inner screen assembly in place.
-
-
-
The inner screen assembly can be pulled out slightly to reveal tabs on each side that hold the assembly in.
-
Pry the back tabs inwards to release.
-
-
-
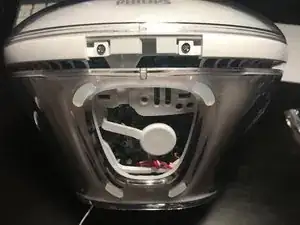
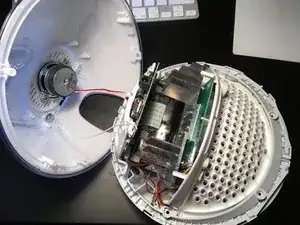
The screen is connected to the plastic domed back with holes. There are two screws at the back of the base of this domed panel. Remove screws to remove screen.
-
-
-
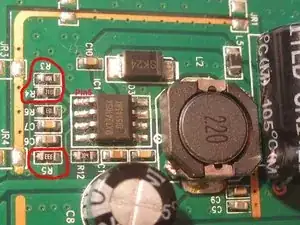
On the main PCB with the power jack, replace the MXT2410 switchmode regulator IC (SO-8 Package).
-
Currently a seller "adeleparts2010" has this chip available (might change in future). The previously recommended pin-compatible device from Quorvo (ACT4060ASH-T) is not a good choice and might cause more damage.
-

Arbeite die Schritte in umgekehrter Reihenfolge ab, um dein Gerät wieder zusammenzubauen.
24 comments
Hi Thomas,
I have the same problem, but i do not understand what you are doing with the R3 and R4. If i remove R4, with what should i replace it?
Or how should i measure it?
Thanks in advance,
Arnoud
Can somebody do this for mine?
Can some one do this for me??
I can only do it in Germany
There is one screw under this tab that's hold the front ring attached in fact. I guess you should have removed it too before prying this ring open
Luuk Akkerman -
That one does not hold the ring but the cover (step 4).
Wozu das denn -