
Introduction
This guide will go through the steps necessary to remove the power supply unit from the PlayStation 4 Pro. Some disassembly is required for this removal, but it is one of the first things that can be removed from the PS4 Pro.
-
-
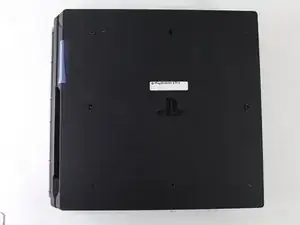
Begin by flipping the console upside down.
-
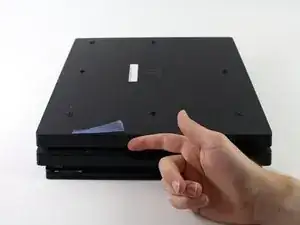
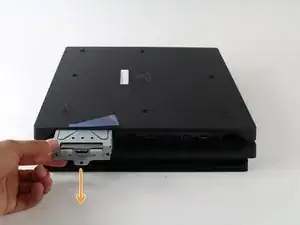
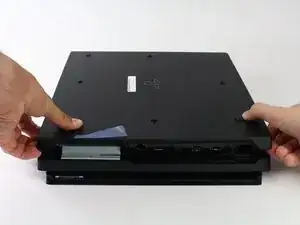
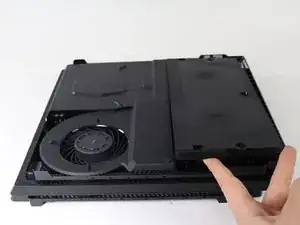
Use your finger to pull and snap off the plastic cover over the hard drive.
-
-
-
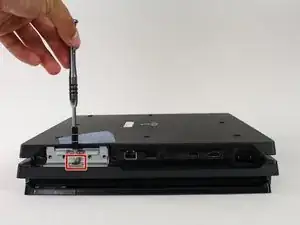
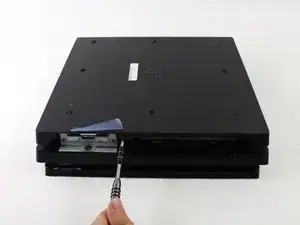
Use a screwdriver to remove the single Phillips #0 screw securing the hard drive caddy.
-
Pull the hard drive caddy straight out.
-
-
-
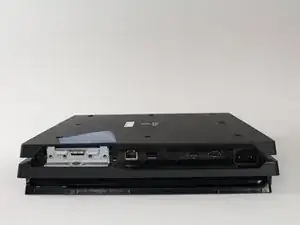
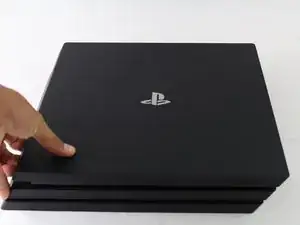
Flip the console right side up.
-
Grip the two corners located at the front of the device.
-
Pull upwards until a loud click is heard.
-
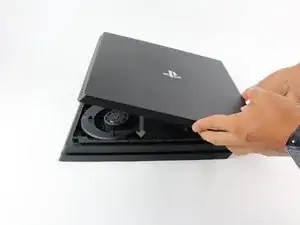
After both corners detach, slide the cover backwards and lift off.
-
-
-
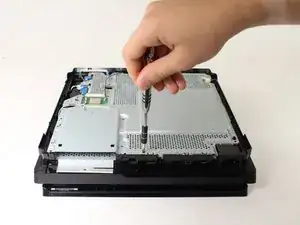
Use a T8 Torx Security screwdriver to remove the five screws.
-
Two 31mm screws.
-
Three 10mm screws.
-
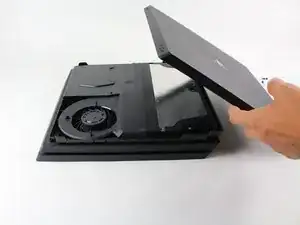
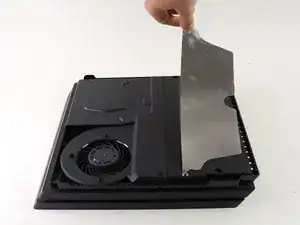
Remove the metal plate.
-
-
-
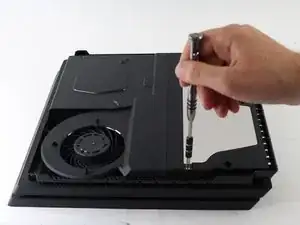
Flip the console to its back once again.
-
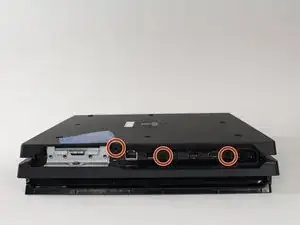
Use a T8 Torx Security screwdriver to remove the three black 7mm screws in the back panel.
-
Remove the bottom cover in the same way as the top cover. Grip on both sides, pull up until a click is heard and slide off.
-
-
-
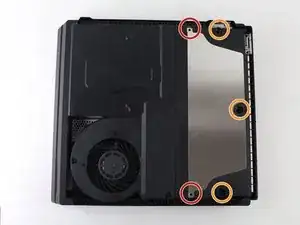
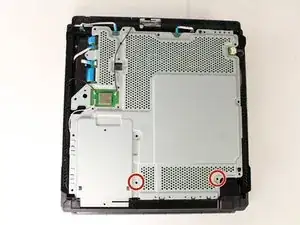
Use a T8 Torx security screwdriver to remove the two 10mm silver screws from the metal plate.
-
-
-
Flip the console over to continue working on the top side.
-
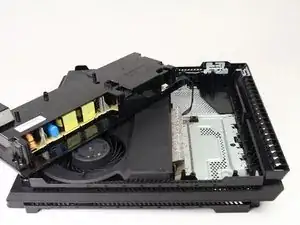
Place fingers underneath edge of power supply unit on both sides and pull straight up.
-
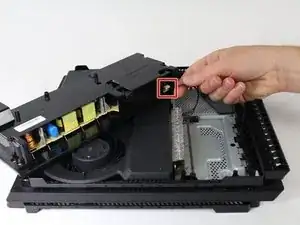
Grip the connector behind the power supply and pull straight out.
-
To reassemble your device, follow these instructions in reverse order.
10 comments
Thank you soooo much for helping me save my ps4 pro guys! At the moment I love you like no one before! ;D
Can you go further in your tear-down and show us how to open up the power supply without breaking the PSU plastic case? Thanks. ^_^
Matt -
I bought a PS4 power supply CR 300 and my PS4 has an FR 300 power supply will they interchange