Introduction

Leaky waders are no fun. Patching them yourself is not only easy, but will give you more bragging rights than your last fish tale. Follow these easy instructions for a simple, near-invisible patch for your waders.

If you know where your waders are leaking, skip down to the Patching a Hole section.

  1. mVOt2iNsbTiR4BkE
    mVOt2iNsbTiR4BkE
    Xjp6AHCCgSyKyYlM
    CGbZpjp5ncINICQA
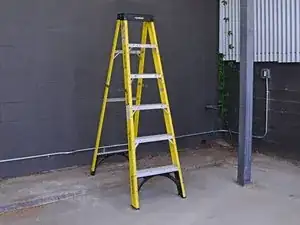
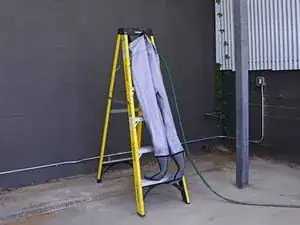
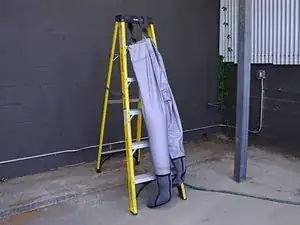
    • Set up a ladder in a level place outside that you don't mind getting wet.

    • Turn the waders inside out.

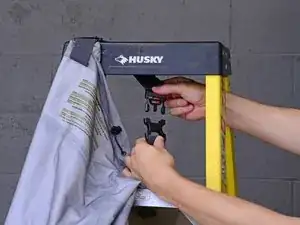
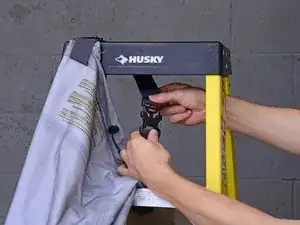
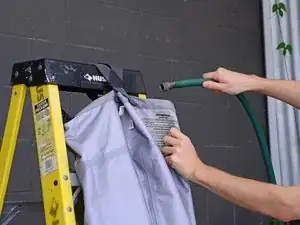
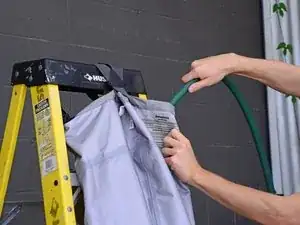
    • Clip the waders to the ladder.

  2. fv3kpELShZHuXU5B
    fv3kpELShZHuXU5B
    c2L43OoJcALQuIyO
    EvfsWdZtqPyhJBXy
    • Put the hose into the waders.

    • Slide the hose into one leg of the waders.

  3. 2d3AcvJuc5akNoJx
    2d3AcvJuc5akNoJx
    vXfF6wAFWSNA1Wqo
    • Turn on the hose and begin to fill the waders.

    • Be sure to pay attention because the large amount of water may tip the ladder. If needed, weigh the back side of the ladder down to prevent it from tipping.

  4. H22Z4mOYA3XyOD33
    H22Z4mOYA3XyOD33
    KtJXtvxn2NI2yfrU
    vHljShTUqmMtpYjN
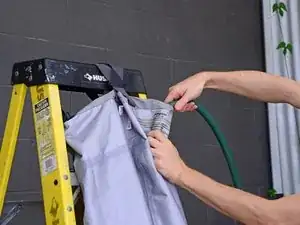
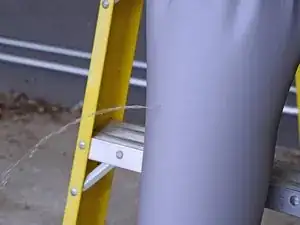
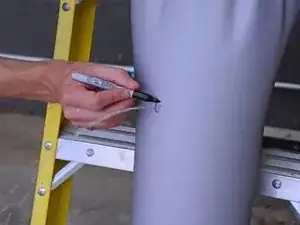
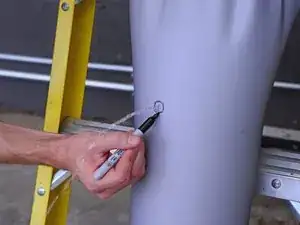
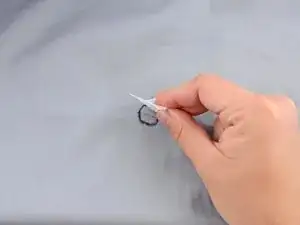
    • Watch for leaks. When you find a leak, mark it with a permanent marker.

    • Repeat this process for the other leg, marking all the leaks you find.

    • Dump the water out and allow the waders to dry completely before you continue.

  5. WAWG5NIN6bHDIsmr
    WAWG5NIN6bHDIsmr
    MMs4P6UipBJaqS1p
    pIBPaKulIHGCG2G6
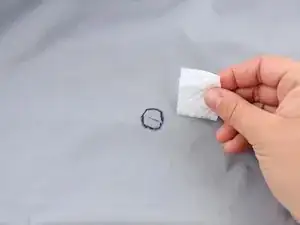
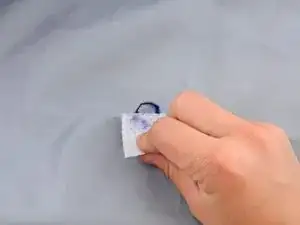
    • Wipe your marked areas down with an alcohol wipe to clean them.

    • Wait for the area to completely dry before continuing.

  6. JldCZ2FC1EfyB5WR
    • Add a drop of Seam Grip to the marked area.

    • You need enough Seam Grip to thinly cover a one-inch square.

    What if the opening is longer than an inch say 2-21/2 inches?

    Richard Heffernon -

  7. cmIHFyELmPQDLoma
    cmIHFyELmPQDLoma
    uSgouoNqVRCfDUPS
    • Use the paintbrush to spread the Seam Grip thinly and evenly over the area.

  8. YC5IYYJUeSoLIeTh
    YC5IYYJUeSoLIeTh
    QXGmIQ3UCefAeQtq
    • Rotate your brush 90 degrees and spread the glue evenly over the area.

  9. G5WjRywor5TTSkoS
    G5WjRywor5TTSkoS
    jfaJ2QERifNJTYJf
    dwUVXG6TyfqoZB6N
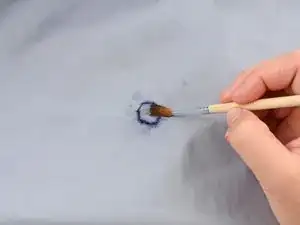
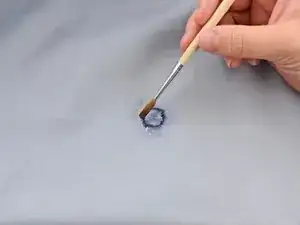
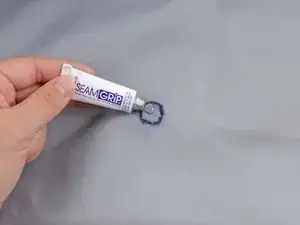
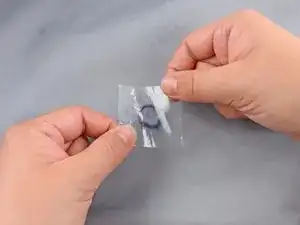
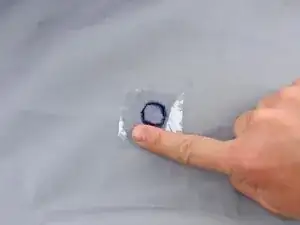
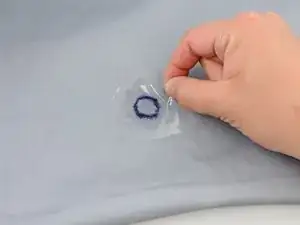
    • Apply the thin film (included in your wader repair kit) on top of the Seam Grip.

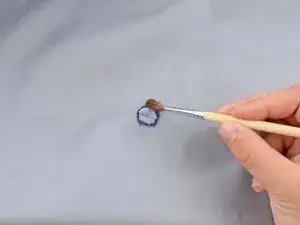
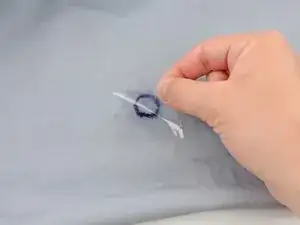
    • Smooth out the film with your finger, pushing out any air bubbles.

    • Allow the waders to sit undisturbed for 12 hours.

  10. LfLDS3DE6YOWWF1Z
    LfLDS3DE6YOWWF1Z
    bFSttyEPPUnH5dfH
    IjY6pbT2CMCkS2DX
    • Peel the thin film off of the waders.

    Thanks. Good instructions. However, what to do if the whole in the wader is quite big. E.g. I got a whole as an “L”-shape. Each side is about one inch (about 2.5cm) long ! I think just putting SeamGrip is not sufficient. I think, additionally, some fabric to cover the whole is required. What do you suggest? Many thanks.

    Rudolf Christen -

Conclusion

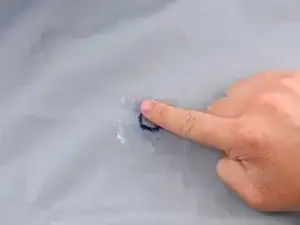
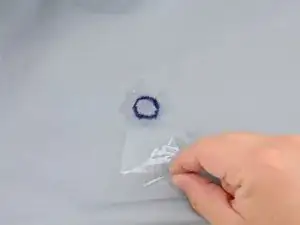
You should now have an invisible, but watertight patch. Repeat this for all of the leaks you marked.

Brittany McCrigler

Member since: 05/03/12

88291 Reputation

One comment

Ho riparato i wader seguendo le indicazioni, ed e stato un trionfo, lavoro perfettamente riuscito. Ora devo provare la tenuta andando a pescare.

Unico problema e il pennarello, che bagnandosi con l’acqua sbava e tende a cancellarsi pur essendo indelebile…. Quando si i Wader si asciugano si rischia di non vedere bene i buchi da riparare se sono di piccola entità.

loris vitali -