Introduction
With frequent usage and exposure to weather, it can be very easy for a bike saddle to rip or degrade over time. As a bike seat is worn down, it becomes less ergonomic, and bike seats are a critical component to biking comfortably. A worn bike seat can cause minor bodily injuries and affect a biker’s concentration on the road. This guide covers how to replace a torn bike seat with a new leather cover to provide a better biking experience.
-
-
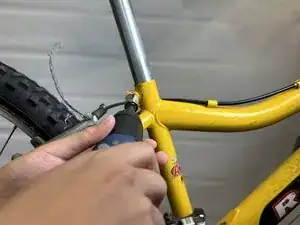
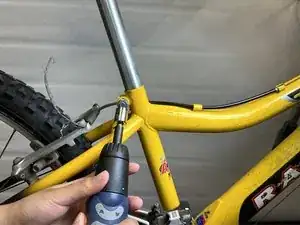
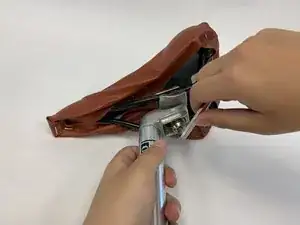
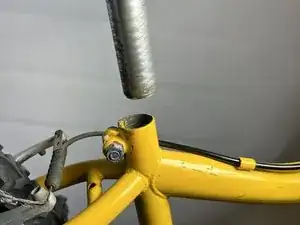
Use a wrench or electrical wrench to loosen the bolt located on the bike frame near the seat post.
-
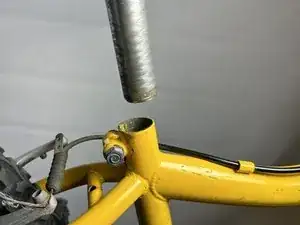
Once the bolt is loose, pull the seat post out of the bike frame.
-
-
-
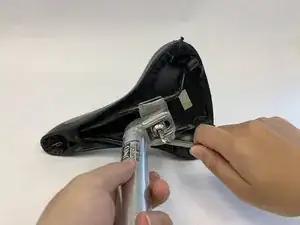
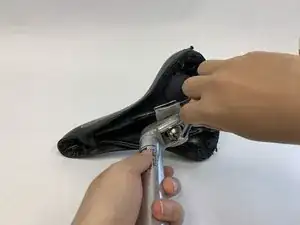
Orient the bottom of the bike seat so it's facing you, and place the short end of the Allen key into the bolt.
-
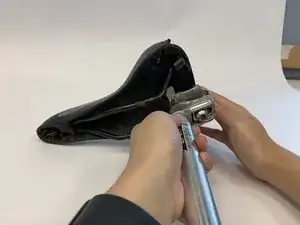
Rotate the Allen key counterclockwise to unscrew the bolt until the clamp is loose.
-
Slide the seat and seat clamp off the railings of the bike.
-
-
-
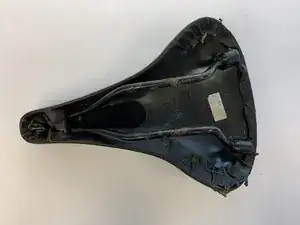
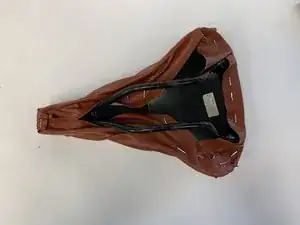
Use a metal spudger to remove the staples on the perimeter of the bike seat.
-
Carefully peel the old leather material off the bike seat.
-
-
-
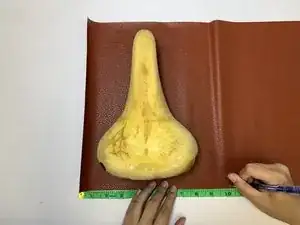
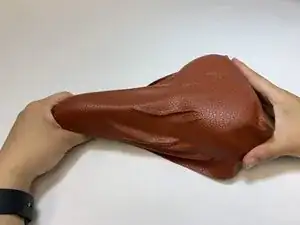
Place your bike seat on top of the new leather material and measure out enough leather to generously cover the entire top and sides of the bike seat.
-
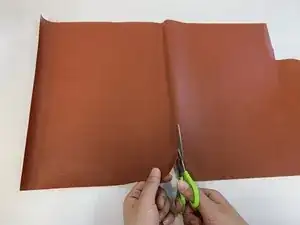
Mark a line around the perimeter of the material and cut along this line.
-
-
-
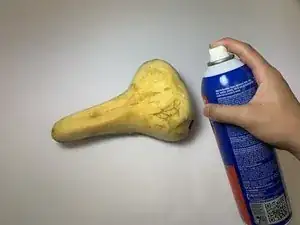
Place the bike seat upright on a surface you don’t mind getting dirty and spray the foam seat thoroughly with adhesive spray.
-
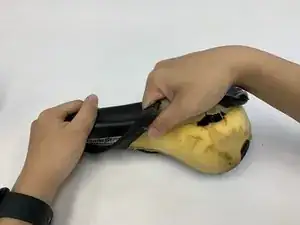
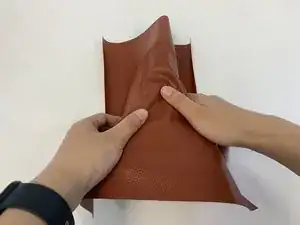
Carefully press the cutout leather sheet onto the top of the bike seat.
-
Smooth the leather out, and carefully apply the rest of the leather sheet to the remainder of the foam seat.
-
-
-
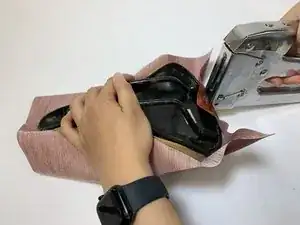
Press the leather sheet down as close to the bike seat as you can in a desired starting location. Allow it to fold, if necessary.
-
Hold the staple gun directly against the leather and flush with the surface of the bike seat. Press down firmly, and staple the leather in place.
-
If the staple doesn’t go through on your first try, that is fine. Use the screwdriver to remove the staple, and try again.
-
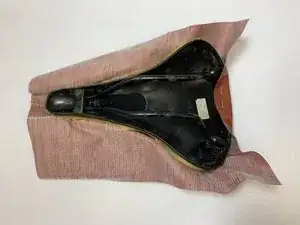
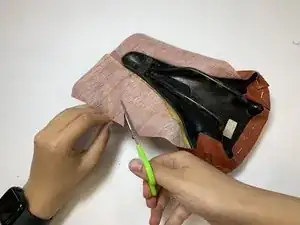
Continue stapling the leather all around the bike seat until the leather is secure, folding or cutting excess as necessary.
-
-
-
Assemble the bike seat in the original clamp orientation that was observed in Step 2.
-
Slide the seat clamp onto the railing located on the underside of the bike seat.
-
Once positioned, insert the short end of the Allen key into the bolt.
-
Rotate the Allen key clockwise to screw the bolt in and tighten the seat clamp to the bike seat.
-
-
-
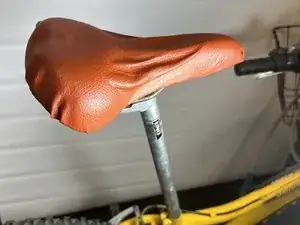
With the seat on the seat post, lower the post’s metal tube back into the bike’s seat post holder to your desired height.
-
Tighten the bolt on the bike frame following the instructions provided in Step 1.
-


To reassemble your device, follow these instructions in reverse order.
