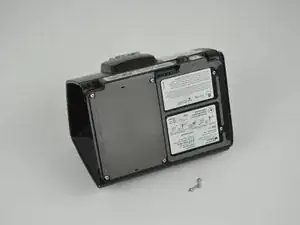
Introduction

This guide shows how to remove the top cover, and acts as a prerequisite for the Motherboard and the Wireless Communication Board guides.

  1. SBIqTRBYcvMIehUH
    SBIqTRBYcvMIehUH
    CBPMZCnfbCLVI4lb
    • Remove the water tub by gently pulling it out.

  2. LQHJS4QfweuD3lAW
    LQHJS4QfweuD3lAW
    eXuZBq3UJeHJRLNF
    XGKo363c2CoWpDoN
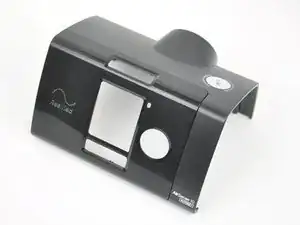
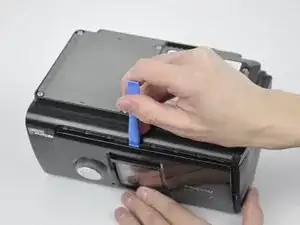
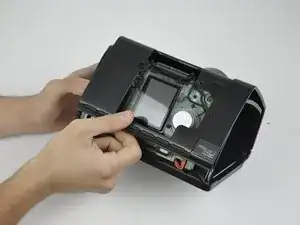
    • Pry off the face plate by using your finger or an opening tool.

    • Use a moderate amount of force when prying open.

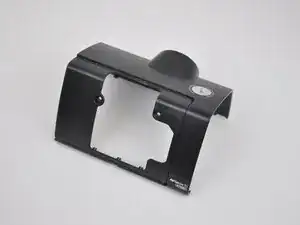
    • Remove the face plate from the top cover.

    • There will be a clicking sound on either side of the divot when assembling and disassembling.

  3. udjnBP3ZeyoE5QUn
    udjnBP3ZeyoE5QUn
    shoXLFVCXpqsOqBD
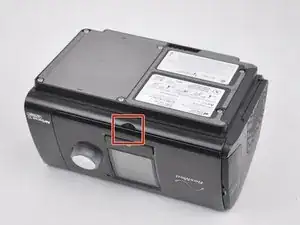
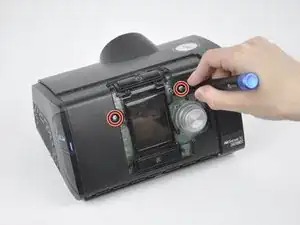
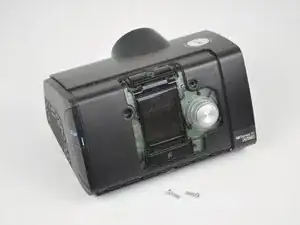
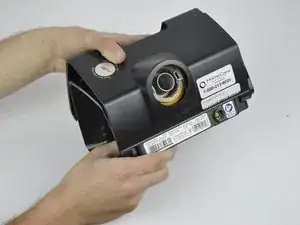
    • Unscrew and remove the two 11.8 mm TR10 Torx screws that were revealed from the face plate being removed.

  4. ncGxBKTZUNjJSTQ3
    ncGxBKTZUNjJSTQ3
    BVFLsS5dseJCNWpE
    • Unscrew and remove the two 11.8 mm TR10 Torx screws from the bottom of the device.

  5. ZIsCHtDGNbe5pLkR
    ZIsCHtDGNbe5pLkR
    OwpAghJRi6oPDxIS
    sP5cPyUkCKHt1lNC
    • Remove the top cover from the rest of the device.

Conclusion

To reassemble your device, follow these instructions in reverse order.

Mitchell Novak

Member since: 16/01/20

760 Reputation

0 comments