Introduction

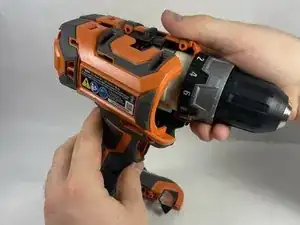
Use this guide to replace the speed switch in your Ridgid 860054 Drill.


The speed switch is also known as the gear selection switch.

The speed switch lets you shift the drill’s speed between the two available speed settings. If the speed switch is damaged or is not functional, you will be unable to change between the two speed settings.

Though unlikely, another issue could be stopping the speed switch from working. Make sure to visit the troubleshooting page before proceeding with the replacement.


Remove the battery from the drill before beginning the repair.

  1. EMPjkoFDt12nJ6Tx
    EMPjkoFDt12nJ6Tx
    5HsGIHhKto3Z4fUf
    • Using a T10 Torx security bit, remove the ten screws from the housing assembly.

    • All of the casing screws are the same length and require the same bit.

  2. gPmTF2joe1JfuJRa
    gPmTF2joe1JfuJRa
    Sq4uHVlSF1ZQQPLs
    • Separate one half of the drill casing from the other by gently pulling both halves apart.

    • Once one half of the casing is removed, be careful! If the components are directed towards the ground, they could fall out.

  3. J3drUKVEuxsLMJqS
    J3drUKVEuxsLMJqS
    Ex652CQVLvHkpZlO
    5xROgE6JPptAPlvi
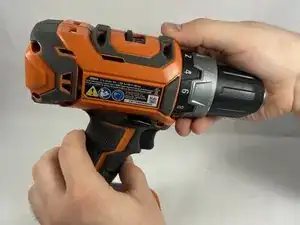
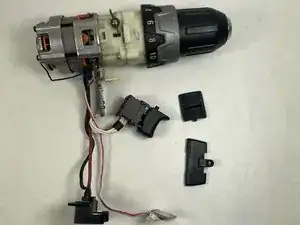
    • Remove the plastic speed switch and forward/reverse switch by softly lifting them from the casing.

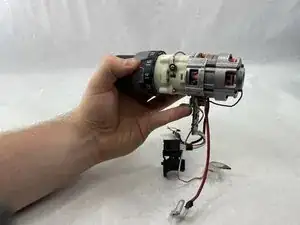
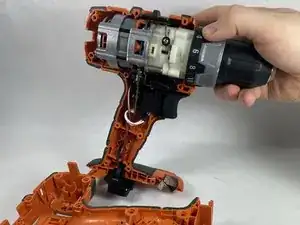
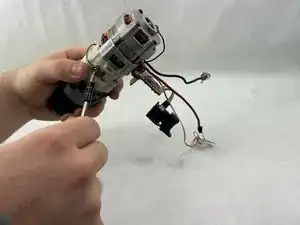
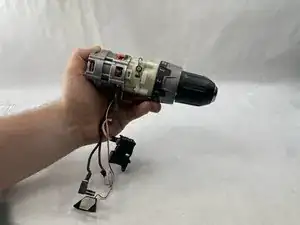
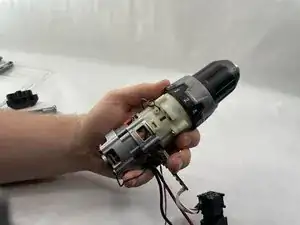
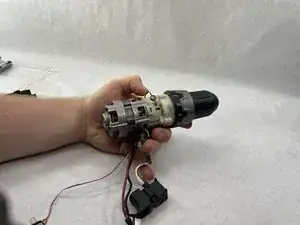
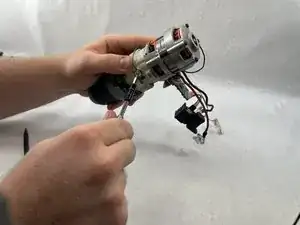
    • Remove the internal components of the drill by lightly pulling on the drill chuck.

    • All of the other electronic components are attached to the chuck, and will come out with it.

  4. Vhw6nwxcLgAFQVFI
    • The main section of the drill should have the trigger, light indicator, and battery prongs all connected via wire. There should be two plastic switches separated from the rest of the body.

  5. PsCCOJds4WMsbUFY
    PsCCOJds4WMsbUFY
    SYbICZLjcdXeBpSW
    XwmSlDGtfimAhmTB
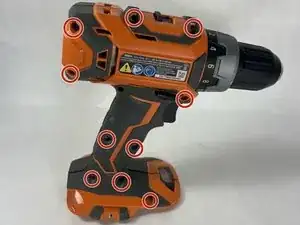
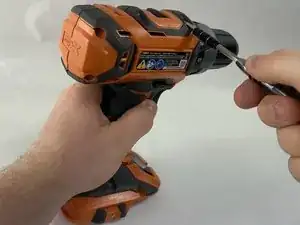
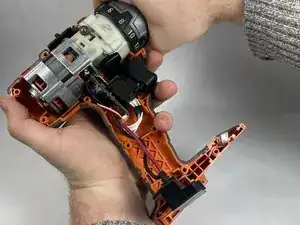
    • Using a T10 Torx security bit, remove the screws located on the left and right side of drill.

  6. ObmohfouOncclsFI
    ObmohfouOncclsFI
    JiPgm3oT1fJtZSq4
    h2Mv5EWJh1OCmGo1
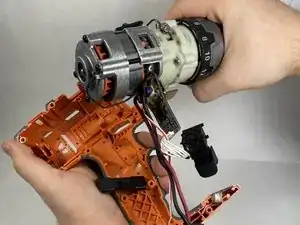
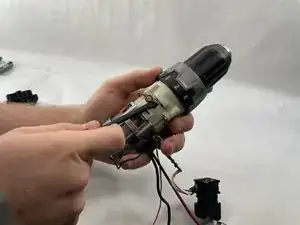
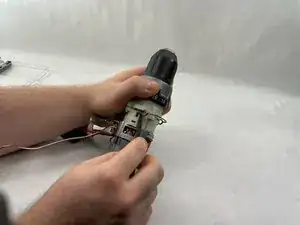
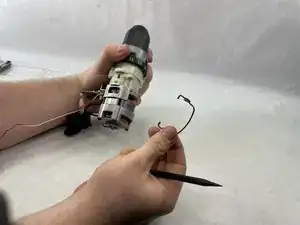
    • Remove the metal switch from the drill body on both the right side and left side using a pry tool.

  7. jJBmICAxVLPknmxp
    jJBmICAxVLPknmxp
    wlhBuDUGit2KRfGm
    MSQvq3OSB4rEGrKX
    • Remove the metal arm from the drill body.

    • Insert and screw the new metal arm in the same place as the old metal arm.

Conclusion

To reassemble your device, follow these instructions in reverse order.

gage.anastasio

Member since: 15/03/23

339 Reputation

0 comments