Introduction

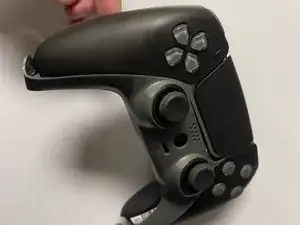
Follow this guide to replace the joystick switch on a SCUF PlayStation 5 DualSense controller.

  1. QMowkBIvXDEm1QId
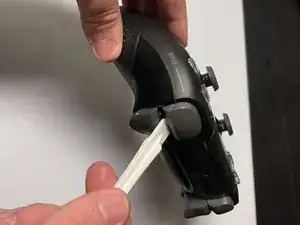
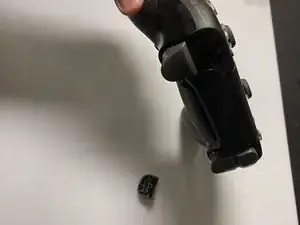
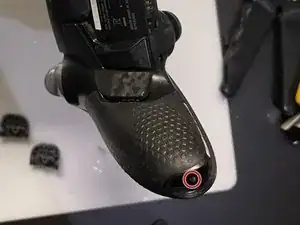
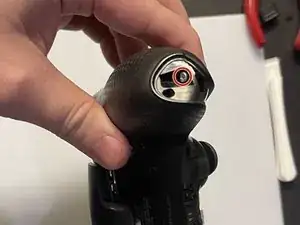
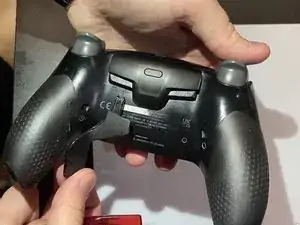
    • Insert an opening pick underneath the middle trim at the bottom-right corner of the controller to release the clips. Then take off the middle trim

  2. NdpIDYwyImhdAjJK
    NdpIDYwyImhdAjJK
    44I3RVdwYM5OHl1c
    tDPginddWpKVXHjr
    • Use a tool to pop the R1 and L1 buttons off of the controller.

  3. pmSR3Pdk6OkgFhMT
    pmSR3Pdk6OkgFhMT
    ISQQKTpxS32JkxW6
    • Unscrew and remove the screw from the bottom of each grip.

  4. hX2uKjgRGDN3HEAl
    • Unscrew the screws behind the L1 and R1 buttons.

  5. DOh1OApdLVG3kylP
    DOh1OApdLVG3kylP
    hQjSsZE4sHEMGrbe
    • Pull the joysticks off of the controller.

  6. yWmVlcH5AJxjmjtm
    • Pull the scuff buttons off the back of the controller by sliding them down.

  7. nlMY4WioSj5BD1IN
    nlMY4WioSj5BD1IN
    PFPdhhYnhsJuKNNW
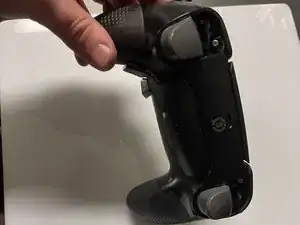
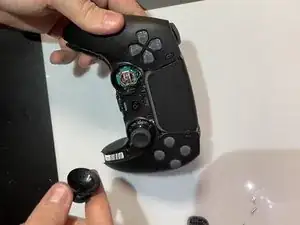
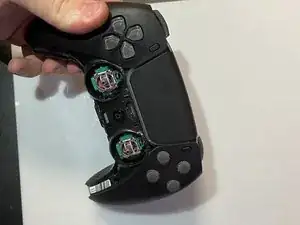
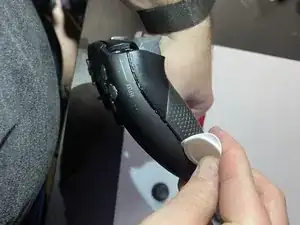
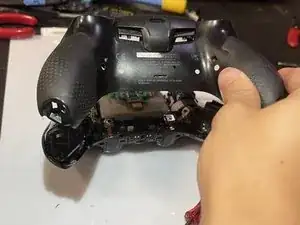
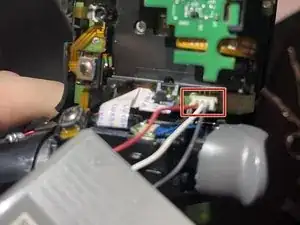
    • Slide the prying tool down the edge of the rear casing of the controller to remove the rear case.

  8. UVrVoiFZDIFCiYIV
    UVrVoiFZDIFCiYIV
    5aNhx2AOpHevwFYs
    • Slide the battery out of the controller. It is a big grey box.

  9. SisOofMDMEK1R2TW
    • Unplug the battery to finish removing the battery from the controller.

  10. wBZkWUJbCGZ2fCEJ
    wBZkWUJbCGZ2fCEJ
    4dqkJjHSLMorysUY
    • Unscrew the screw on the back of the controller to remove the battery bracket.

  11. LPTDL1MIWbuY1oLi
    LPTDL1MIWbuY1oLi
    CTTDfyTvLcK43n45
    • Use the soldering iron to desolder the yellow wire from the motherboard.

  12. wlRi4ZoKuceROFUQ
    • Unplug these four cables from the motherboard.

  13. lhHK2oRw13COBBKC
    • Use the soldering iron to desolder the black and red wires off of the motherboard.

  14. s64yfXrBh1wIsCBk
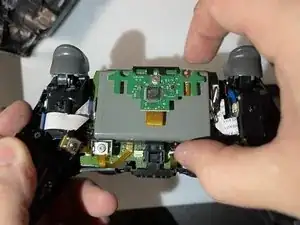
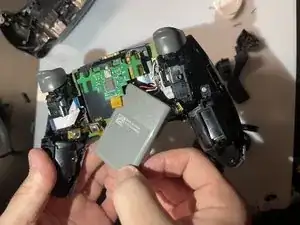
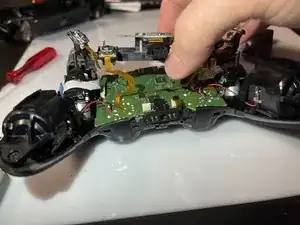
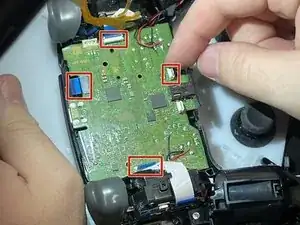
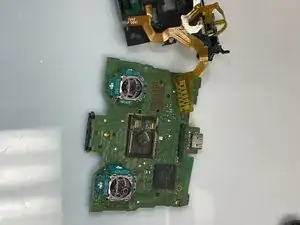
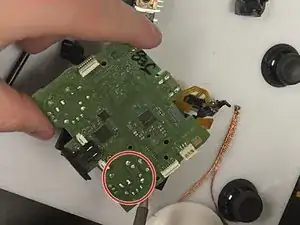
    • Remove the motherboard and the battery bracket from the controller to expose the joystick component.

  15. ZHrlIjy5A5IBBwoF
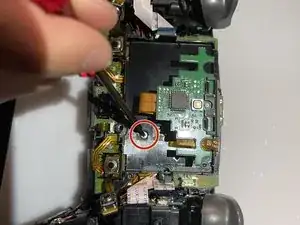
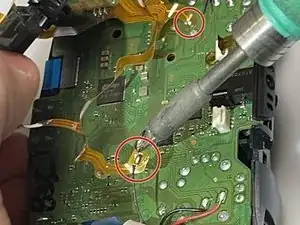
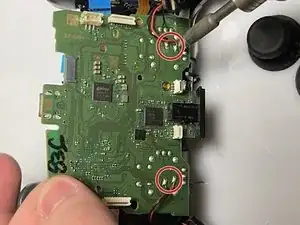
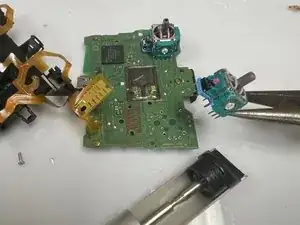
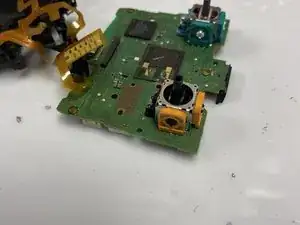
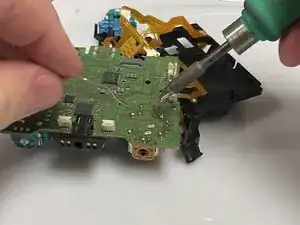
    • Use the soldering iron and the desoldering pump to desolder the 14 connections for the component.

  16. CE31rPY1GikAuJNa
    • Remove the component from the motherboard.

  17. oFHAiu1OVoWLF1kE
    oFHAiu1OVoWLF1kE
    yeqqWKNpY3DwlJUK
    • Put the new component on the motherboard.

    • Use the soldering iron to connect the new component to the motherboard.

Conclusion

To reassemble your device, follow these instructions in reverse order.

Tri Truong

Member since: 13/02/23

409 Reputation

0 comments