Introduction
-
-
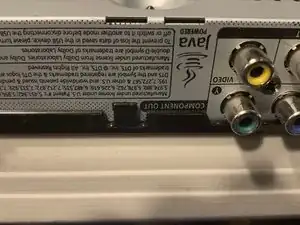
Start by turning the device over.
-
On each side there are three black tabs that hold each side cover on.
-
Carefully pry up on each one with a flat head screwdriver (or similar) and each side cover should pop right off.
-
Set side covers aside.
-
-
-
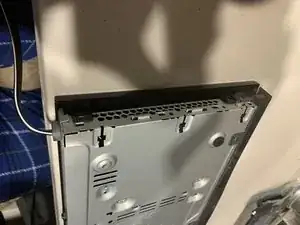
Under where each side panel was there are two black retainers that hold the top to the sides of the case.
-
Lift each side up carefully to loosen them.
-
Then carefully pry up on the single rear retainer (just to the right of the component out connectors) and the whole case cover should come right off.
-
-
-
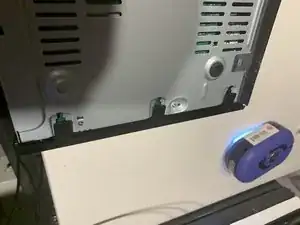
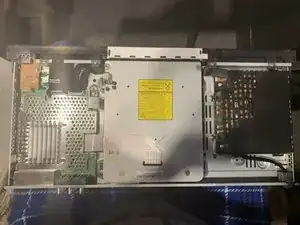
This is what the inside of the machine should look like.
-
The layout is fairly straight forward.
-
With the power cord pointing towards you, the motherboard is on the left, the drive assembly is in the middle, and the power supply is on the right.
-
To reassemble your device, follow these instructions in reverse order. Be sure to attach the front side of the cover first and “tilt” back into place so the front clips end up properly attached.