Introduction
If you are not snapping photos of your friends, family, and pets with your Samsung Epic 4G phone anymore because your camera is broken, then you may want to considering replacing it.
This guide details how to regain the function of a camera lens through replacement—even after the lens breaks and temporarily takes away your ability to make new memories.
The actual lens of a camera is the main component behind a photo’s quality, angles, and lighting. As the person behind the camera, however, you get to decide the vision behind the photo. Luckily, with a phone like the Samsung Epic 4G , replacing your broken camera is not a difficult process.
If you want to find out how capable you are of replacing your own camera lens, then follow this guide.
Before you start the repair, make sure you turn off your device using the power button located on the left side.
-
-
Locate the memory card on the upper right-hand corner of the device.
-
Remove the memory card from the device by gently sliding it out of its holder with your fingers.
-
-
-
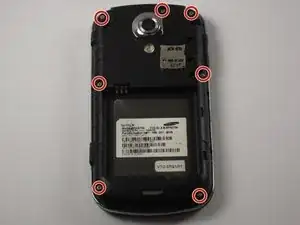
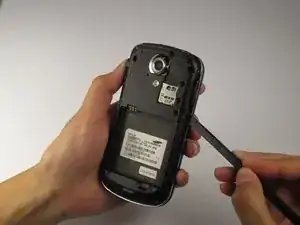
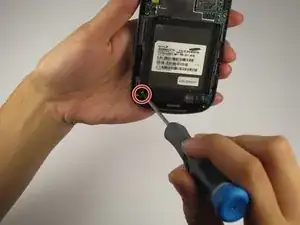
Remove the seven screws from the back of the phone using the Phillips #000 screwdriver.
-
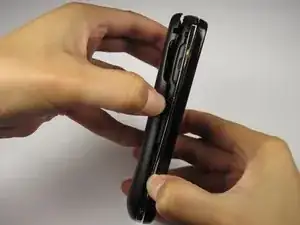
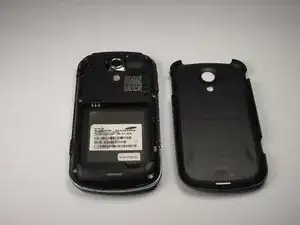
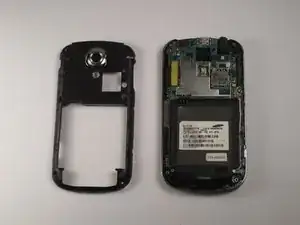
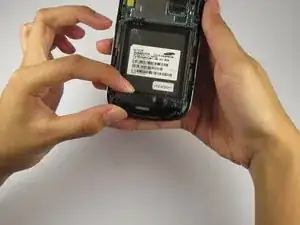
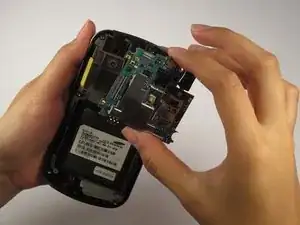
Separate the backing from the silver trim around the phone by using a nylon spudger to pry between the two components.
-
-
-
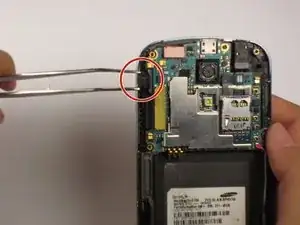
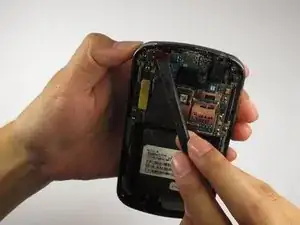
Remove the white cable along the right side of the device (next to the battery housing) using the nylon spudger.
-
Pull out both ends of the white cable. They will easily snap out of place without excessive tension.
-
-
-
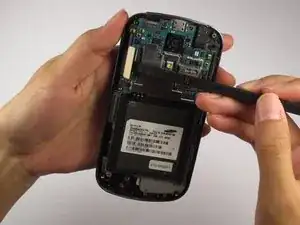
Remove the screw holding the antenna assembly in place using a Tri-Point Y0 screwdriver.
-
Snap the antenna assembly out of the device gently using your fingers.
-
-
-
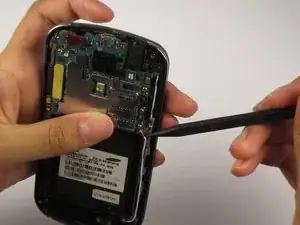
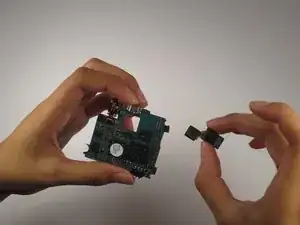
Pry the flex cable from the top of the phone by carefully using a nylon spudger.
-
Repeat this step for the larger flex cable located on the left side of the device below the smaller one.
-


To reassemble your device, follow these instructions in reverse order.